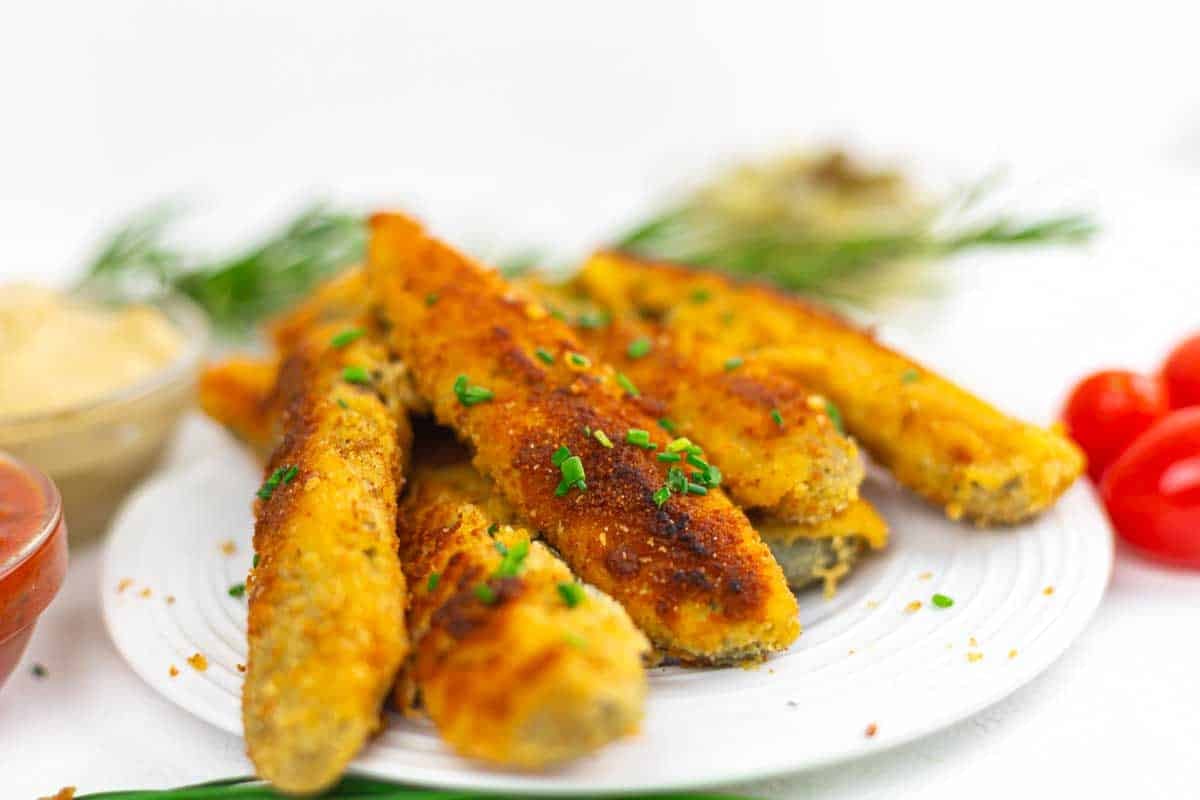
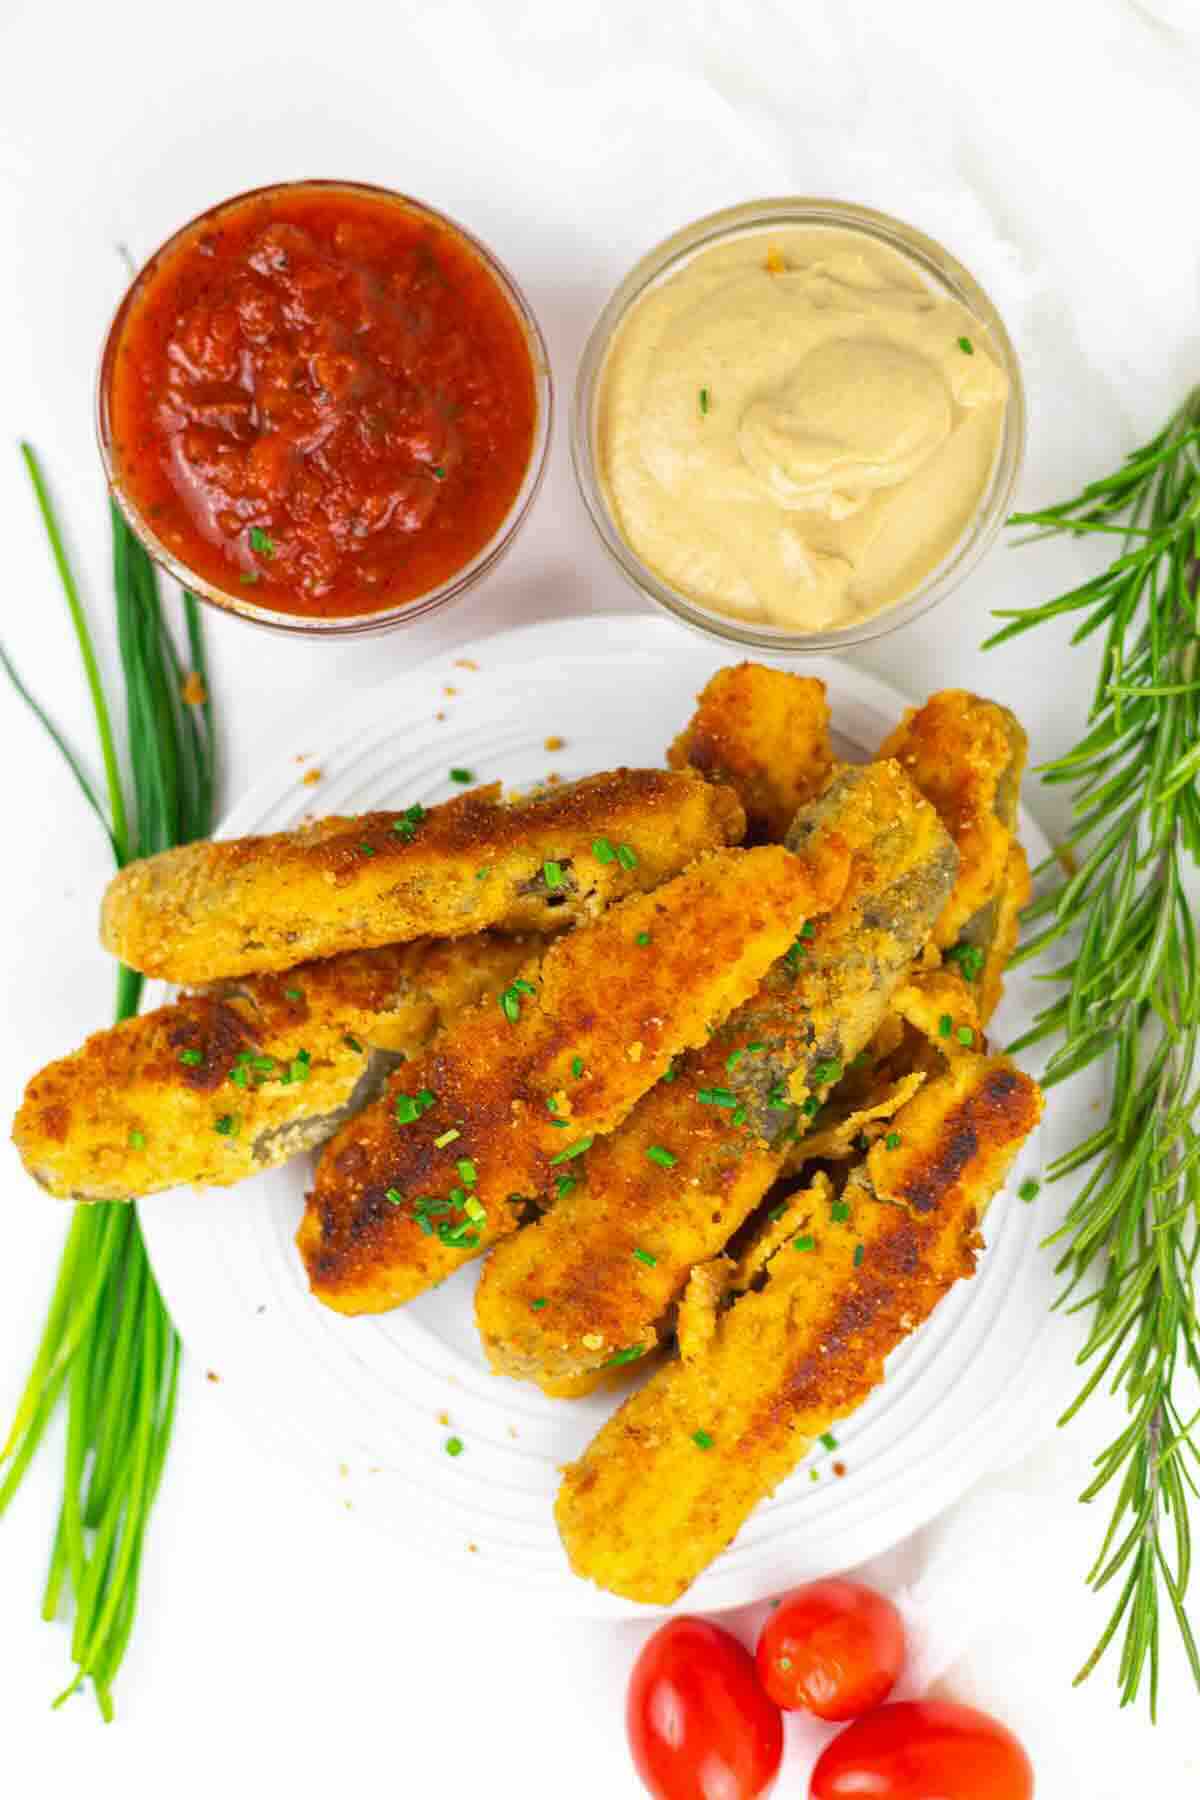
Craving something tangy, crispy, and downright fun to eat? These fried dill pickle spears are golden, crunchy on the outside, and full of juicy dill flavor inside. Perfect as a snack or appetizer, they’re pan fried pickle spears until crispy and best served with your favorite dipping sauce.
I’d never pan-fried pickles before, but curiosity and boredom got the best of me. I dredged them in a bit of breading, dropped them onto a hot skillet, and to my surprise, they sizzled into golden little spears of joy, salty, crispy, and weirdly addictive. I think of that accidental snack and how it turned an ordinary day into something unexpectedly delicious.

Make Fried Pickles for All Occasions
These fried pickles work great for game day snacks, picnics, or even a quick treat after work. They’re always a crowd-pleaser, like Korean BBQ chicken wings and popcorn chicken. Serve them hot for the best texture along with chicken lettuce wrap or baked zucchini.
Best Pickle to Use
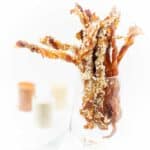
Dill pickles in spear form hold up better than chips because they stay juicy while crisping up on the outside. Choose whole pickles, sliced into spears, or buy them already cut for convenience. Avoid sweet pickles, they don’t give the same savory bite.
Dill Pickles When Fried
Frying dill pickles brings out their bold flavor while adding a satisfying crunch. The breading locks in their moisture, making each bite tangy and crispy. They’re salty, tasty, and surprisingly addictive, perfect to have with creamy pimento cheese spread or buffalo chicken salad bowl.
How To Make Fried Dill Pickle Spears
Fried dill pickle spears are perfect for snacking or sharing. This easy recipe turns your favorite pickles into a golden, crunchy treat.
Kitchen Gadgets Needed:
- Tong Clippers: Perfect for dipping, flipping, and lifting pickle spears without the mess.
- Frying Pan: Used to shallow-fry your coated pickles until golden and crispy.
- Containers: Handy for setting up your breading station and holding ingredients.
Ingredients Needed:
- Pickle Spears: Crunchy and tangy, they turn irresistible once fried.
- Breading: Gives the pickles their deliciously crispy outer layer.
- Egg: Acts as a binder to help the breading stick to each spear.
- Coconut Flour: A low-carb coating option that adds subtle sweetness and crunch.
*Exact measurements are listed in the recipe card below.
STEP-BY-STEP INSTRUCTIONS TO COOK CRISPY FRIED PICKLE SPEARS
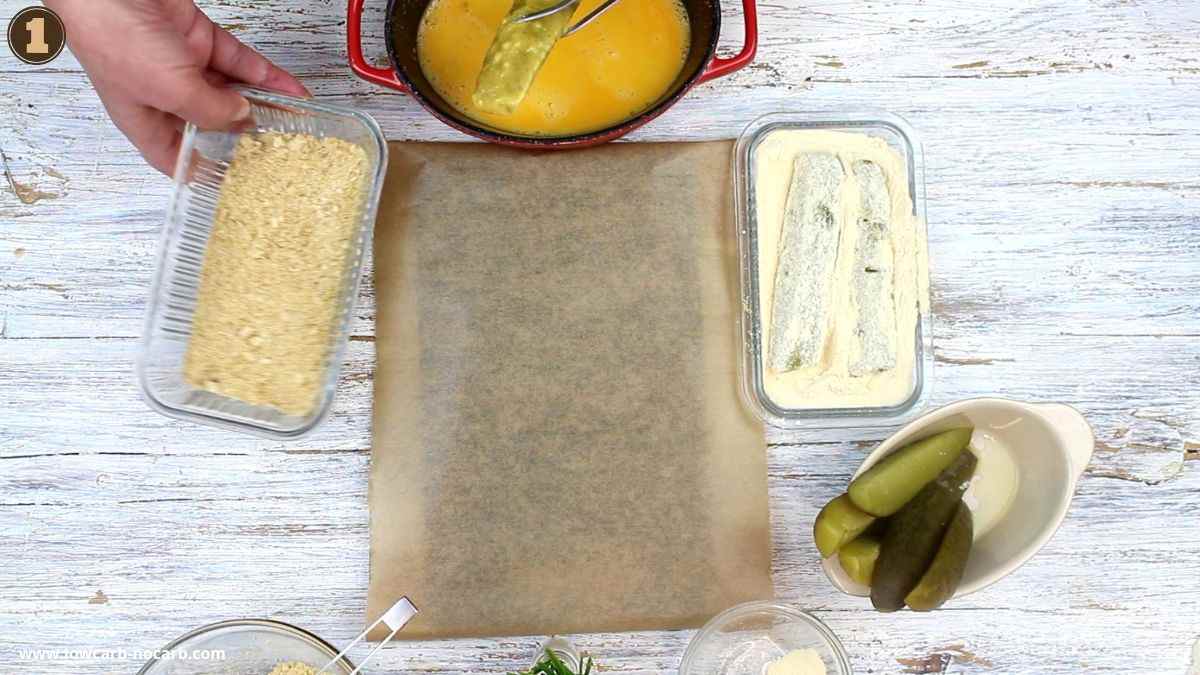
First Step: Gather and Set Up
Grab everything you need: dill pickle slices, coconut flour, eggs, and breadcrumbs. Set up three shallow bowls, one for each coating step. This makes the process quicker and less messy.

Second Step: Dry and Dust
Pat each pickle slice dry with paper towels to remove excess moisture. Lightly toss them in coconut flour so the next layers will stick better. Tap off any extra flour so they’re not too thick.

Third Step: Dip into Egg
Crack your eggs into a bowl and whisk until smooth and fluffy. Dip each flour-coated pickle slice into the egg, covering it fully. This helps the breadcrumbs cling better during frying.
Fourth Step: Coat with Crunch
Press each egg-coated slice into your breadcrumbs until both sides are well-covered. Give them a gentle press to help the coating stick. Set the breaded pickles aside while the pan heats up.

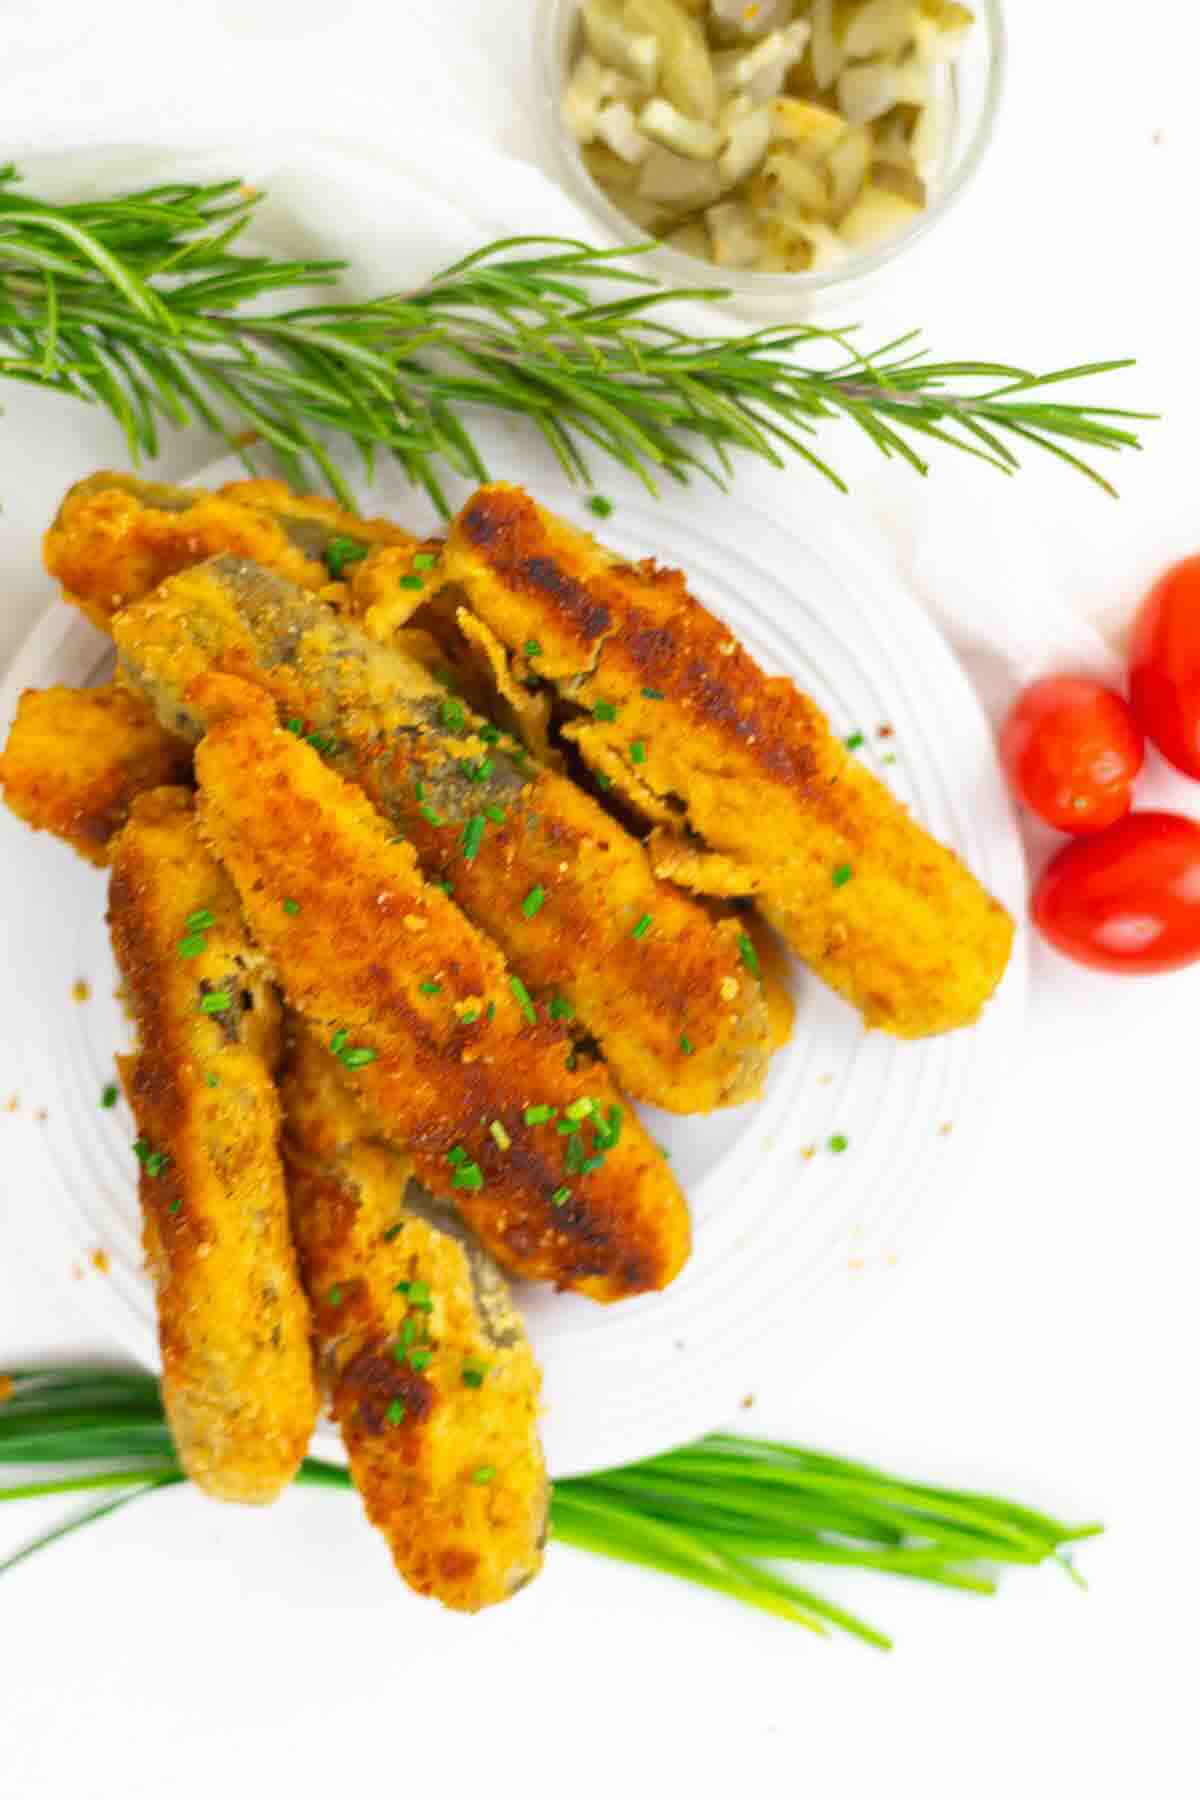
Fifth Step: Fry Until Crisp
Heat oil in a skillet over medium heat until it’s hot and shimmering. Add the pickles and fry for 2–3 minutes per side, or until golden and crisp. Remove them from the pan and place on paper towels to drain before serving warm.

TIPS AND TRICKS:
- Pat the Pickles Dry First: Before breading, make sure to pat your pickle spears dry with a paper towel. This helps the coating stick better and keeps it from getting soggy.
- Use a Double Coating for Extra Crunch: For a thicker crust, dip the pickles in egg and crumbs twice. This adds more crunch and helps the breading stay on during frying.
- Fry in Small Batches: Don’t overcrowd the pan or fryer; give each spear room to crisp up. Crowding lowers the oil temperature and leads to greasy pickles.
- Serve Immediately: Fried pickles are best eaten fresh while hot and crispy. If they sit too long, the coating can lose its crunch.

FREQUENTLY ASKED QUESTIONS AND ANSWERS
Substitute For Dill Pickle Spears
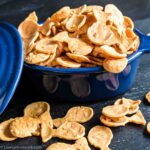
If you don’t have dill pickle spears, you can use pickle chips, gherkins, or even sliced cucumber soaked in vinegar. Bread and butter pickles also work if you prefer a sweeter flavor. Just keep the slices thick enough so they hold up during frying.
What To Serve With Best Fried Pickles?
Fried pickles go well with chicken and veggie bake, avocado burgers, sandwiches, or grilled shrimp skewers. You can also serve them with dry ranch, ranch dressing, or your favorite dipping sauce. They make a fun appetizer or snack for parties, too.
How Do I Store Fried Dill?
Place leftover fried pickles in an airtight container and store in the fridge for up to 3 days. For best results, reheat in the oven or air fryer to bring back their crispiness. Avoid microwaving as it can make them soggy.
Yes, you can freeze them after frying and cooling completely. Place in a single layer on a baking sheet, freeze, then transfer to a container. Reheat in the oven or air fryer to crisp them back up.
More Tasty Ideas for You
Looking for more simple and tasty recipes? Try making a soft and fluffy brioche bread loaf that’s perfect for toast or sandwiches. If you want something fresh and filling, a taco salad bowl is easy to put together and packed with flavor.
Craving something sweet? Strawberry jam is great on toast, pancakes, or even stirred into yogurt. These ideas are fun to make and perfect for everyday meals.
Pin For Later

Need Support or have Questions? Join our Free Facebook Group.
Follow us on Pinterest, Facebook, Instagram, TikTok, Flipboard, or YouTube.
For weekly New Recipes and a FREE E-Book get into our NEWSLETTER.
Full Recipe With Print Out Option
Thank you for giving us 5 stars

Fried Dill Pickles Spears
Equipment
- 1 Tong Clippers
- 1 Containers
Ingredients
- 8 Pieces Pickle Spears
- 1/2 Cup Breading
- 1 Piece Egg
- 1/2 Cup Coconut Flour
Video
Instructions
- Collect dill pickle slices, coconut flour, eggs, and breadcrumbs, then set up three shallow bowls for each coating stage to keep things quick and tidy.
- Pat the pickle slices dry and lightly coat them in coconut flour, shaking off any excess so the layers stick without getting too thick.
- Whisk the eggs until smooth, then dip each floured pickle slice into the egg to fully coat and help the breadcrumb layer adhere.
- Press each egg-coated pickle into the breadcrumbs until covered on both sides, then set them aside while you heat the oil.
- Fry the coated pickles in hot oil over medium heat for 2–3 minutes per side until golden and crisp, then drain on paper towels before serving.
Notes
- Pat the Pickles Dry First: Before breading, make sure to pat your pickle spears dry with a paper towel. This helps the coating stick better and keeps it from getting soggy.
- Use a Double Coating for Extra Crunch: For a thicker crust, dip the pickles in egg and crumbs twice. This adds more crunch and helps the breading stay on during frying.
- Fry in Small Batches: Don’t overcrowd the pan or fryer; give each spear room to crisp up. Crowding lowers the oil temperature and leads to greasy pickles.
- Serve Immediately: Fried pickles are best eaten fresh while hot and crispy. If they sit too long, the coating can lose its crunch.
Nutrition
Disclaimer
Please note that nutrient values are estimates only. Variations can occur due to product availability and manner of food preparation. Nutrition may vary based on methods of origin, preparation, freshness of ingredients, and other factors.
If you are still looking for some Low Carb products, visit our recommended site on Amazon, which we participate in as affiliates. Just click on the image below and all will be revealed.

other snack options you can try
Try these snack options when you need something quick, tasty, and satisfying. From crunchy bites to sweet treats, there’s a perfect snack for every craving.