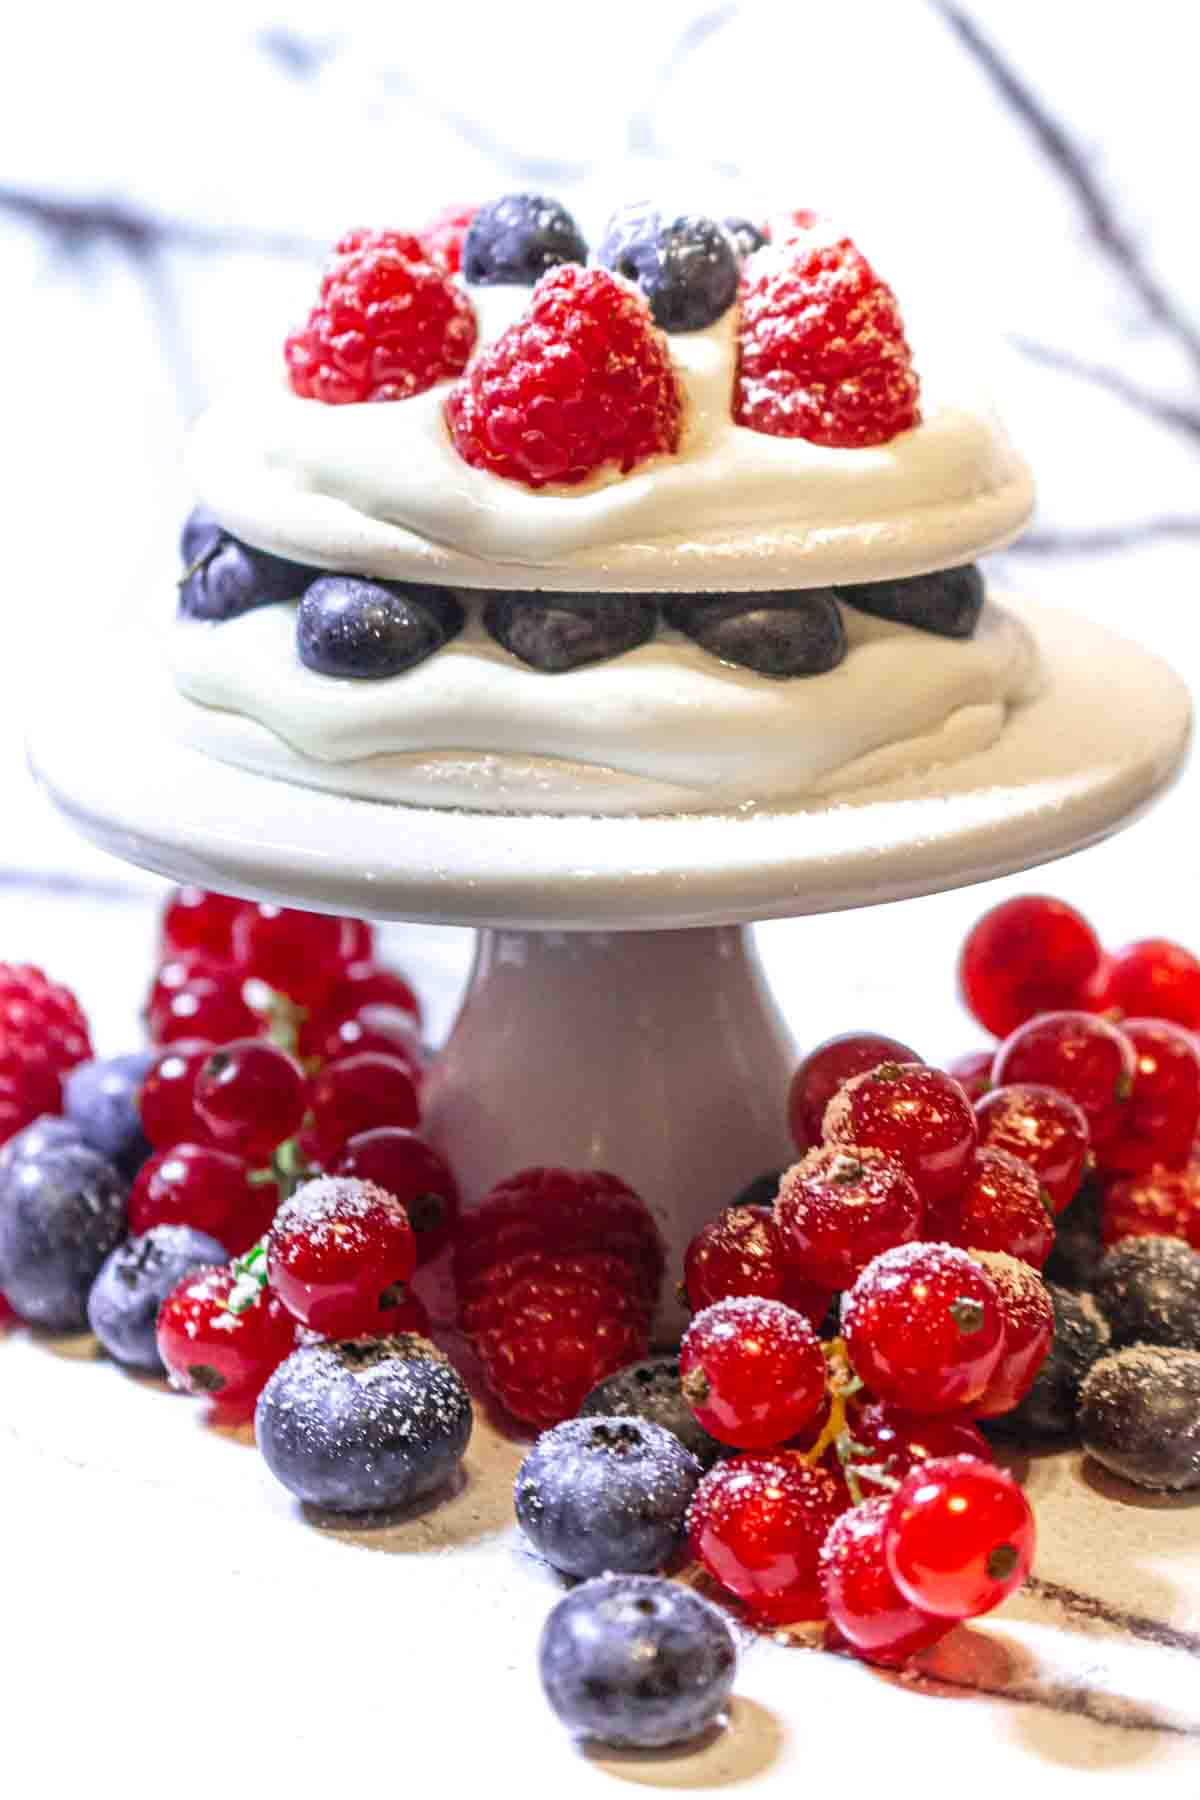
Make this easy and delightful Sugar Free Mini Pavlova Cakes, where delicate meringue shells meet the airy sweetness of marshmallow like centers. Topped with luscious whipped cream, fresh fruit, and a burst of flavors, these mini pavlova recipes are guaranteed to melt in your mouth with every blissful bite.
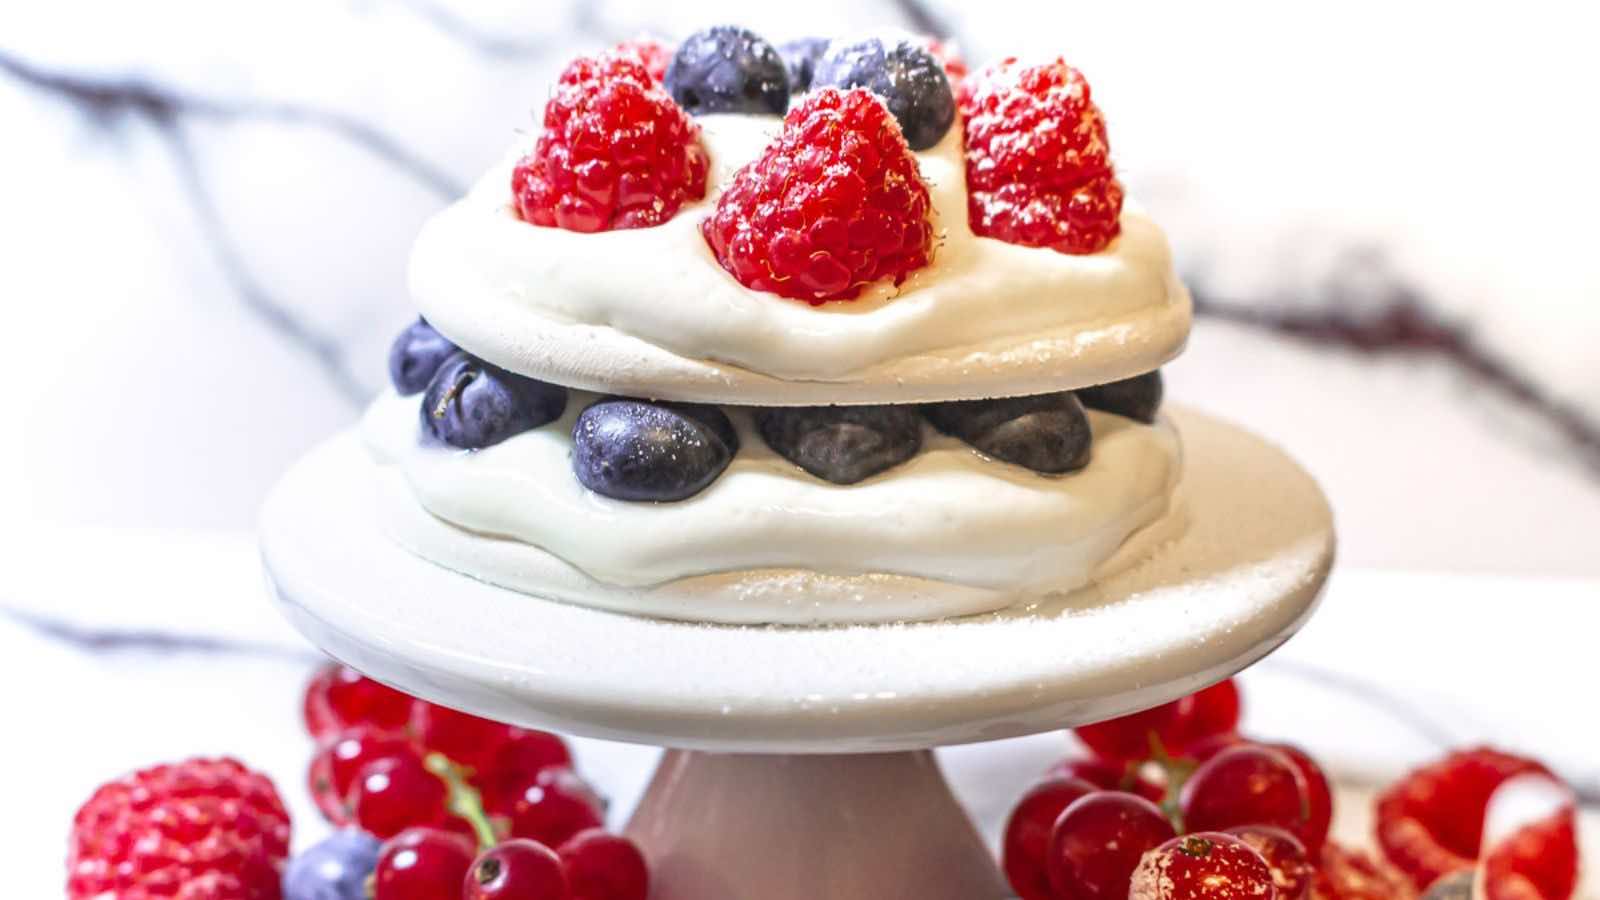
It is best paired with whipped cream and fruits that are completely low-carb. Another option is citrus flavors like lime or lemon curd or cranberry sauce to create a good balance of sweetness together.

Meringue And Pavlova Desserts
Meringue and pavlovas are some of the best desserts you can add to your table during the holidays.
These sugar free meringue recipes will give an elegant appearance and sweet flavor on any occasion.
Make this meringue frosting at home and have a free fluffy and glossy topping for your desserts and cupcakes with no sugar added.
One of the must-haves in any holiday event is our meringue cookies which are light and airy treats offering a delicate sweetness in every bite.
Coming to the lemony part, our tender meringue lemon curd cupcakes are filled with a burst of lemon flavor, and lemon meringue cheesecake offers a perfect balance of rich and tangy flavors of lemon juice in every slice.
And do not forget our almond flour cupcakes with meringue which is a perfect match because of the nutty flavor of the almond flour. Our strawberry meringue sheet cake is delightful and perfect for serving a crowd to finish up my suggestions.
Why You’ll Love This Recipe
This elegant dessert called Pavlova is a showstopper on any table. Our sugar-free mini pavlovas carry on that tradition but with a healthy low-carb spin. Here is why you will fall head over heels for this delightful treat:
- Low-carb bliss – with the absence of sugar, you can savor each bite without worrying about ditching your low-carb lifestyle.
- Simple and impressive – do not be fooled by its elegant appearance. Crafting a mini pavlova cake is surprisingly easy. You will be playing dessert chef in no time.
- Toppings of your choice – pavlova is like a blank canvas for your culinary creativity. Top it with your favorite berries, a dollop of whipped cream, or a sprinkle of nuts, and make it your masterpiece.
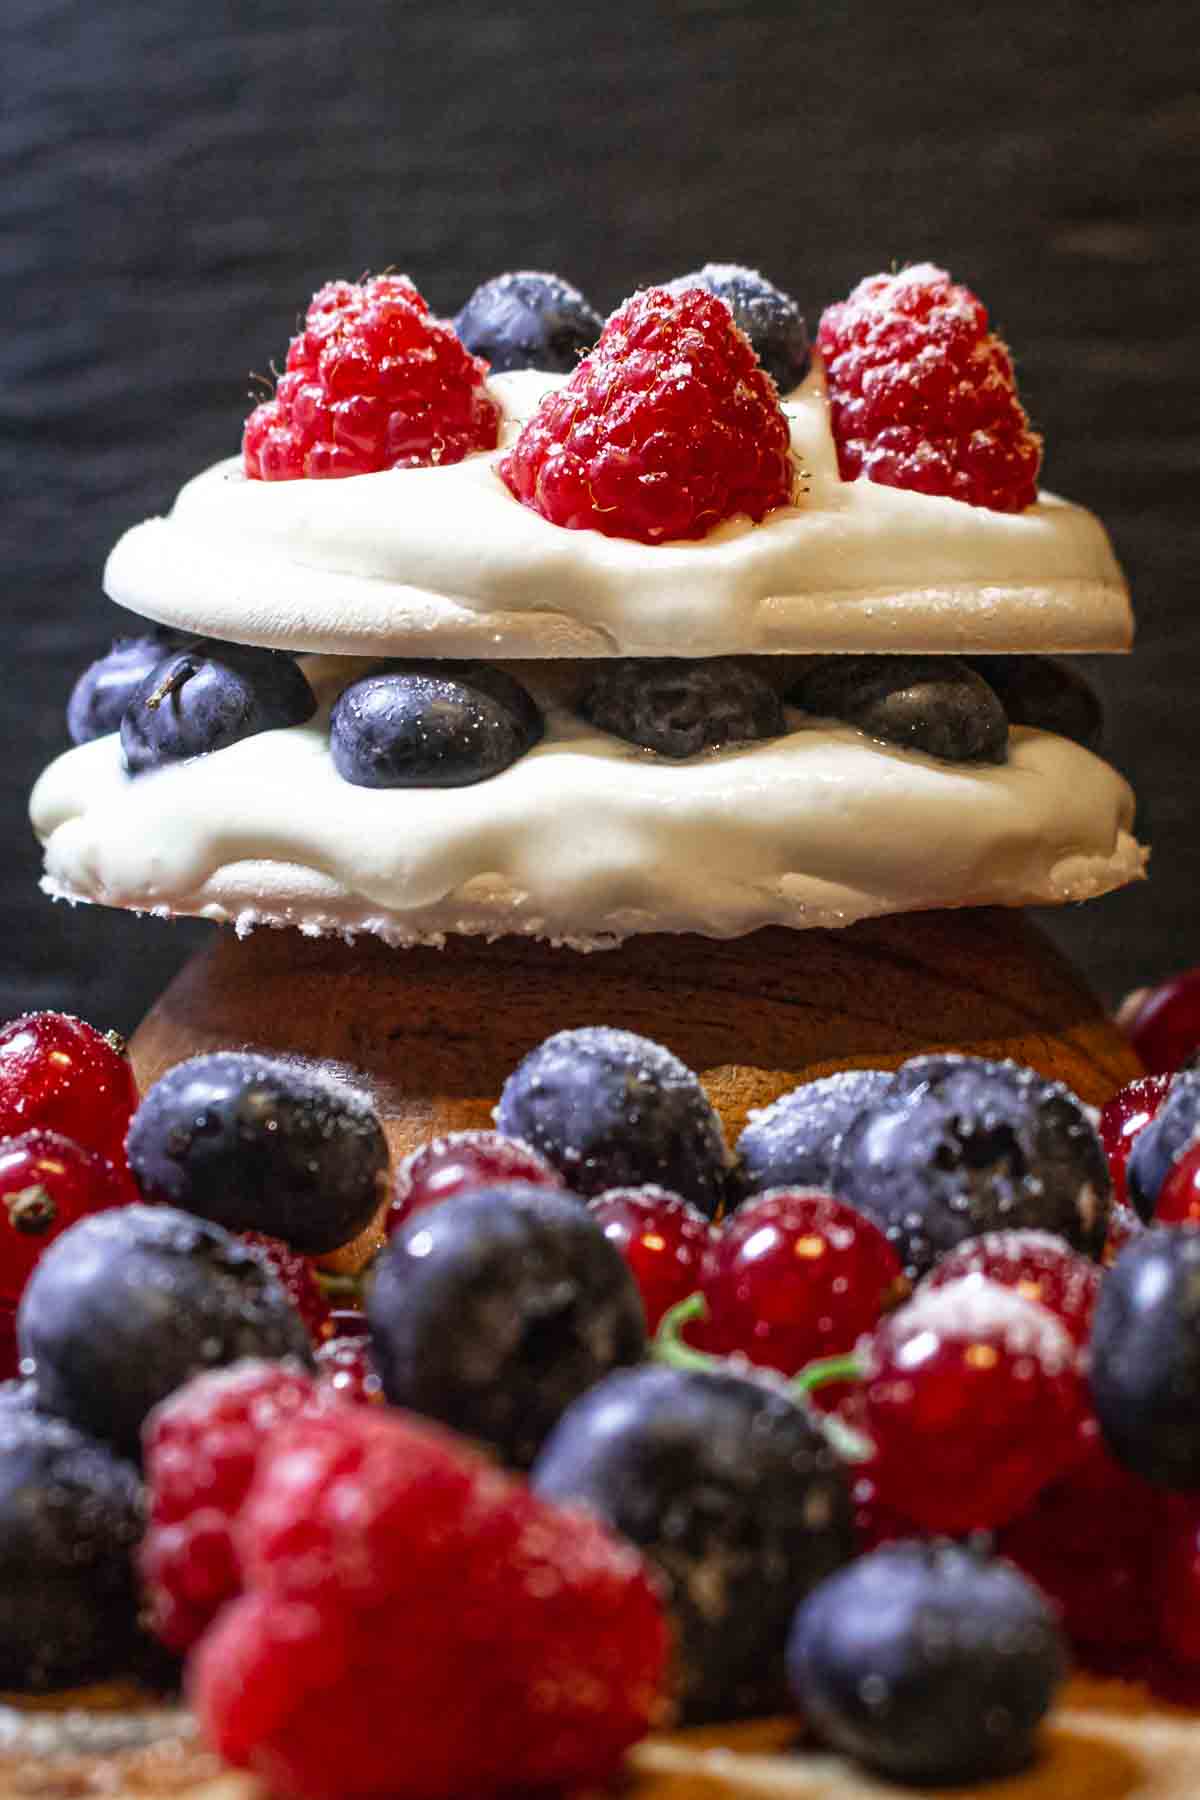
Why Is This Cake Dessert Called Pavlova?
This great recipe is named after the Russian ballerina Anna Pavlova. The inspiration behind its name comes from Anna Pavlova’s tour of Australia and New Zealand in 1926.
The first pavlova was made in New Zealand and Australia and it has become a beloved dessert in those two countries. It is fascinating because I also did not know this story until I’ve made pavlova cake at home.
As you indulge in our sugar-free pavlova, you are not just savoring a delightful dessert but also taking a delicious step back in time to the days of graceful ballet and the enduring legacy of Anna Pavlova.
Best Pavlova Recipe Toppings
When it comes to pavlova, two popular choices are whipped cream and yogurt, each bringing its twist to the table.
- Whipped cream – it brings a cloud-like lightness to your pavlova. Its airy texture is a perfect match to the crunchiness of the meringue.
- Yogurt – if you are looking for a tangy twist, yogurt is your best choice because the slight tartness of it balances the sweetness of the pavlova and it makes them perfect together.
Choosing between whipped cream and yogurt ultimately depends on personal preference. If you are in the mood for indulgent and airy sweetness, go for the classic whipped cream. And for a lighter and slightly tangy experience, yogurt is the way to go.
Room Temperature Eggs
Using room-temperature eggs in pavlovas ensures that the egg whites whip up to their fullest volume, creating a stable and fluffy meringue.
Cold eggs take longer to reach the desired consistency, affecting the pavlova’s texture and making it more challenging to achieve that perfect, airy result.
If you re not following keto or low carb, a pinch of cornstarch helps greatly in added stiffness.
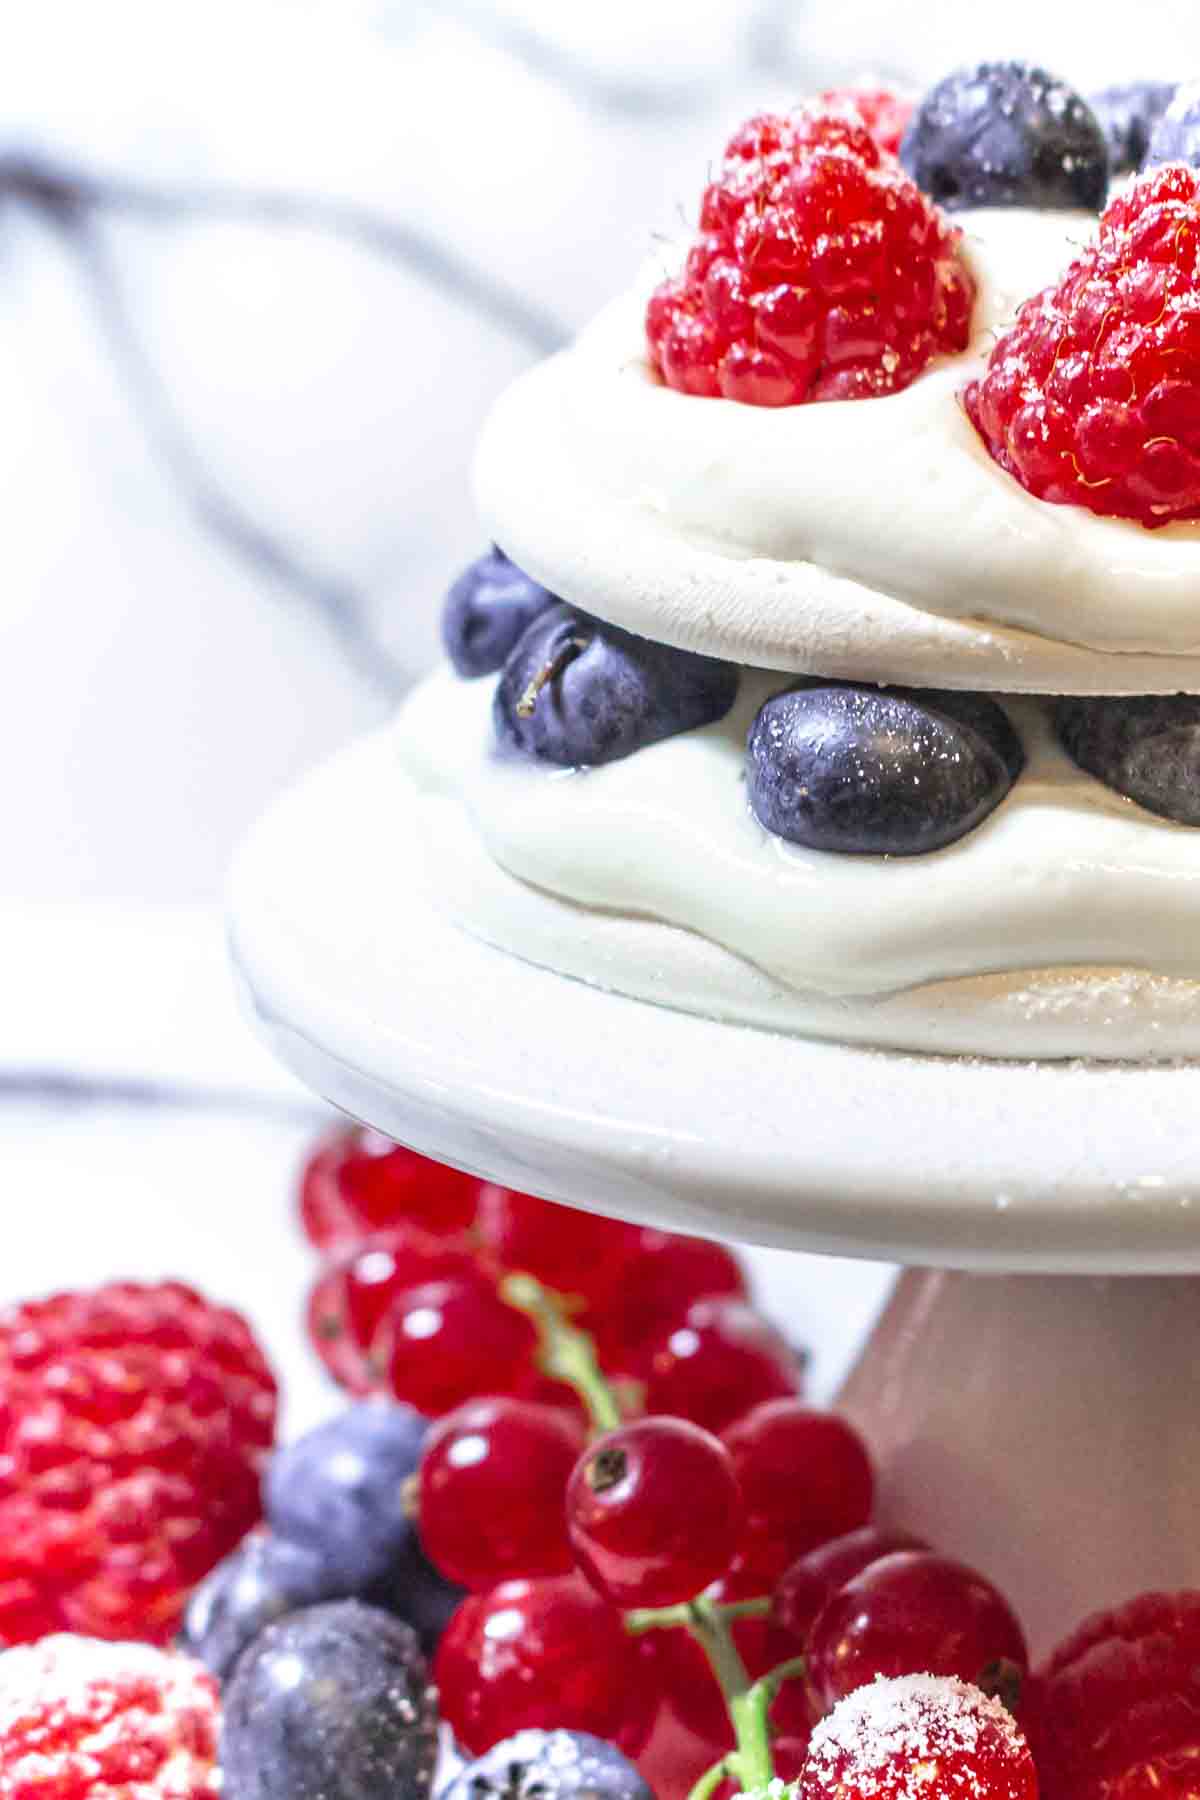
How To Make Pavlova Cake At Home
Let me walk you through the process of making this delightful dessert. Our easy steps ensure your sugar-free pavlova cake turns out as stunning as it tastes.
Pavlova Recipe Video
As you see, I have made for you a Video with full instructions, for those, who prefer more visual guidance. I hope both the recipe steps in writing as well video instructions will help you to achieve the best ever mini Pavlova cake for you or your loved ones.
Kitchen Gadgets Needed:
- Hand Mixer
- Stand Mixer with Mixing Bowl
- Parchment Paper
- Baking Tray
- Spatula
- Piping Bag
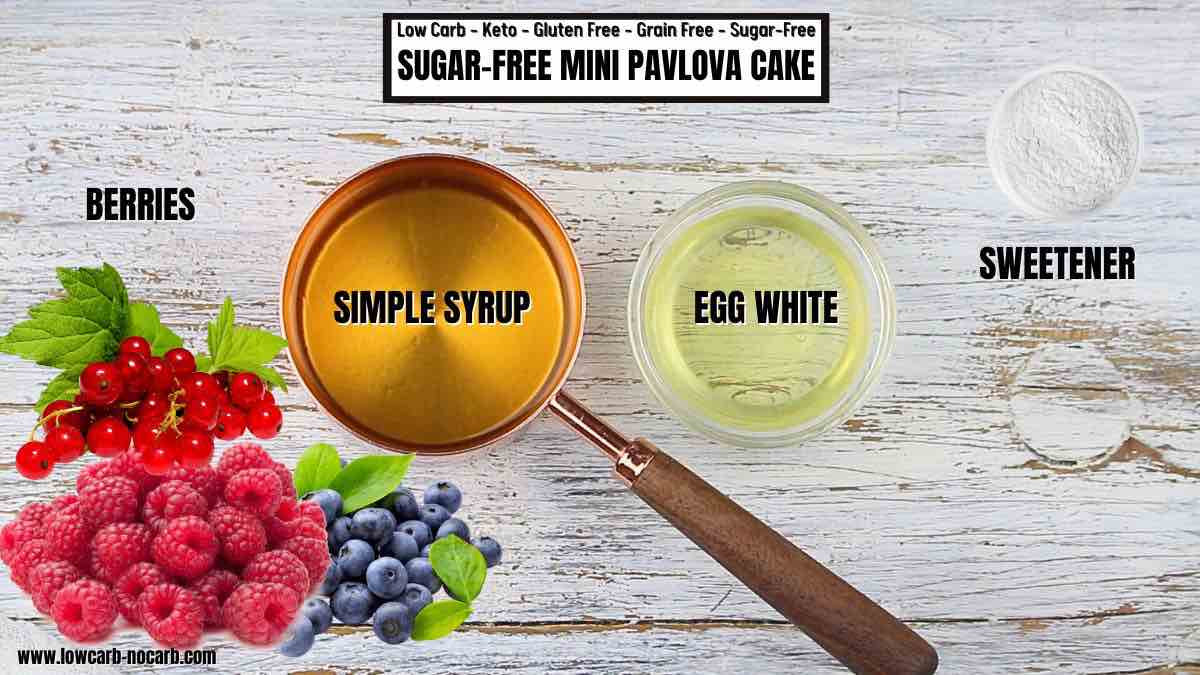
Ingredients Needed:
- Simple Syrup – a no sugar syrup is great for meringues but you can use your preferred store bought.
- Egg White – the star of this simple recipe and the foundation of the soft and airy texture of your meringue.
- Whipped Cream or Yogurt – whipped cream and yogurt are both good for pavlova cake. You can choose from both.
- Fresh Berries – strawberries, blueberries, and raspberries. You can take your pick.
*Exact measurements are listed in the recipe card below.
STEP-BY-STEP EASY TO FOLLOW INSTRUCTIONS IN MAKING MINI PAVLOVAS
First Step: Prepare Ingredients
First thing, preheat the oven and set it to a low temperature.
Prepare all the ingredients you need and get your sugar-free syrup and egg whites ready. Make sure there are no yolks left when separating the egg whites.
As mentioned above, make sure you are using egg whites that are at room temperature so you will get good stiff peaks form once whisked.
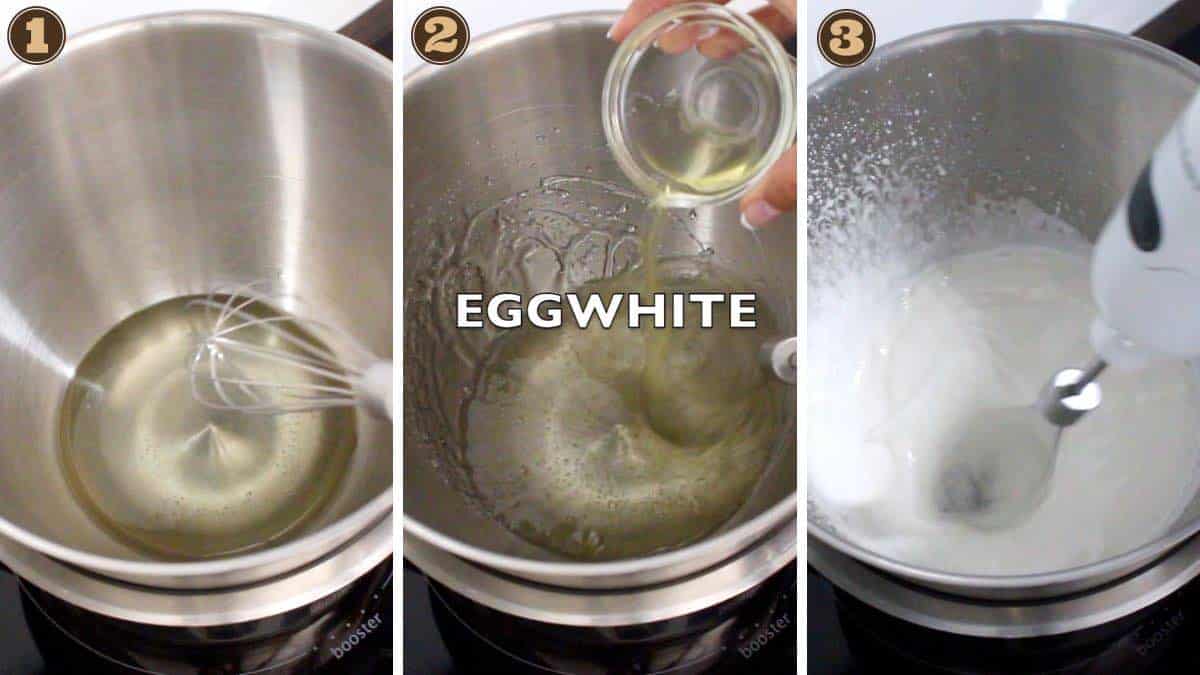
Second Step: Whip And Warm The Syrup And The Egg Whites
Bring everything to a boil using a double boiler as you beat the egg whites and syrup. And as you can see in the video, I used a cooking pot with the kitchen machine’s bowl.
Using the mixing bowl attached to the machine is a lot easier because you will only need to attach it back later and let it do the job.
Third Step: Whisk Using a Stand Mixer
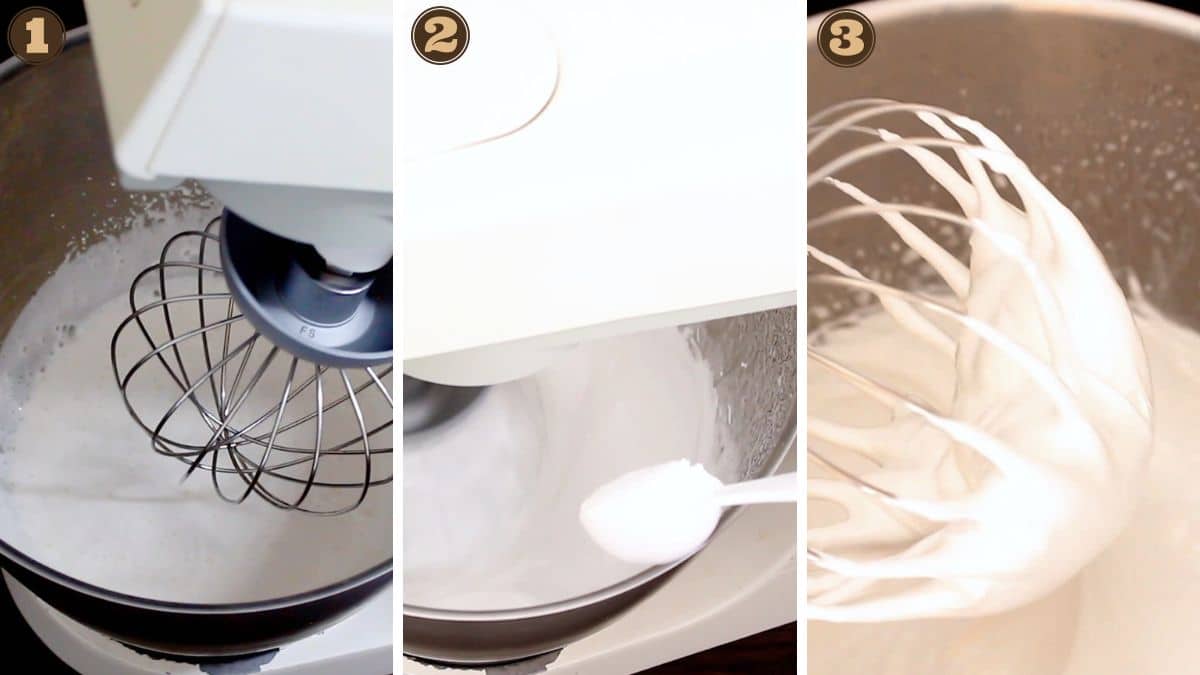
When you start getting foamy and soft peaks form, you can stop boiling and start placing the bowl into the machine.
Start whisking it using the mixer and set it from medium speed to high whisk until you get a perfect stiff peak form. While whisking, add the sugar or the sweetener of your choice. The amount will depend on how sweet you would like your meringue.
You can check the consistency by turning your bowl upside down. If it does not fall, means it is perfectly whipped.
Fourth Step: Pipe and Bake
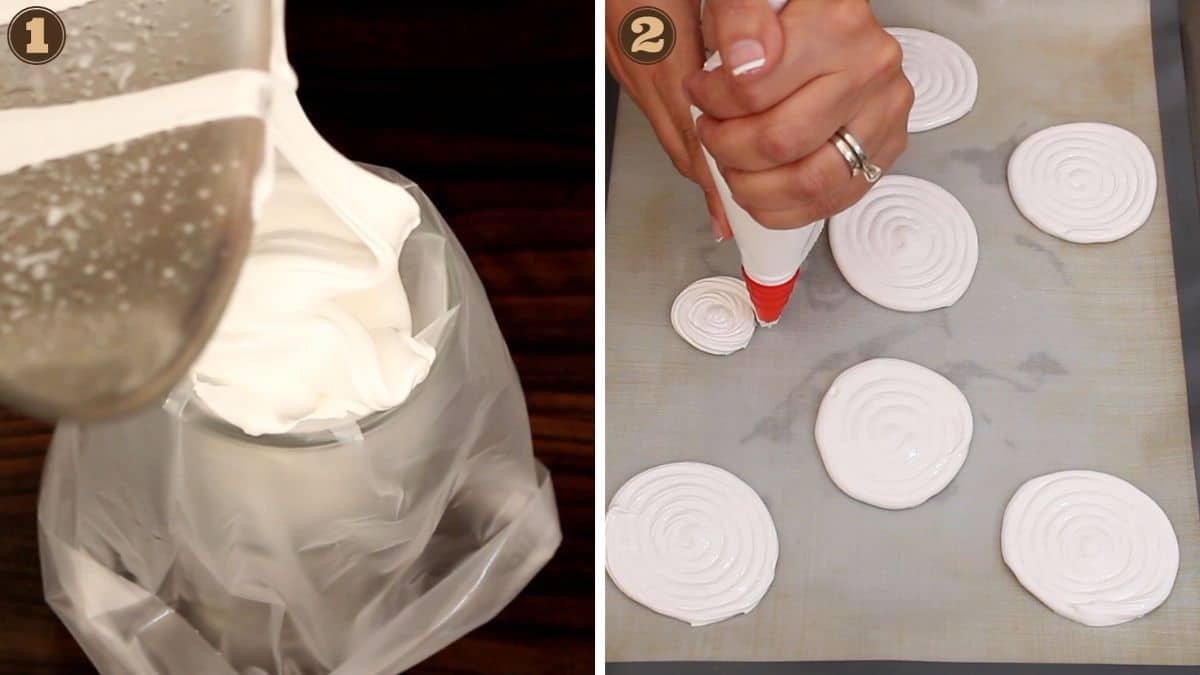
Prepare your piping bag and start transferring the mixture in. Use can use a piping tip, but you can also cut a little hole as a tip.
The best way to transfer anything in the piping bag is by placing it in a tall cup so there is no mess.
Using the piping bag, create medium circles into the covered baking sheet with parchment paper. Make a space between each meringue circle so they will not stick together. Allow them to rest for a minute before putting the pavlova in the oven.
Open the oven to check the temperature if it was set to low. Place your pavlova in the preheated oven and let it bake for about 3 hours until they are crisp on the outside and soft on the inside. After baking, turn off the oven and let the pavlova cool completely.
Fifth Step: Add Toppings Of Your Choice
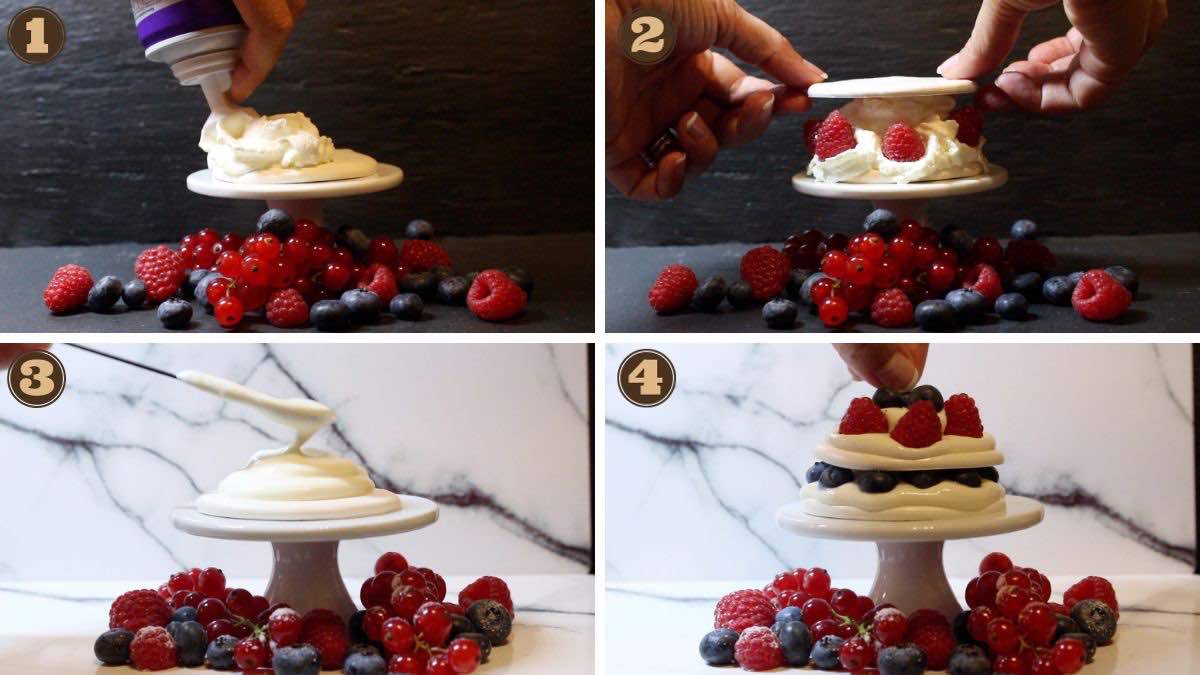
There are two options when you top your pavlova cake. You can either go for whipped cream or yogurt. Also, prepare at least half a cup of of your berries.
Assemble your cake by placing one meringue at the bottom, add the whipped cream on the top, and put a generous amount of your berries. Stack it again with another meringue and do the same until you form a beautiful pavlova cake topped with colorful berries.
Do the same if you are using yogurt, but make sure to use a spatula so you will not make a mess and it will turn out beautiful.
TIPS AND TRICKS IN MAKING A PAVLOVA CAKE
- Vanilla extract – adding a small amount of vanilla extract can enhance the flavor of the pavlova.
- Cream of tartar – a pinch of this powder also stabilizes the egg whites, giving your pavlova a perfect texture.
- Use dry utensils – use clean, dry bowls and utensils. Even just a bit of grease or moisture can destroy the meringue’s fluffiness.
- Not fully dry – place into a dehydrator to fully pull all of the moisture.
FREQUENTLY ASKED QUESTIONS AND ANSWERS
What To Serve With Sugar Free Pavlovas?
You can serve our sugar free easy pavlova with cream and berries or any fresh fruits available in your pantry.
To add a little more sweetness and chocolatey flavor to your pavlova, you can also drizzle some sugar-free chocolate syrup on top of your cake. If you do not have chocolate syrup on hand, you can simply make one by melting some dark chocolate.
And of course, it’s best together with the zesty flavors of lemon curd, perfect because they provide a refreshing contrast to the sweetness of the pavlovas.
How Do I Store Pavlova Cake?
You can store your pavlova mini cakes separately in an airtight container.
If it is already topped, be aware that certain toppings like whipped cream and fresh fruits need to be consumed fast.
While freezing is possible, I would not suggest it as it will soften the crispiness. You can easily store it in your pantry for a while.
More Fruit-Topped Cake Recipes
Discover more cake recipes paired with rich flavors or fresh fruits.
Our easy berry cake is perfect for your breakfast delight, flourless chocolate sheet cake made with pure cocoa and topped with beautiful red currant on the other side a perfect addition to your coffee.
Wild blueberries are a prime ingredient in our blueberry cheesecake with a very rich no-bake crust. And of course, our lemon cheesecake with meringue can be a star of any occasion.
Looking for an extra sweet breakfast? Our chocolate chaffle cake topped with fresh blueberries has your back. It could even be your birthday cake.
Pin For Later

Need Support or have Questions? Join our Free Facebook Group.
Follow us on Pinterest, Facebook, Instagram, TikTok, Flipboard, or YouTube.
For weekly New Recipes and a FREE E-Book get into our NEWSLETTER.
Full Recipe With Print Out Option
Thank you for giving us 5 stars
Sugar Free Mini Pavlova Cake
Equipment
- 1 Spatula
Ingredients
- 3/4 Cup Simple Syrup Clear
- 1 Egg white
- 4 Tablespoons Whipped Cream or Yogurt
- 0,5 Cup Berries
Instructions
- First thing, preheat the oven and set it to a low temperature. Prepare all the ingredients you need and get your sugar-free syrup and egg whites ready.
- Bring everything to a boil using a double boiler as you beat the egg whites and syrup. And as you can see in the video, I used a cooking pot with the kitchen machine's bowl.
- When you start getting foamy and soft peaks form, you can stop boiling and start placing the bowl into the machine. Start whisking it using the mixer and set it from medium speed to high whisk until you get a perfect stiff peak form. While whisking, add the sugar or the sweetener of your choice. The amount will depend on how sweet you would like your meringue.
- Prepare your piping bag and start transferring the mixture in. Use can use a piping tip, but you can also cut a little hole as a tip. Using the piping bag, create medium circles into the covered baking sheet with parchment paper. Open the oven to check the temperature if it was set to low. Place your pavlova in the preheated oven and let it bake for about 3 hours until they are crisp on the outside and soft on the inside. After baking, turn off the oven and let the pavlova cool completely.
- There are two options when you top your pavlova cake. You can either go for whipped cream or yogurt. Assemble your cake by placing one meringue at the bottom, add the whipped cream on the top, and put a generous amount of your berries. Stack it again with another meringue and do the same until you form a beautiful pavlova cake topped with colorful berries.
Video
Notes
- Vanilla extract – adding a small amount of vanilla extract can enhance the flavor of the pavlova.
- Cream of tartar – a pinch of this powder also stabilizes the egg whites, giving your pavlova a perfect texture.
- Use dry utensils – use clean, dry bowls and utensils. Even just a bit of grease or moisture can destroy the meringue's fluffiness.
- Not fully dry – place into a dehydrator to fully pull all of the moisture.
Nutrition
Disclaimer
Please note that nutrient values are estimates only. Variations can occur due to product availability and manner of food preparation. Nutrition may vary based on methods of origin, preparation, freshness of ingredients, and other factors.
If you are still looking for some Low Carb products, visit our recommended site on Amazon, which we participate in as affiliates. Just click on the image below and all will be revealed.

Meringue Recipes Collection
Presenting you a great collection of the best sugar-free meringue recipes for meringue lovers like I am, without carbs or guilt. Enjoy those fully keto, low-carb, gluten-free, dairy-free, grain-free, and diabetic-friendly desserts all year.


Keto Desserts E-Book
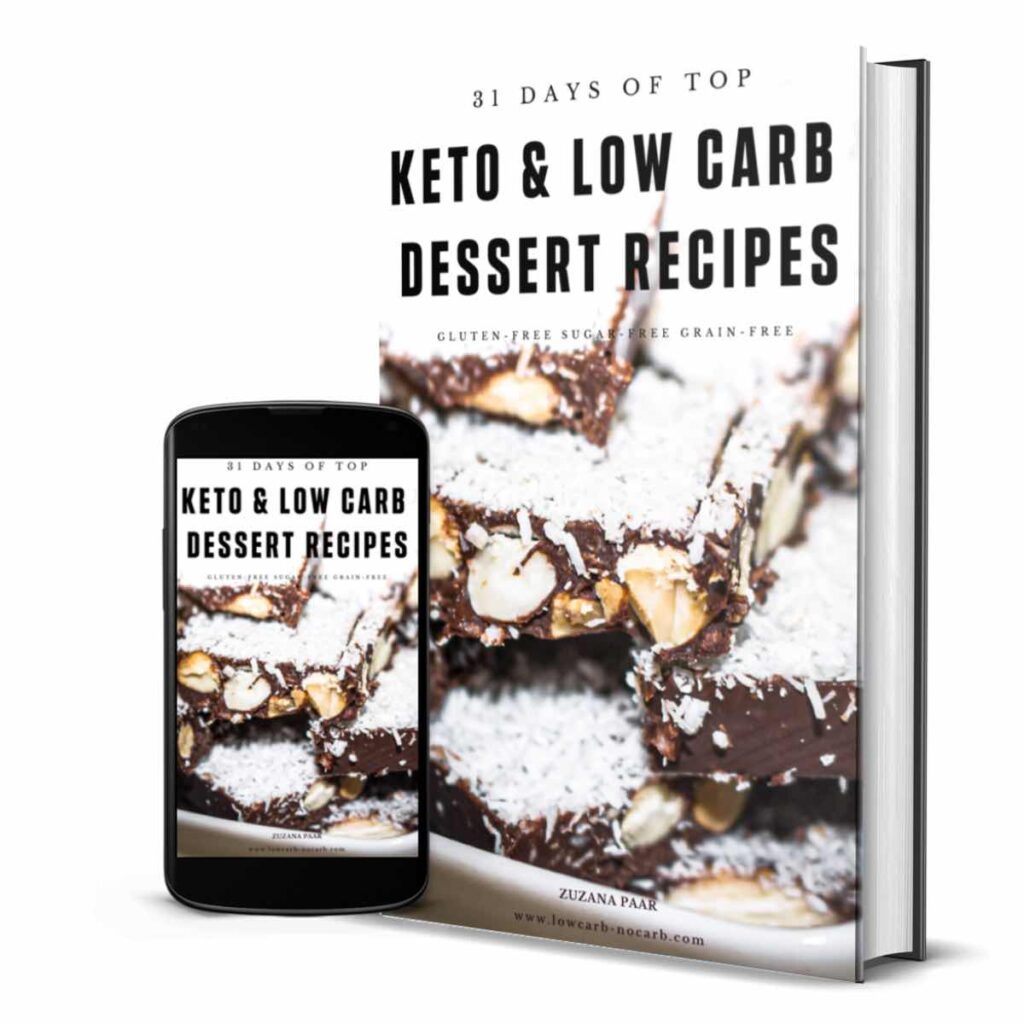
Living a Keto Lifestyle but still, have a sweet tooth?
Explore 31 Days with Top Keto & Low Carb Dessert Recipes.
All new recipes never featured anywhere else.
I tried this Mini Pavlova Cake, and I am really happy with it! I added vanilla extract to enhance the flavor, following chef’s tips!
Vanilla extract is a great idea.
The meringue shells were perfectly crispy on the outside and soft on the inside. And I loved the whipped cream and a berry topping it made them even more delicious. Such a delicious dessert.
Pavlova and meringues are treats, I have to have all the time. Favorite of all desserts.