Learn the simple process of drying garlic from your harvest with this easy recipe, guiding you to cure garlic bulbs for long-term storage at home. Learn how to store garlic cloves and harvest garlic in no time. By drying garlic, you can enhance its flavor, extend its shelf life, and have a convenient supply of this versatile ingredient ready for your favorite recipes.
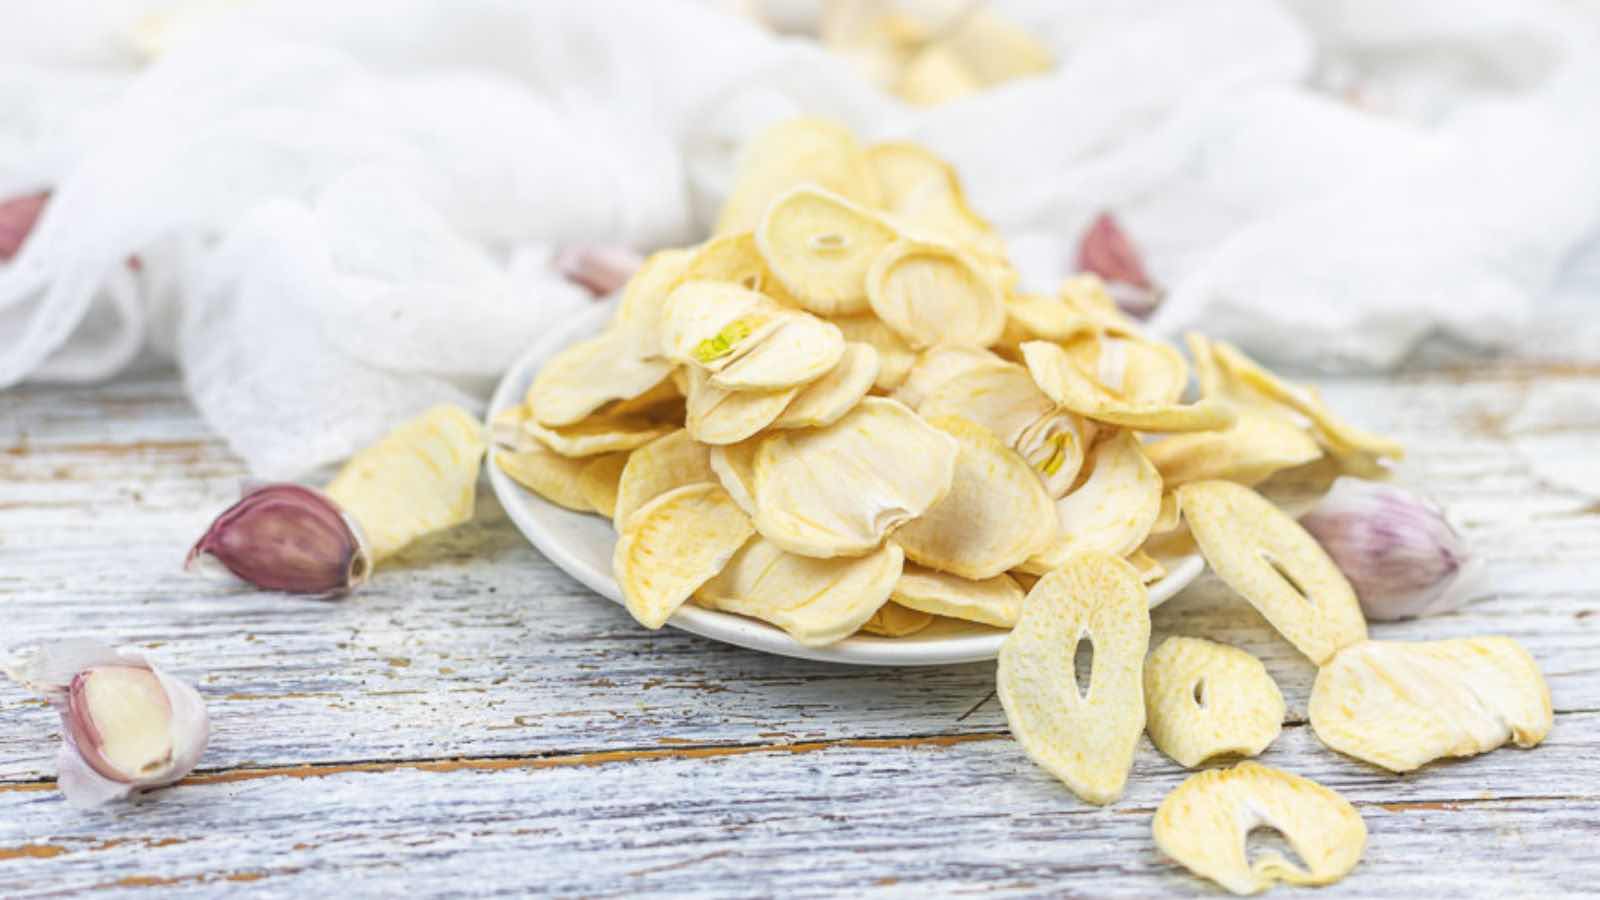
Since I started dehydrating food, my ideas have come one by one. Drying your produce and making a perfect seasoning from it is the best thing you can give to yourself and your family—no more store-bought jars in your pantry. Mine is filled with only the best, and so should yours.

Use it for meats and enhance the taste of your chicken, beef, and pork marinades. Add a teaspoon of dried garlic to your homemade ramen noodles or simple egg drop soup for a rich garlic flavor.
Why You Will Love This Delicious Garlic Recipe
- Long-Lasting Flavor: Dehydrating garlic intensifies its flavor, ensuring you have a potent ingredient ready to add to your dish.
- Convenient: Say goodbye to peeling and mincing every time you cook. With dried garlic, you have the convenience of an instant flavor boost.
- Preservation: Extend the life of your garlic and reduce waste. Dried garlic lasts longer than fresh, keeping your kitchen stocked and reducing the need for constant grocery runs.
Types Of Garlic To Dry
If you only know one type of garlic, I will introduce you to the different varieties and types you can try for dehydrating. Here are some:
- Softneck Garlic – is known for its soft stalks and a higher number of cloves per bulb. It also has a milder flavor and a longer shelf life, making it a great candidate for drying.
- Hardneck Garlic – unlike the softneck garlic, this one has a hard stalk at the center and has fewer but larger cloves. As per the taste, it is slightly spicy and complex.
- Purple Stripe Garlic – once you see those vibrant purple stripes on the bulb wrappers, that’s it. It has a medium to strong flavor and is perfect for storing and drying as it enhances the flavor.
- Turban garlic – turban garlic varieties are known for their distinctive appearance, with bulbs with loose, flaky wrappers. They often have a rich and bold flavor, making them an excellent choice for drying.
When choosing a type of garlic for drying, you should also consider your flavor preferences and the intended use in your recipes.
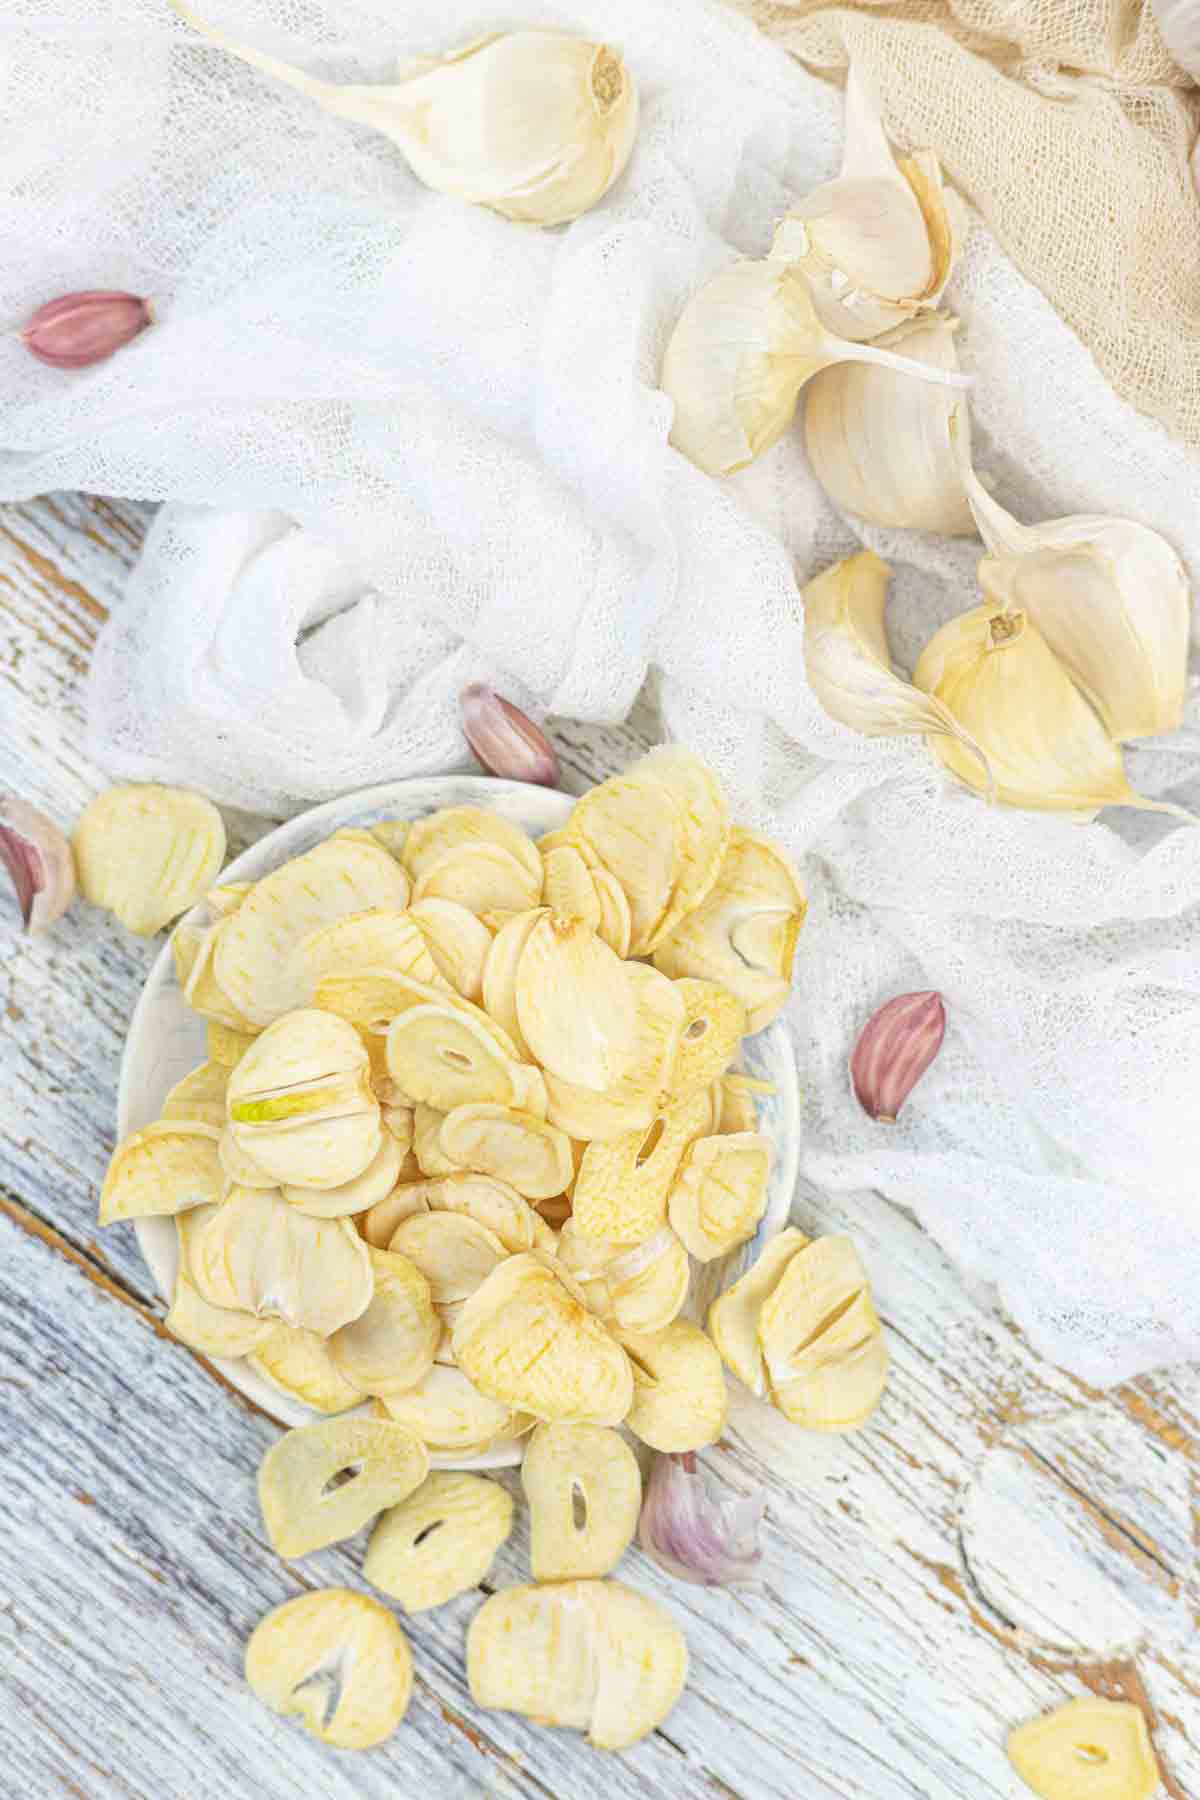
Why Garlic Curing Is Important?
Imagine you have fresh garlic straight from the garden where it is all plump and juicy, but if you try to store it right away, it might only last for a while, and you could end up with sprouts or mold. That is where garlic curing comes in. It is like giving your garlic a little spa day before it goes into storage.
Freshly picked garlic is delicate; curing helps toughen the outer layers, like creating a protective shield. If you try this process, you will notice that your garlic will become more stable for storage. You can keep it in your kitchen longer without worrying about it worsening.
Want to learn how? Scroll down into our questions and answers section.
Harvesting And Storing Garlic
To have a fresh garlic harvest, you must ensure the garlic bulbs are fully formed with tight, firm cloves. Ready to harvest garlic are the ones you notice that the leaves are turning brown. You can also tell it’s harvest time when the garlic leaves start turning brown and falling over.
When choosing garlic at the market, you can also tell it is fresh by its smell. If you catch a strong garlic aroma, it is a good sign that the bulbs are okay and flavorful.
Curing and storing garlic are different things but essential for preserving the garlic. Prepare your garlic for storage through the curing process, where you will place your garlic in a cool, shady spot with good air circulation and normal humidity. You also have to ensure it is completely dry and papery on the outside, where the stems should feel crispy.
What Are Garlic Scapes?
Garlic scapes are those curly, green shoots that grow from a garlic plant. They look like long, swirly green beans with a twist. These scapes appear above the ground and come from the same plant as the small garlic bulbs we use in cooking.
While some people cut them off because it makes the bulbs look bigger, some use them in recipes, like salads, stir-fries, or even to make yummy garlic scape pesto. It is one of the benefits of growing garlic on your own; there is no need to buy garlic scapes, plus all the garlic is cured for more extended storage.
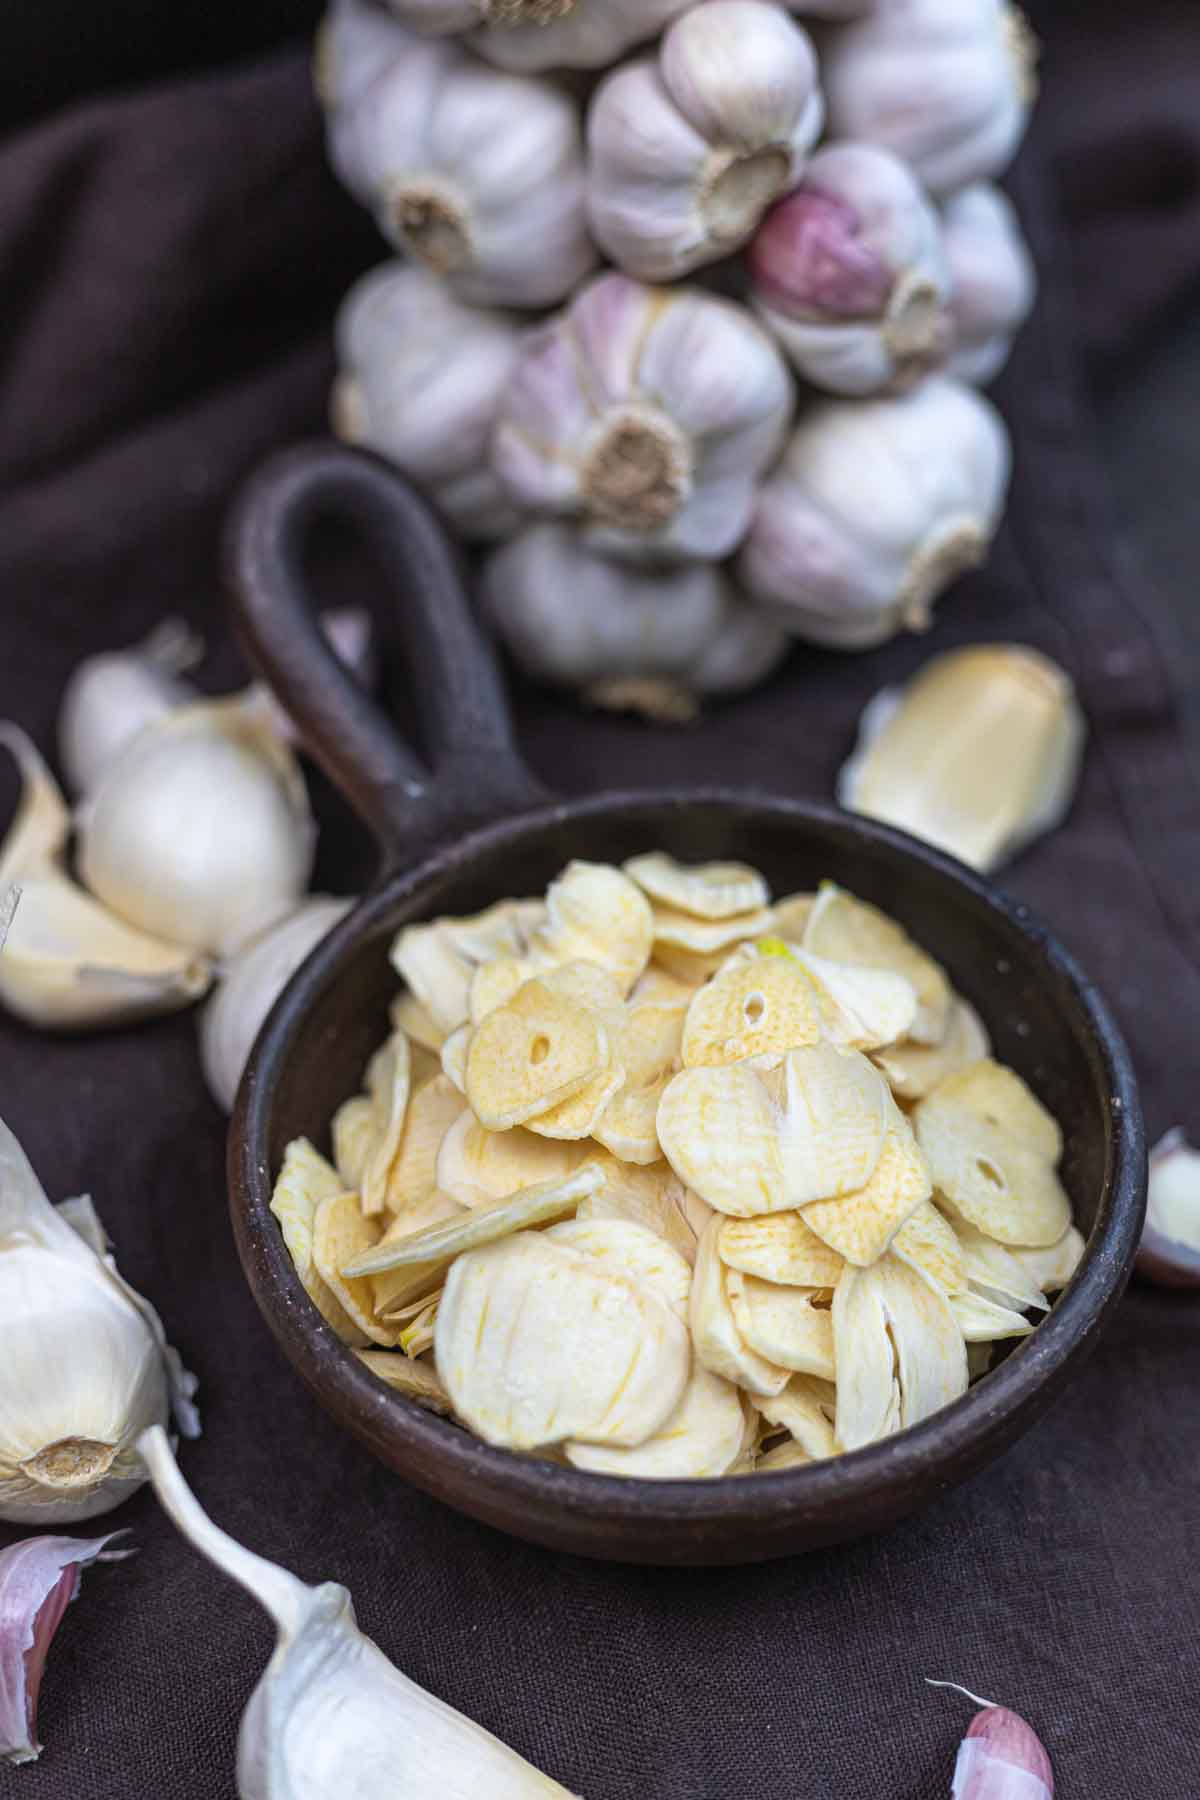
Things To Consider Before You Buy Garlic
- Variety – explore different varieties to find the flavor that suits your preferences.
- Freshness – choose bulbs that are firm and plump. Fresher garlic tends to have a more robust and more vibrant flavor.
- Size – while larger bulbs are not necessarily better, try to choose bulbs that are medium size.
- Skin Condition – the outer skin of the garlic should be dry and papery.
- Aroma – smell the garlic when you buy it, and if it doesn’t smell like garlic or has a musty odor, it might not be that fresh.
How To Make Dried Garlic Using Fresh Harvest Garlic Bulbs
Let me introduce you to the process of drying garlic to preserve it and use it for various dishes or recipes. It is a must-have in every kitchen pantry as it can make any dish presentable and more flavorful. Let’s start making it!
If you plan on drying a large batch, I suggest buying garlic braids available on the market as they are cheaper and cured evenly.
Kitchen Gadgets Needed:
- Dehydrator: The main and easiest gadget you can use for drying garlic or any veggies and fruits.
- Plastic Insert Silicone: It is essential for keeping the garlic pieces aligned.
- Small Spray Bottle: Ideal for oil sprays to prevent ingredients from sticking onto the dehydrator.
Ingredients Needed:
- Fresh Garlic Cloves: Opt for organic ones if possible and ensure no molds or soft spots.
- Olive Oil: A touch of olive oil on the dehydrator tray will prevent the garlic from sticking.
*Exact measurements are listed in the recipe card below.
STEP-BY-STEP INSTRUCTIONS FOR DRYING FRESHLY HARVESTED GARLIC
First Step: Prepare Your Garlic Bulbs
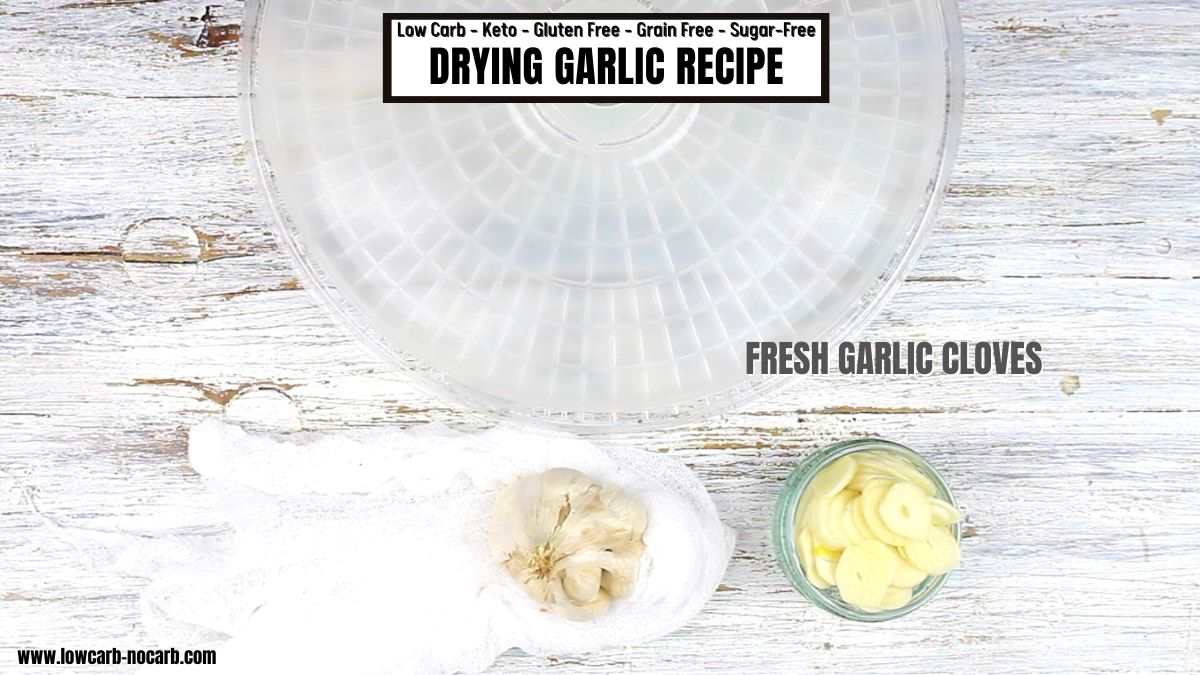
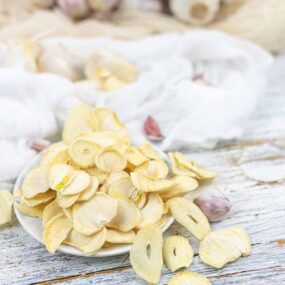
The first thing to do is peel and separate the cloves from the bulb. Slice them thinly so they will dry quickly.
Second Step: Spray Olive Oil
If you use a round dehydrator with lots of holes, you might need a plastic insert silicone, which is a big help for laying out the garlic.
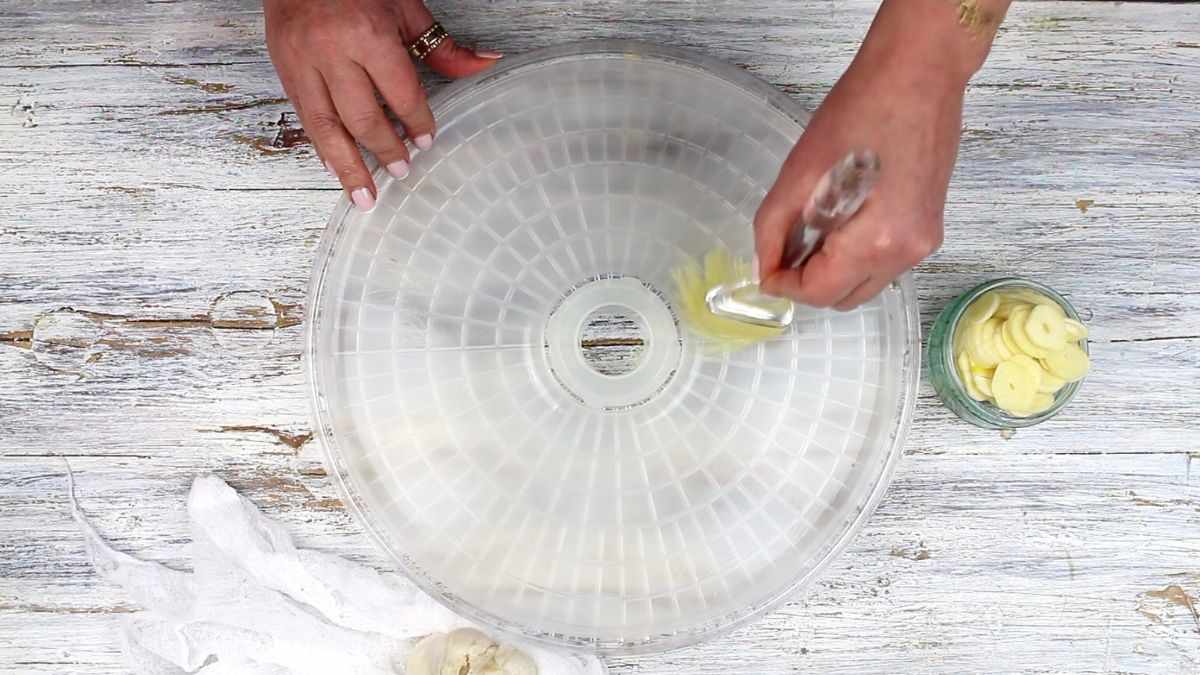
Spray a small amount of olive oil onto the surface and spread it around the tray using a kitchen rubber brush. It will prevent the garlic from sticking to the dehydrator and can even add extra richness to the dried garlic.
Third Step: Arrange On The Dehydrator Trays
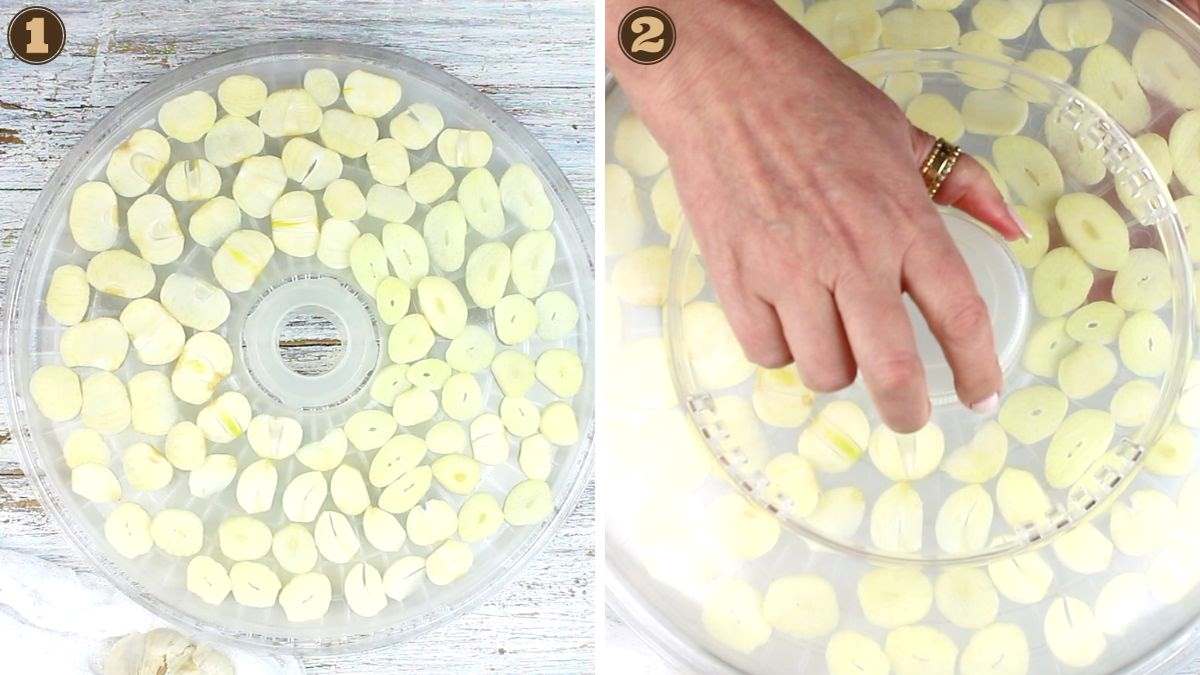
Spread out the garlic slices evenly on the trays with the plastic insert. Make sure to make space in between each piece for proper airflow.
Set the temperature to around 160° Fahrenheit or 70° Celsius, depending on the dehydrator you are using.
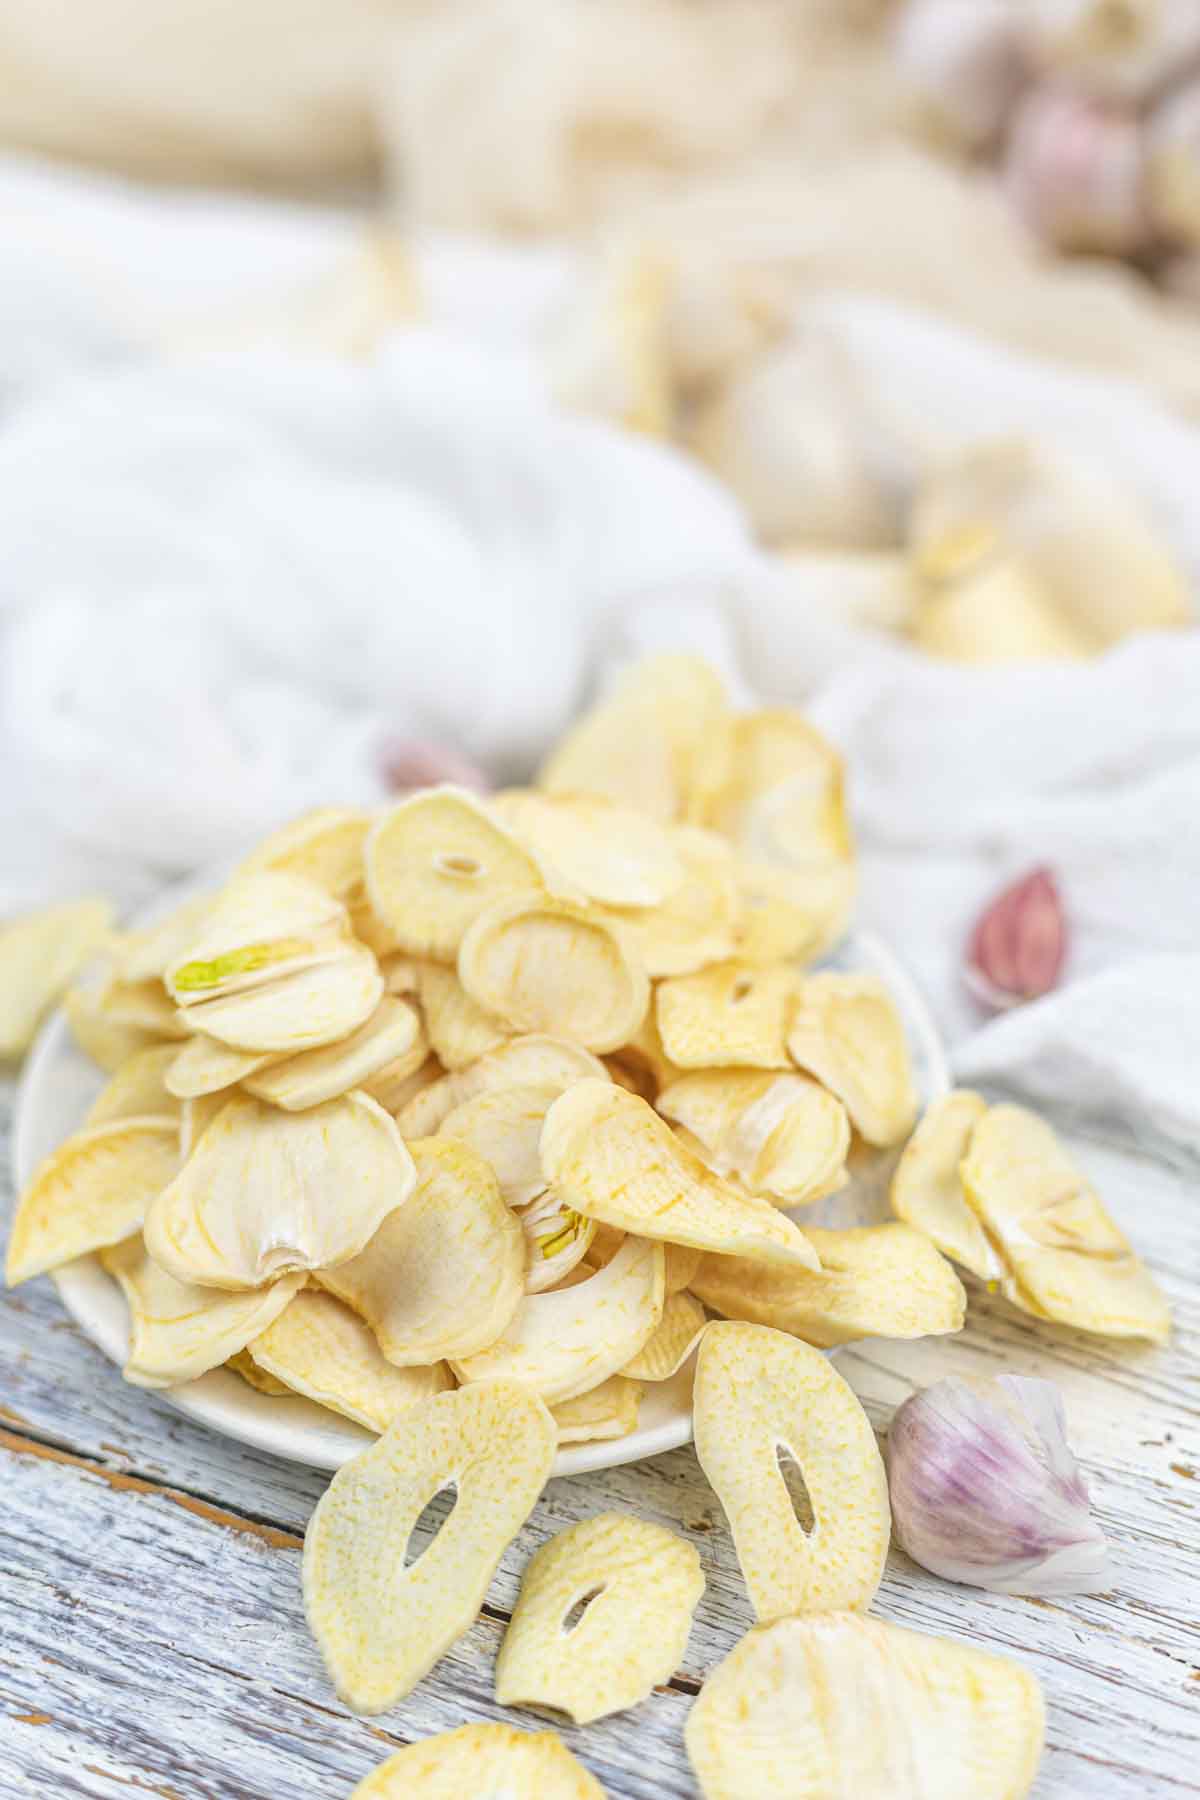
Dehydrate for 6-8 hours until thoroughly dried and brittle.
TIPS AND TRICKS:
- Thin slices – Slice the garlic cloves to the same thickness as it makes them even when drying and prevents some pieces from becoming overly crispy while others are not.
- Plastic insert silicone is crucial if you often use the dehydrator as it can hold the garlic or any ingredient and will not fall from the tray.
- Salt – optionally, you can sprinkle a pinch of salt over the garlic slices before dehydrating as it can act as a natural preservative.
- Rotate trays – if your dehydrator does not have airflow, consider rotating the trays occasionally for even drying.
FREQUENTLY ASKED QUESTIONS AND ANSWERS
What To Serve With Dried Garlic?
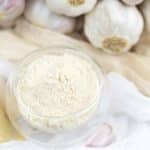
You can create your custom homemade spice blends by combining dried garlic, garlic powder or granulated garlic with herbs like rosemary, thyme, and oregano. Try enhancing your favorite soup recipes by sprinkling dried garlic for a better taste and flavor.
If you are watching many cooking videos on the internet, you must have seen that you can combine dried garlic with olive oil for a perfect infusion that you can use for drizzling over salads or farmer’s bread.
How To Cure Garlic?
Curing garlic is a simple process that involves preparing harvested garlic for long-term storage. You will know when it’s time to harvest, typically in late spring or early summer, and that is the time you can cure your garlic. After harvesting, clean off the excess dirt and allow for air circulation, as garlic is best with a good airflow during the curing process.
Allow the garlic to air dry for several weeks or as long as possible. The garlic is ready, and the curing is complete when the whole garlic bulb dries on the outer part.
What Are The Signs That The Garlic Is Cured?
There are a few ways to cure garlic, and the results are almost likely the same. Having crispy garlic on the outside skin is one of the signs of it being cured. Garlic doesn’t go soft, so if you encounter garlic having soft spots, it is a sign of bad curing.
Dried garlic’s storage life can last long if you store it properly. You can keep your garlic in a cool, dry place and seal it in an airtight container, such as a jar or a plastic bag, as dried garlic can maintain its flavor for up to a year or even longer. Garlic can be stored in your pantry or a cupboard away from direct sunlight and moisture for a longer storage.
More Dried Recipes
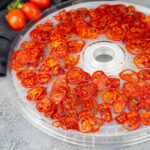
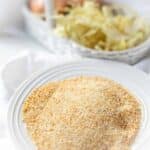
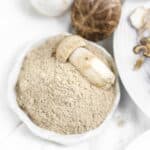
Discover more of our dried recipes from the food dehydrator. These recipes are perfect to store in your pantry at any season. If you have yet to try making dried pantry staples, you should make these dried onions for a different experience. We also have a recipe for dehydrated mushrooms if you want more umami flavor.
Try making cucumber chips as a side dish and dehydrated broccoli for your rice dishes. Explore dehydrating low-carb vegetables; you will be thankful you have them on hand whenever you need them.
Pin For Later
Need Support or have Questions? Join our Free Facebook Group.
Follow us on Pinterest, Facebook, Instagram, TikTok, Flipboard, or YouTube.
For weekly New Recipes and a FREE E-Book get into our NEWSLETTER.
Full Recipe With Print Out Option
Thank you for giving us 5 stars
Drying Garlic From Your Harvest
Equipment
Ingredients
- 10 Fresh Garlic Cloves
- Olive Oil
Instructions
- The first thing to do is peel and separate the cloves from the bulb. Slice them thinly so they will dry quickly.
- If you use a round dehydrator with lots of holes, you might need a plastic insert silicone, which is a big help for laying out the garlic. Spray a small amount of olive oil onto the surface and spread it around the tray using a kitchen rubber brush. It will prevent the garlic from sticking to the dehydrator and can even add extra richness to the dried garlic.
- Spread out the garlic slices evenly on the trays with the plastic insert. Make sure to make space in between each piece for proper airflow. Set the temperature to around 160° Fahrenheit or 70° Celsius, depending on the dehydrator you are using. Dehydrate for 6-8 hours until thoroughly dried and brittle.
Video
Notes
- Thin slices – Slice the garlic cloves to the same thickness as it makes them even when drying and prevents some pieces from becoming overly crispy while others are not.
- Plastic insert silicone is crucial if you often use the dehydrator as it can hold the garlic or any ingredient and will not fall from the tray.
- Salt – optionally, you can sprinkle a pinch of salt over the garlic slices before dehydrating as it can act as a natural preservative.
- Rotate trays – if your dehydrator does not have airflow, consider rotating the trays occasionally for even drying.
Nutrition
Disclaimer
Please note that nutrient values are estimates only. Variations can occur due to product availability and manner of food preparation. Nutrition may vary based on methods of origin, preparation, freshness of ingredients, and other factors.
If you are still looking for some Low Carb products, visit our recommended site on Amazon, which we participate in as affiliates. Just click on the image below and all will be revealed.

Dehydrated Food Recipes
Discover the art of Dehydrated Food Recipes and unlock a world of versatile foods to dehydrate perfect for backpacking trips and every pantry needs essentials. Learn how to dehydrate food, dehydrate vegetables and fruits, create essential dehydrated foods, store dehydrated food, and even prepare whole meals that can be conveniently stored and rehydrated with boiling water, all using a food dehydrator.












I love garlic and this idea! I don’t have a dehydrator . . . but am going to see if I can tweak the cook time to suit my air fryer. I’ll circle back to let you know how it goes
Please do let me know. I have never tried it in air fryer, but some have got dehydration method as well.
Its true that garlic does not last long and turns moldy even in the fridge. I had to throw it out. This guide is very easy and detailed. It helped me cure my garlic and keep it for a long time. Thanks for the tips.
I for sure enjoy having my pantry filled with it.
I have a small herb garden at home and I’ve always wanted to try making my own spice blends. So I finally bought a dehydrator last weekend. I can’t wait to try this out!
You are going to have fun dehydrating. Check my blog, I have so many recipes using dehydrator.
Thanks for the tips. I harvested my garlic last week and I gave it a try to dry them. This is quite HELPFUL!
So happy you have tried it.
Well, I think I need to get a food dehydrator. I feel I am missing out. I sometimes grow garlic, but you are right, it doesn’t keep long and I end up throwing some of it away. And, I had no idea about curing garlic. Thanks for the great tips and pictures so I can see your process.
You will for sure have a suply that last much longer.