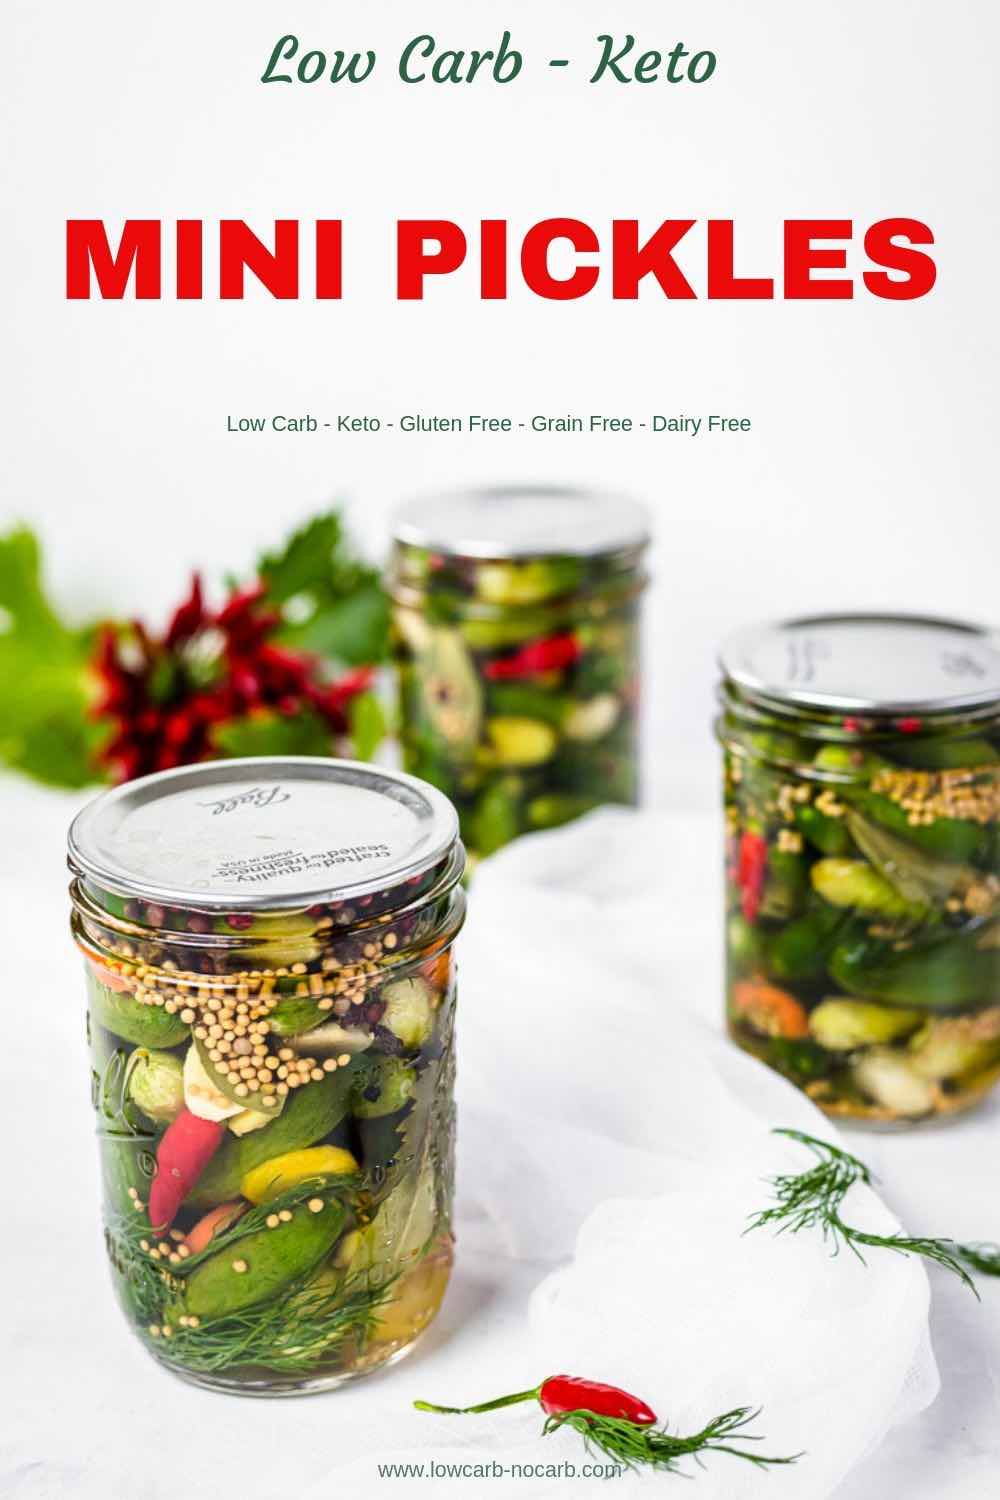
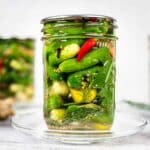
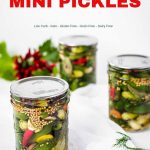
Make a Quick and Easy Homemade Fermented Dill Keto Pickles Recipe that can be stored in Refrigerator and surprises you with a lovely Crunchy Probiotic Tangy Taste. Extra Healthy, Low Carb, and Sugar Free Homemade Pickles are Easy Keto Snacks and can be used for making Pickle Chips or Keto Fried Pickles.
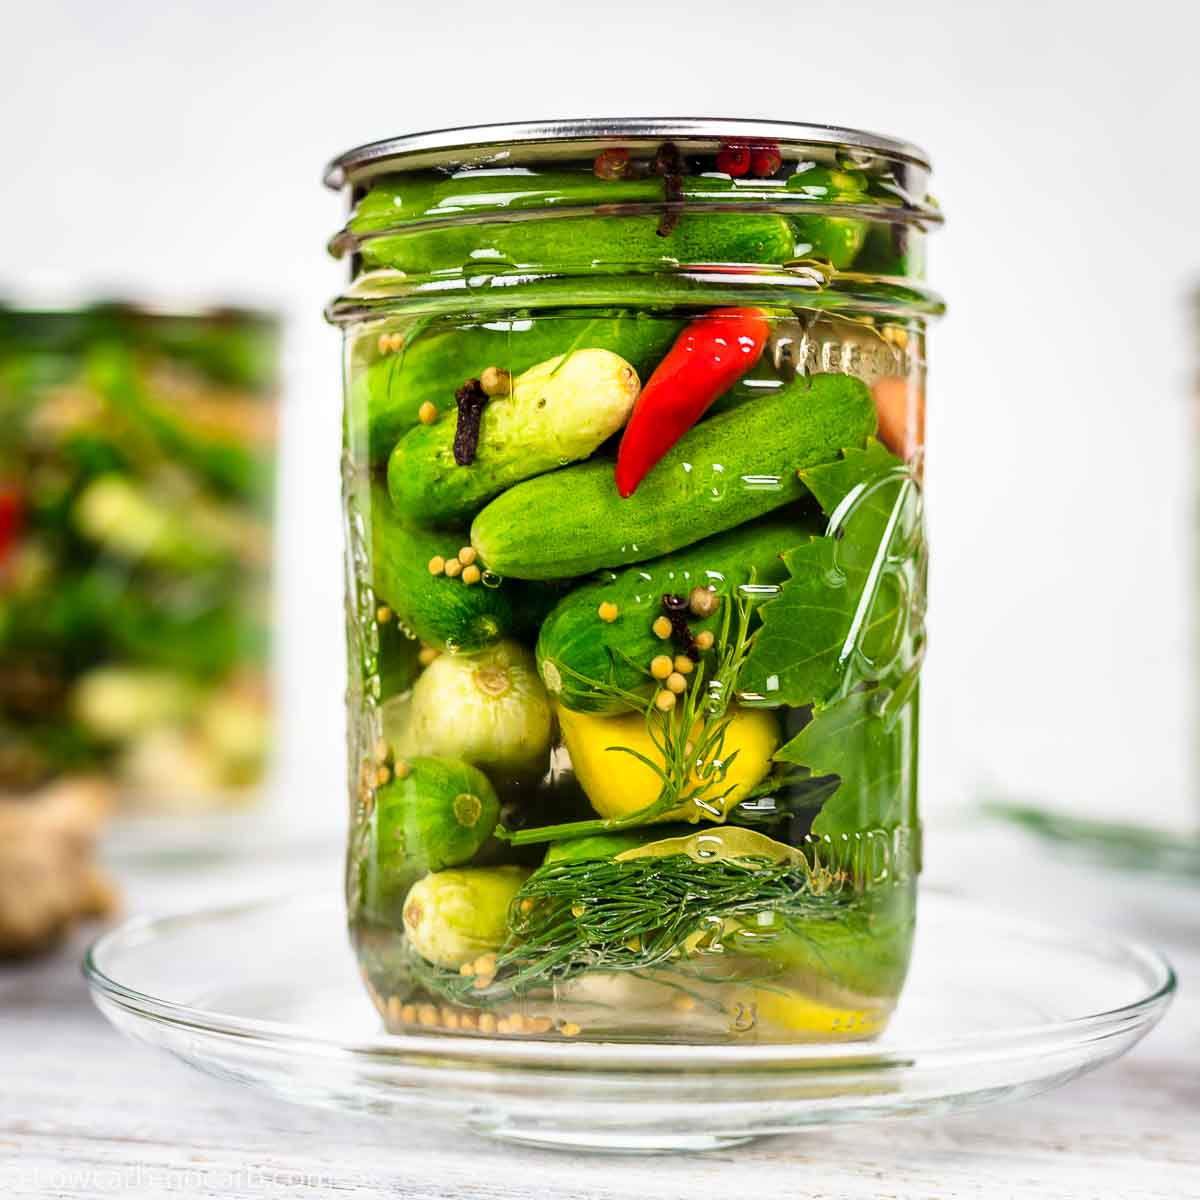
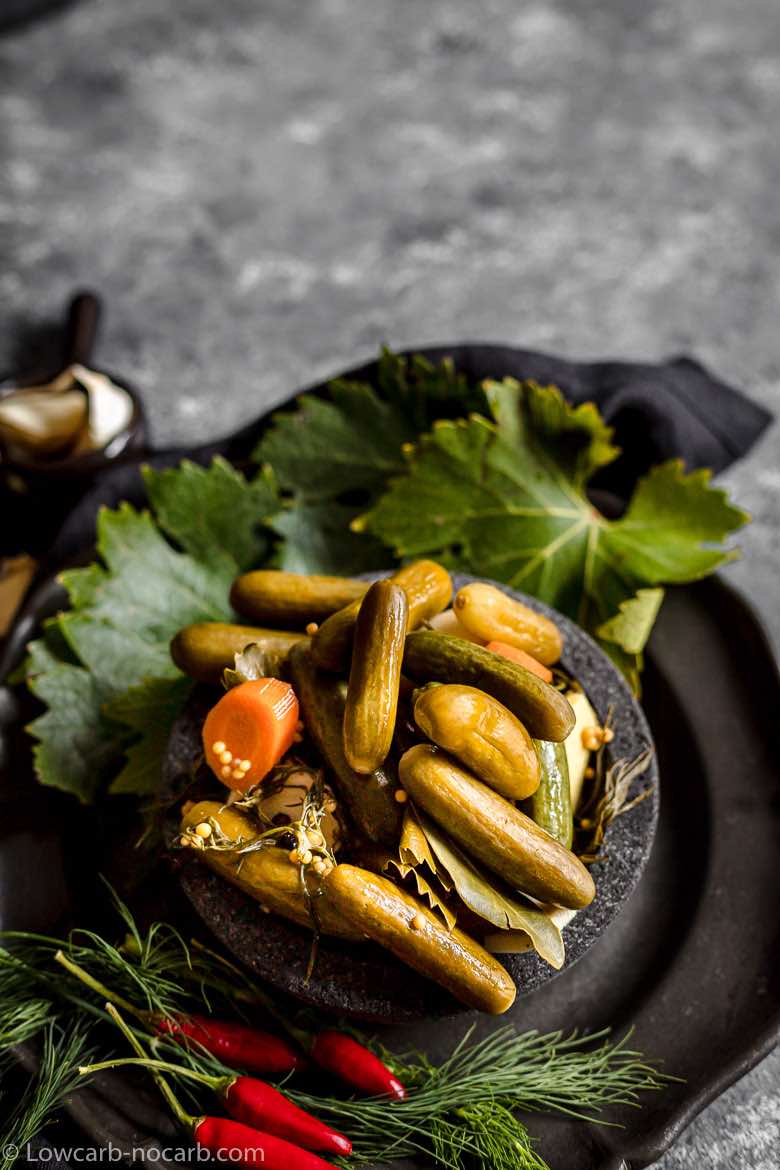
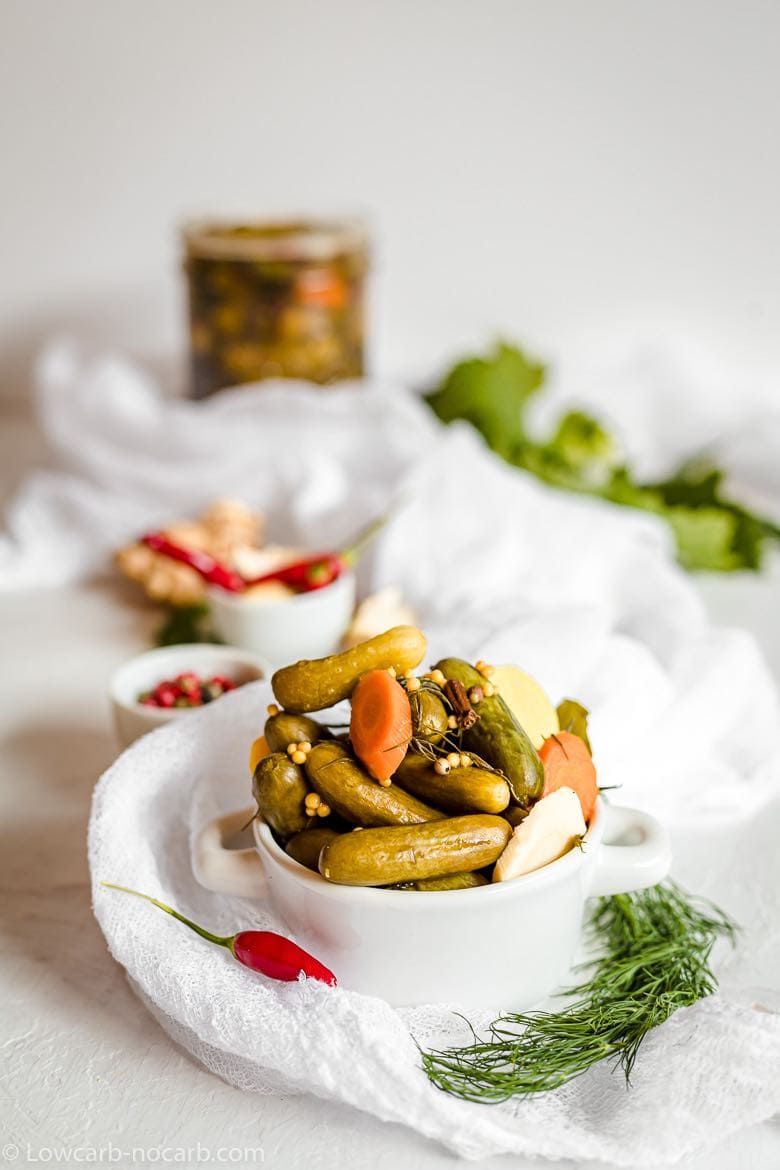
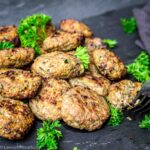
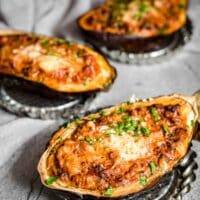
Our kosher pickled cucumbers, made with salt brine and flavored with dill, garlic, mustard seeds, wine leaves, ginger, and carrots, can be served with any dish you desire. For example, spider web eggs, burger mini bites, spinach salmon roulade, delicious sauerkraut casserole or stuffed eggplant are great ideas.

Pickled keto recipes
We all know how popular and healthy fermented or pickled food is.
We use sauerkraut pretty often in our dishes. If you are interested, look at our sausage sauerkraut soup or sauerkraut chicken dish as an example.
To add to the healthiness, look at our ginger turmeric energy shot which is great to make from time to time to boost our immune system, or pickled daikon and Korean pickled radish made with white vinegar if you are a pickle fan.
What vegetables can you ferment?
Fermentation or foaming is a great healthy way of storing and preserving vegetables, especially during winter when our garden does not reward us with so much fresh produce. You may ferment almost any kind of vegetable, from carrots, green beans, broccoli, garlic, sauerkraut, beets, cauliflower, you name it.
If you have never made dill pickles because you thought they were challenging to make, read further – you are in the right place.
Homemade pickles story
My mum has made pickles every single year since I remember. I thought those were extremely difficult to make because of how much effort she used to make while preparing them.
She never made just a few jars but straight cucumbers from 10-15 kilos. Always uses the biggest glass container. She filled the whole kitchen with all the ingredients. And just the look of it made it hard.
We all love pickles. And once done, we enjoyed them for breakfast – lunch, and dinner. All the time. Every time. Until they were all finished. Even when you wanted something to snack on, you picked a few gherkins and were satisfied.
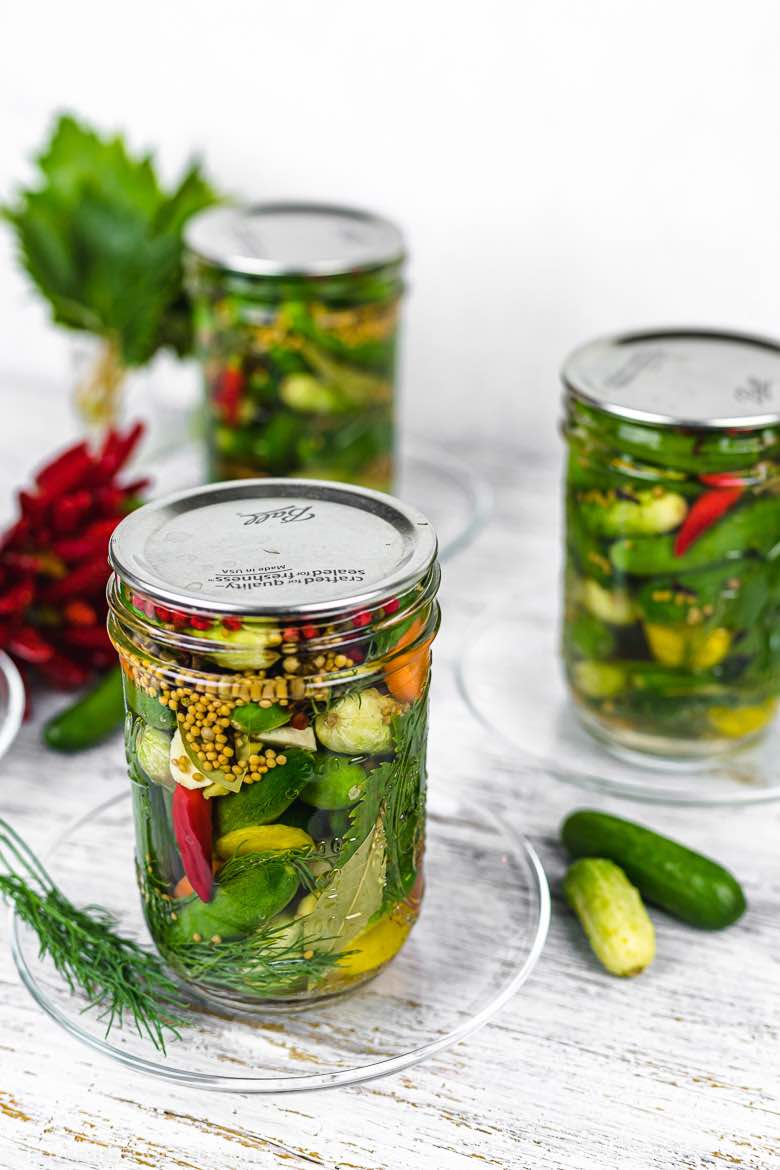
Homemade keto pickles
As I was not planning to visit for another month, my experience started. This year, my daughter joined in helping and has loved them since. I even brought one huge jar, like 5 liters, home for us to enjoy, which was gone in less than two days.
I went to the shop and saw a beautiful cute mini cucumber. The first thing that came to mind was pickles. I bought all the packets they had. Had the cucumbers at home but had no idea how to make them. I called my mum to explain to me how, and I went to do a trial run.
And I did it on the first run. They are perfect and yummy, and my daughter loves them. So if I made them, you definitely can.
They are.
Using saltwater brine as a base, you achieve Lacto-Fermentation. Salt brine helps friendly lactobacillus bacteria to foam the cucumbers and, at the same time, produce lactic acid. Some people call them also probiotic pickles.
It depends. Some store-bought brands of pickles contain added sugar in the brine. They must be appropriately examined on what ingredients or added sugar is involved. If you make our recipe, I assure you you will get the best keto gherkins. And making those beautiful baby pickles is just a dream come true in a few easy steps.
Are pickles keto friendly?
Some pickled vegetables are sweetened with sugar or corn syrup. They are entirely keto as long as they do not contain sugar, which is not in this recipe. In our lifestyle, you make sweetened pickles using one of the sweeteners as a replacement. Same as I made with our pickled daikon.
There are no carbs involved apart from those cucumbers. And cucumbers are vegetables with one of the least amounts of carbohydrates and a very low glycemic index. So no worry here. Enjoy them any time of the day.
How many carbs are in easy keto refrigerated pickles?
Taking our recipe into consideration regarding nutritional information, one whole jar contains a total of 9 carbs, out of which 3 grams are fiber.
The whole glass to get 6 grams of net carb count is perfect. As for a portion, you will use only a few pieces.
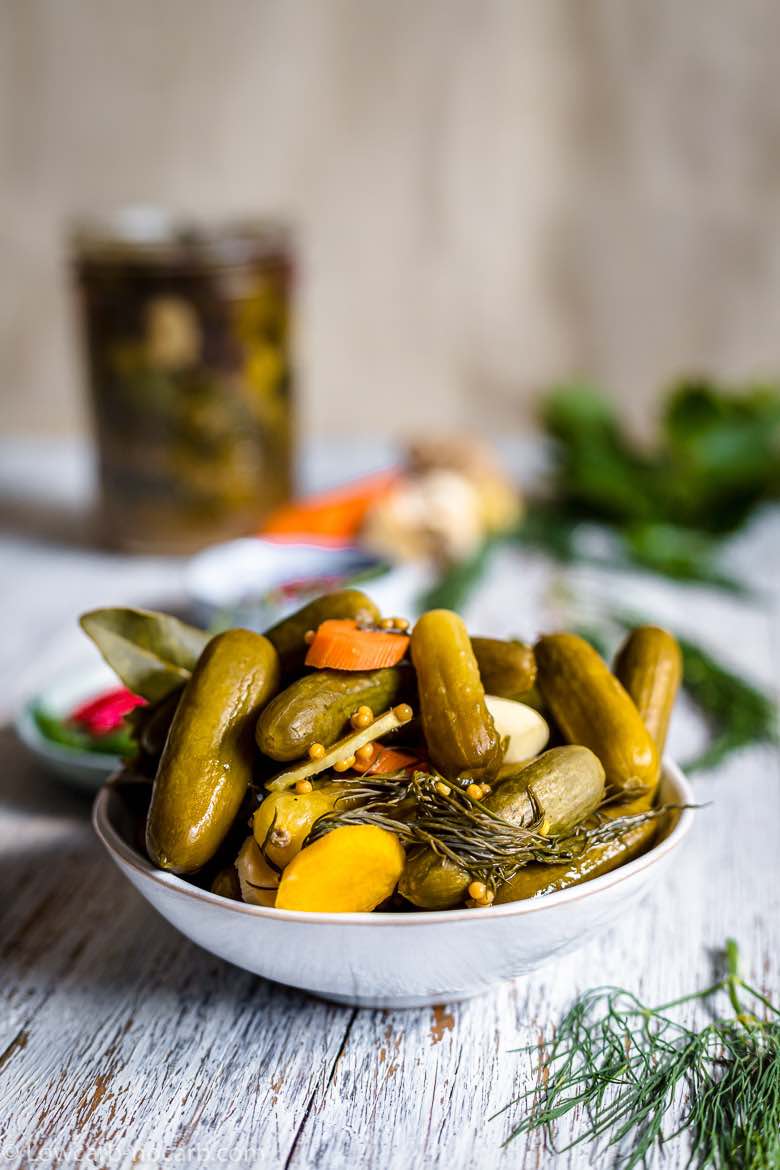
What types of cucumbers are suitable for fermenting?
It depends on what you like. Any cucumbers work as long as you keep checking them while pickling. We do like those tiny mini cucumbers because of the size bite.
But you can get Persian cucumbers, English cucumbers, or bigger ones, especially if your garden is full-grown. Make sure that you use a similar size of cucumbers for each glass.
Also, if you plan to make dill pickles from big cucumbers, ensure you get much bigger glass containers and always slice the cucumbers vertically from both sides. This way, the fermentation process gets faster, and you will be able to enjoy them in no time.
An option could be to cut the ends off the cucumber. Slice cucumbers or cut them into spears to make pickle spears for pickling if they are too long to fit into your glass.
Easy refrigerator pickles recipe
Let us dive into the few steps you need to follow to get easy to make lacto sour pickles.
What do you need to make keto fermented pickled cucumbers?
I am writing up all the ingredients and spices I have used in the recipe. But just in case you do not have some, not a problem.
Dill, salt, and cucumbers are the main part, and their use is super important.
The rest is excellent for additional taste, but if you skip one, it is ok. My mum, for example, told me to get leaves from sour cherries, which were impossible to get in the middle of Vienna, so I just skipped them. The same goes for red pepper flakes.
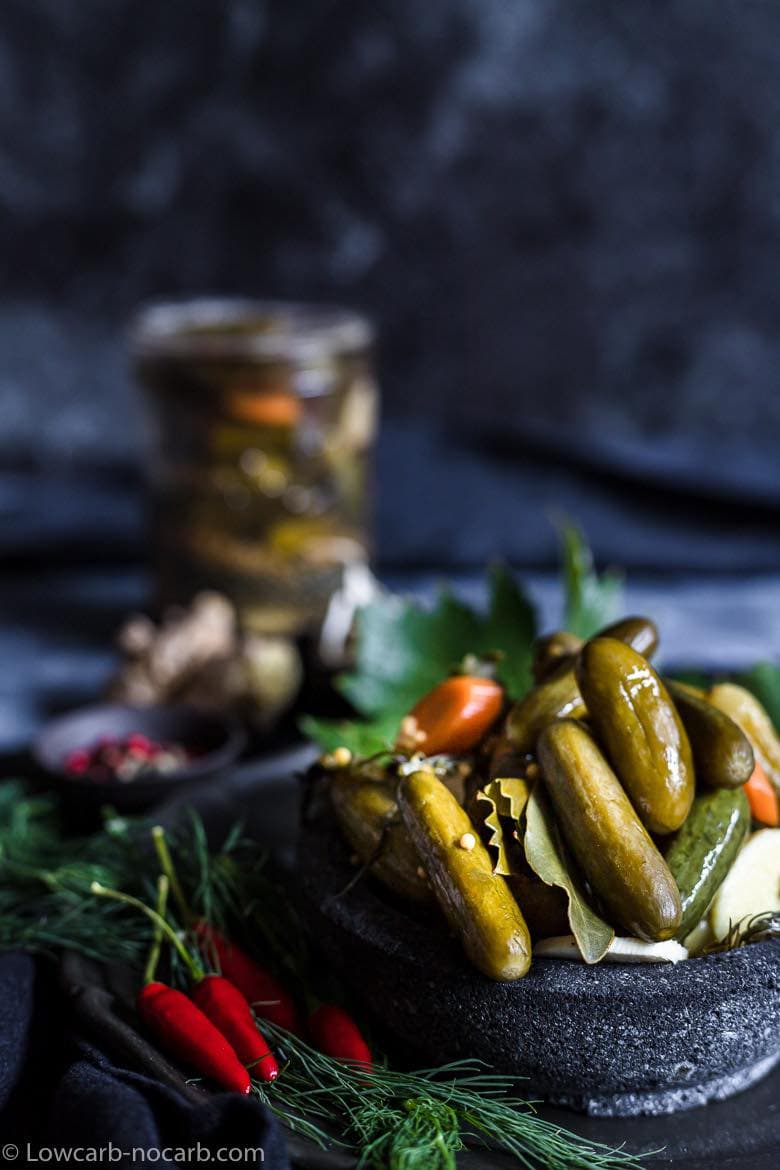
Kitchen gadgets needed
- Cooking Pot
- Mixing jug
- Mason jars
Pickles Ingredients
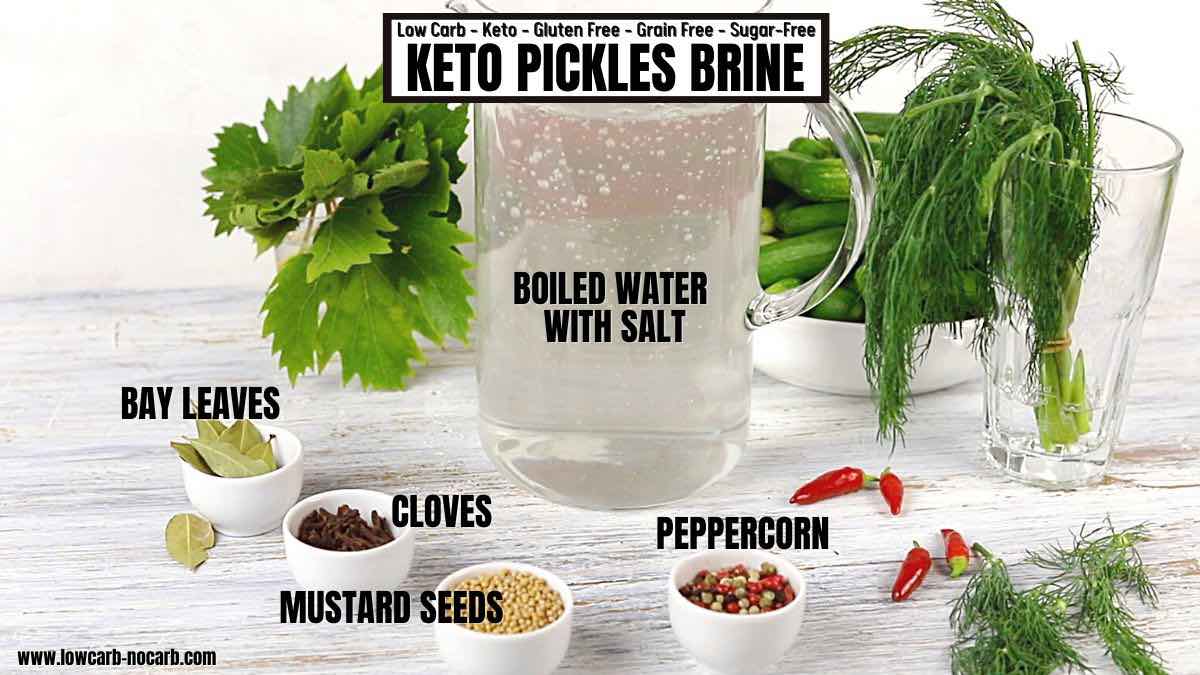
Pickle Brine ingredients
- Peppercorns
- Mustard seeds
- Cloves
- Salt
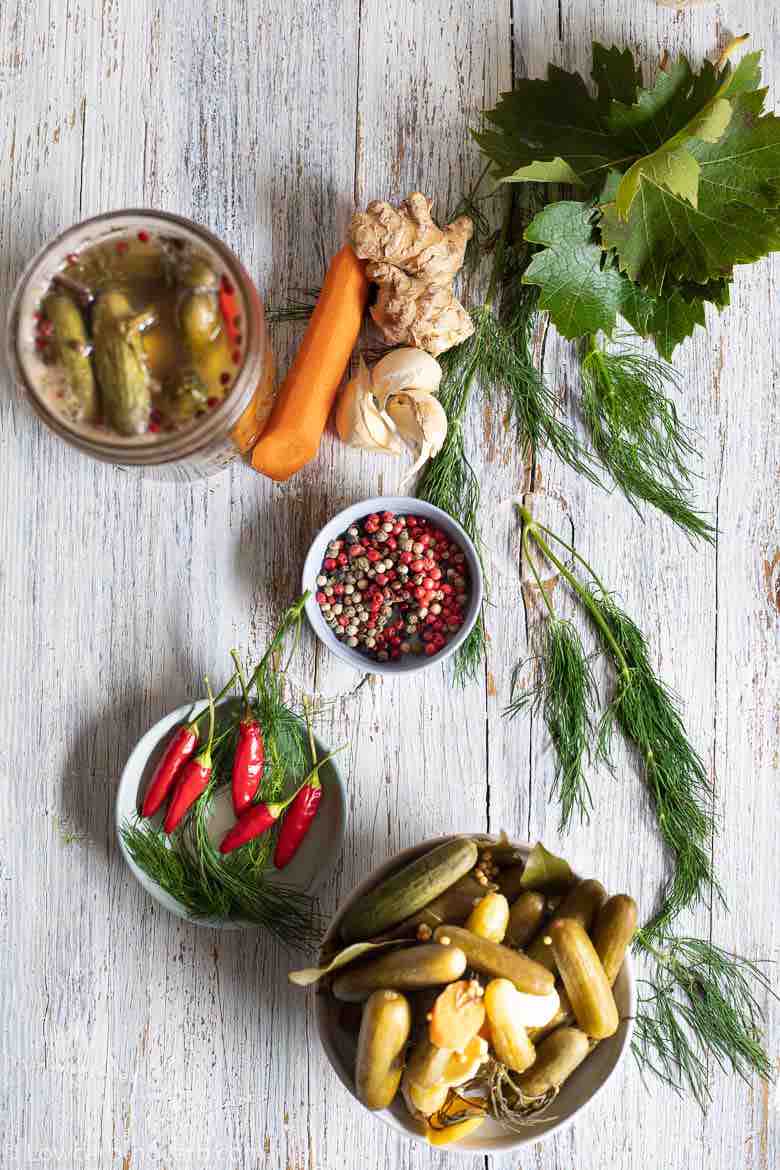
Cucumber Pickles ingredients
- Cucumbers
- Fresh dill
- Dry bay leaves
- Grape leaves
- Garlic
- Carrots
- Parsnip
- Ginger
- Chili peppers
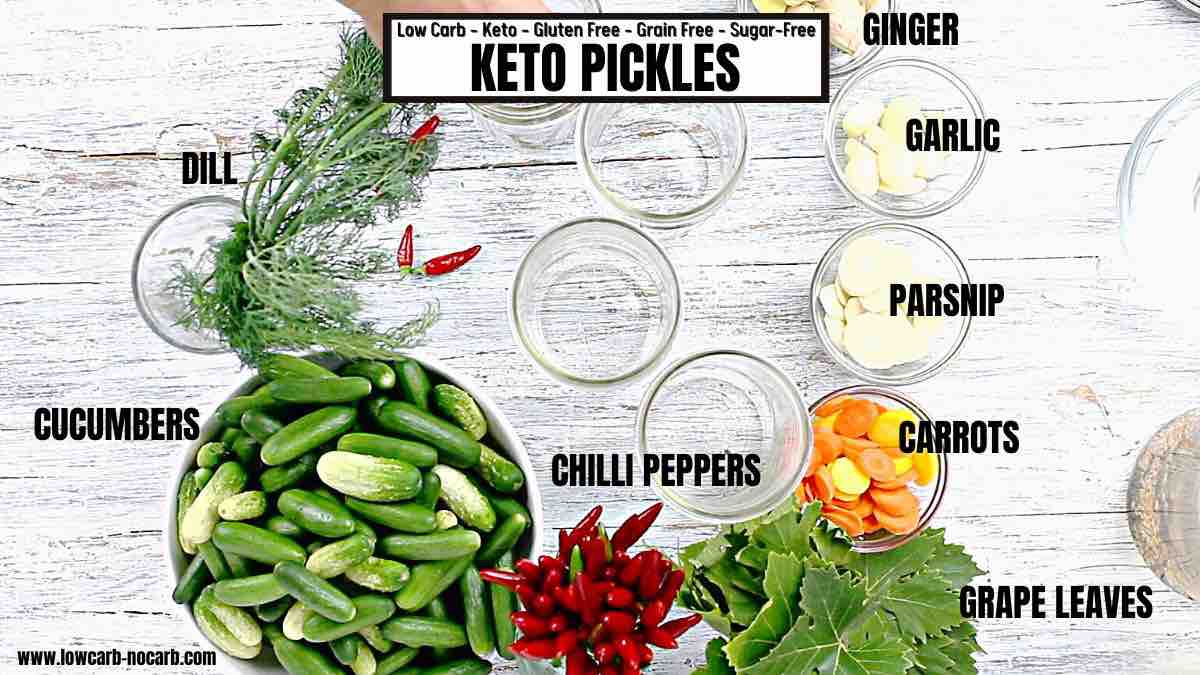
*Exact measurements are listed in the recipe card below.
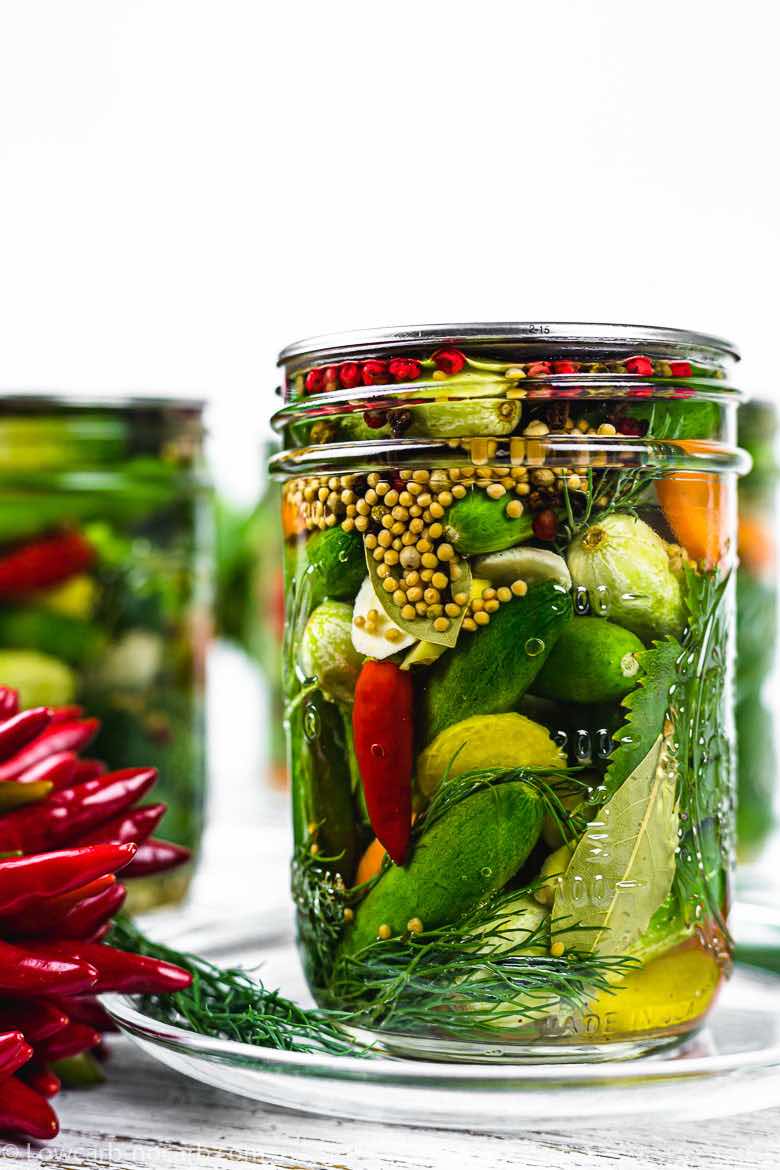
STEP-BY-STEP INSTRUCTIONS TO KETO FERMENTED DILL PICKLE RECIPE
First step: Wash and boil
First, wash all the vegetables and, most importantly, cucumbers. Spread them on a kitchen cloth to dry fully. All of the veggies need to be thoroughly dried once used. Otherwise, the fermentation will not happen as it is supposed to.
At the same time, boil the water, into which you add salt. I usually use a ratio of 2 liters of water – 2 Tablespoons of salt. This will make gherkins salty just right.
Mix the salt in until it dissolves. Switch the water off and let it cool thoroughly. The water does not need to be fully cold. Room temperature or a bit warm is ok.
Second step: Add spices
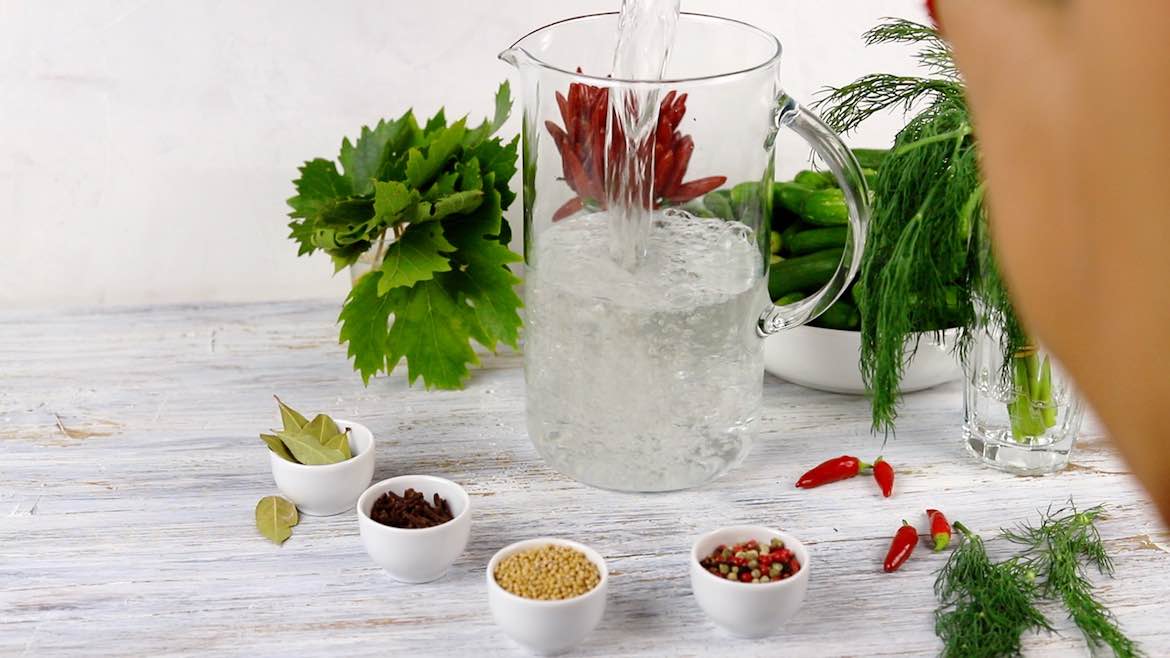
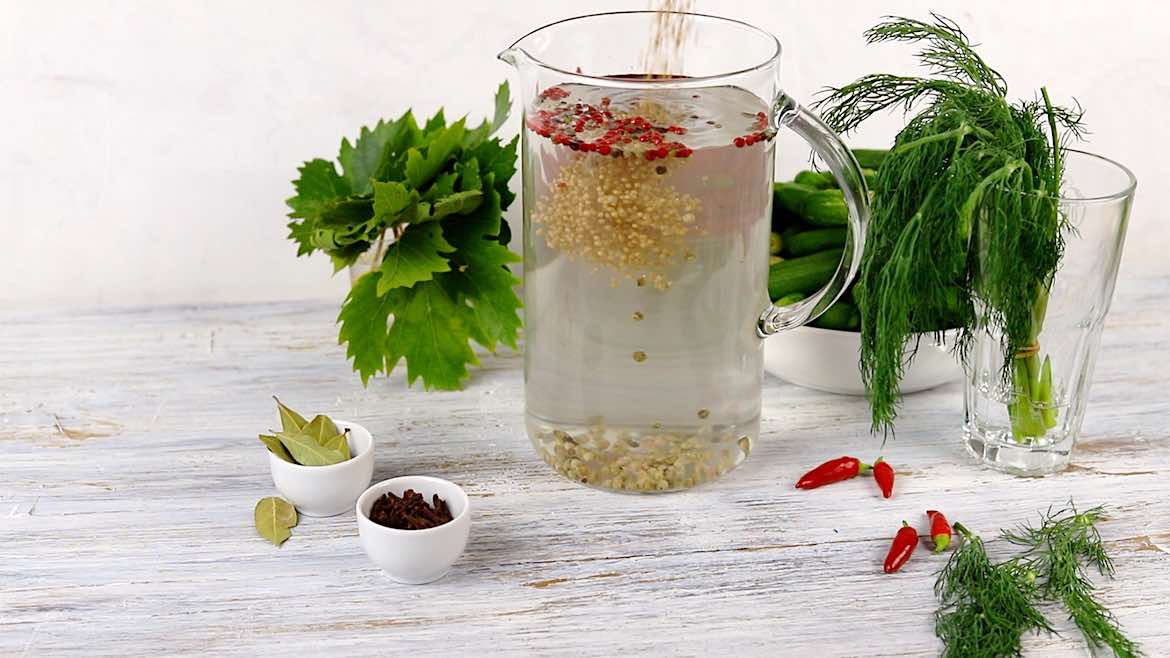
Once the brine is cooled, place it into the jug, from which it will be easier for you to pour it into the Mason jars.
Add peppercorn, mustard seeds, and then cloves.
Mix it thoroughly and set it aside. In the meantime, the water will get lovely flavors from the spices and start the seasoning.
Third step: Mason jars and dill
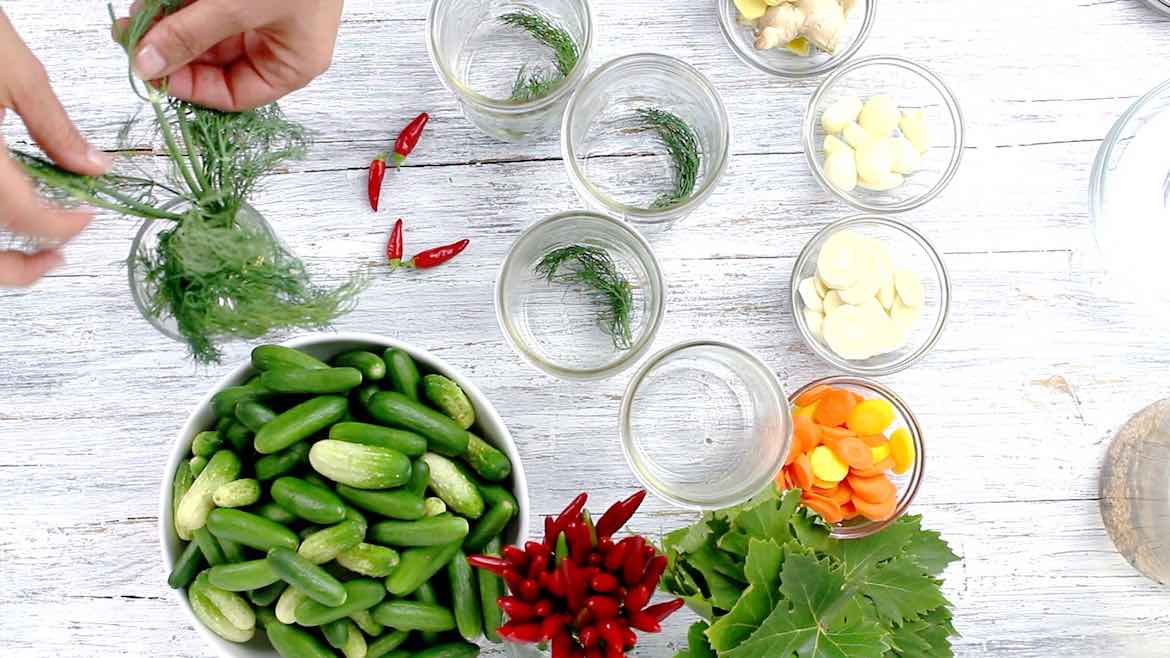
Ensure your Mason jars or any other glass containers you will use are fully washed and dry.
Place them opened onto the kitchen cabinet for you to fill up with goodies quickly.
Start with placing large dill at the bottom of each glass.
Fourth step: Veggies
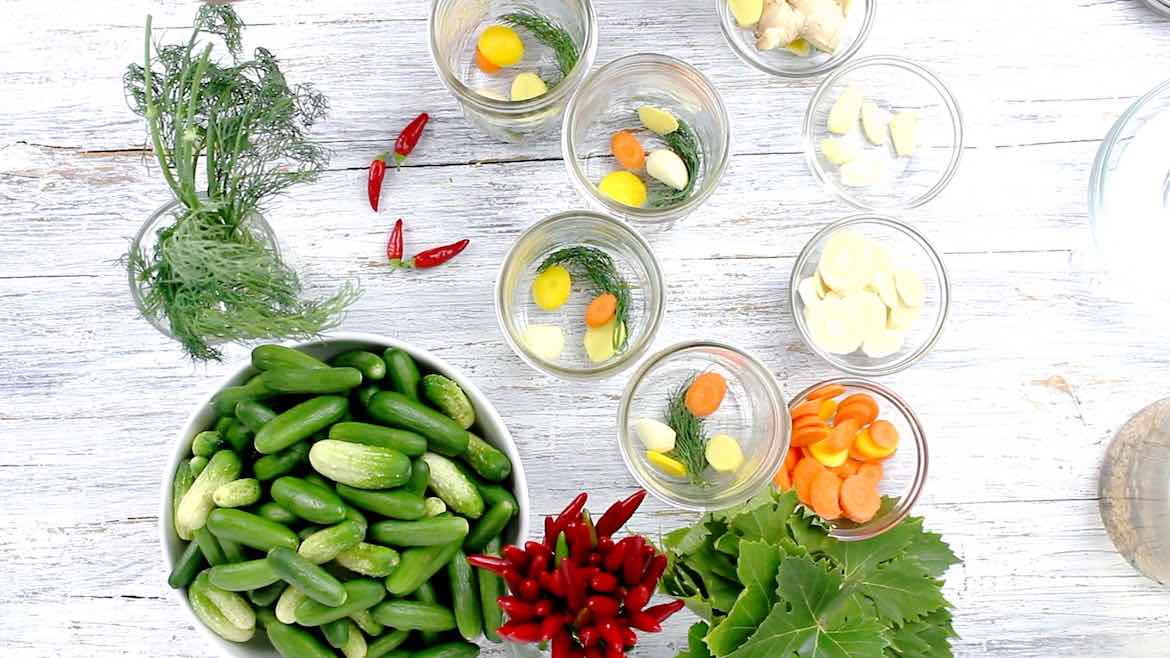
Once your carrots, parsnips, and ginger have dried, cut them into slices. Add a couple of slices inside each jar on top of the bay leaves.
Fifth step: Cucumbers and bay leaves
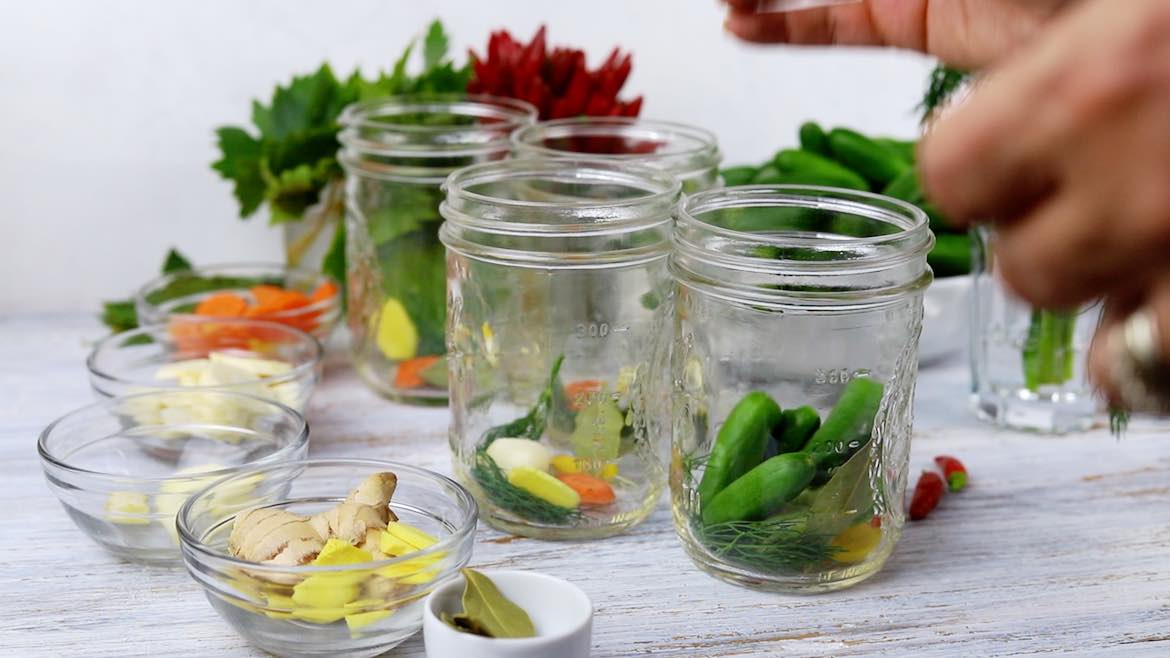
Start by adding a few cucumbers into each Mason jar.
On top of it, add one dry bay leave.
Sixth step: Wine leaves
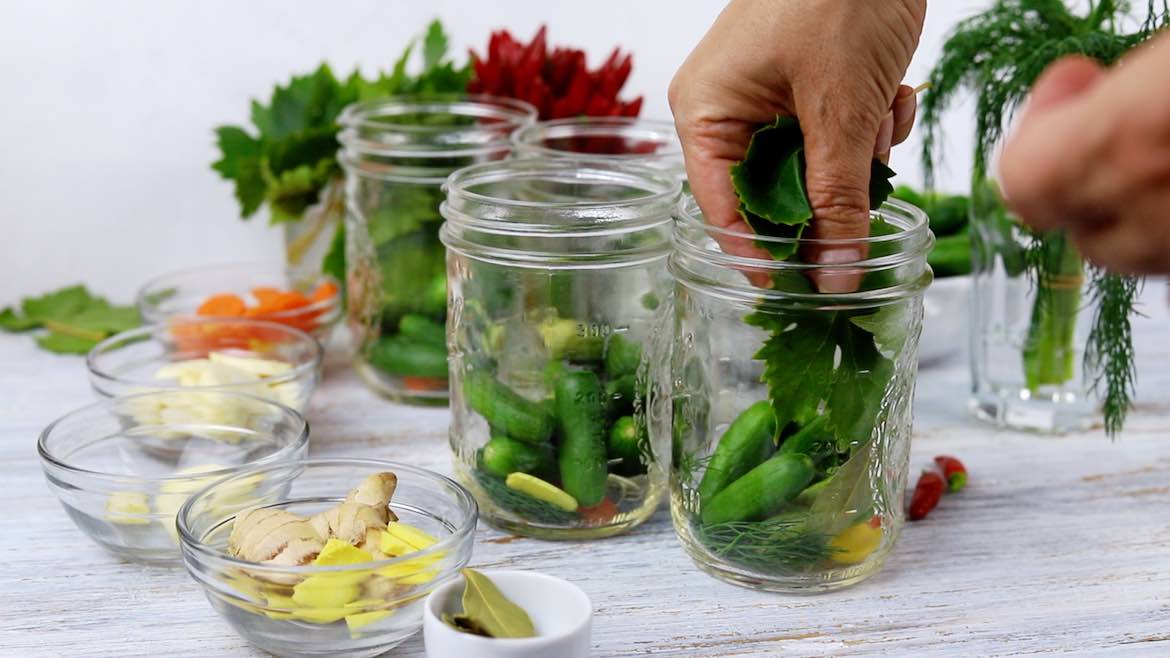
On the side of the glass, add one wine leave into each. This will give an additional flavor to our pickles.
Seventh step: Layer and add chili peppers
Keep layering your Mason jar with slices of veggies, ginger, dill, and cucumbers.
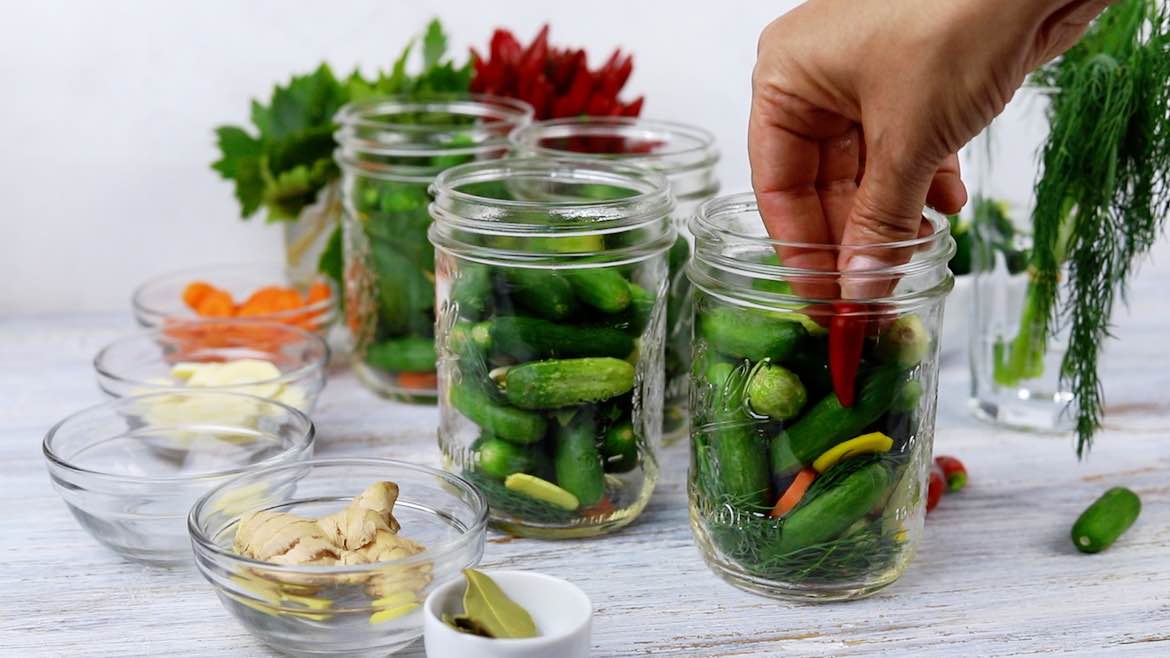
Once the glass is filled to approximately 3/4, add one red chili pepper to each.
Ensure the chili pepper is not opened. Otherwise, you will end up with extremely spicy dill pickles. But if that is what you wish, go ahead.
You can always break the chili peppers at the end for extra spiciness.
Eight step: Brine – water mixture
Finish by adding more cucumbers up to the top of the jar.
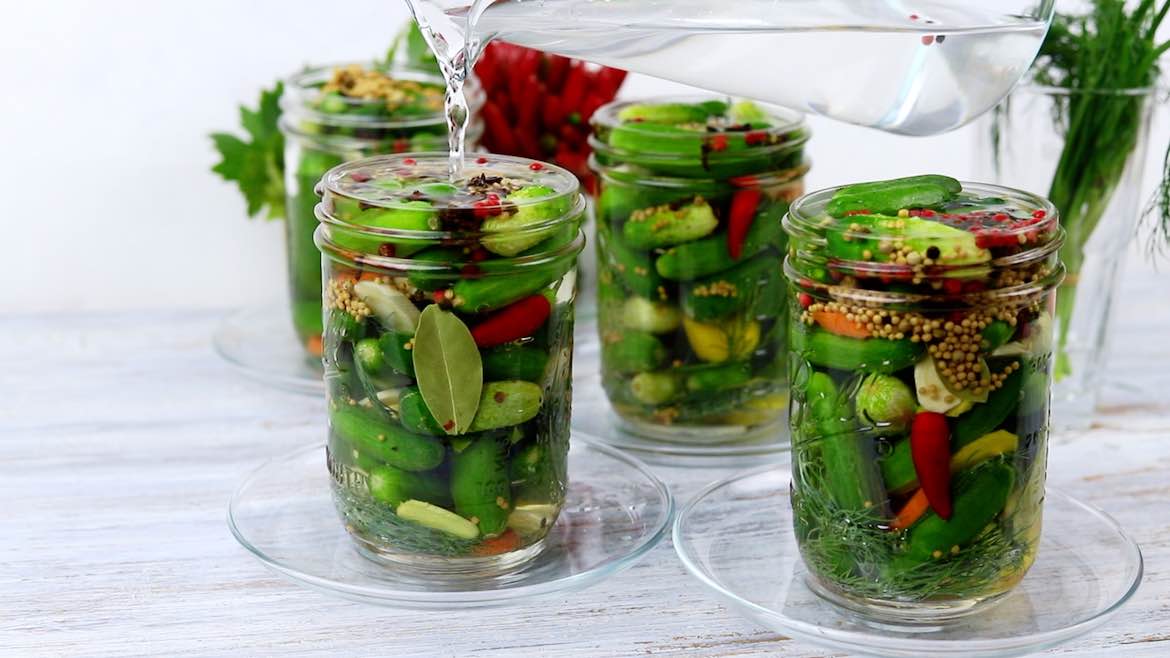
Add the water mixture, which has already been infused with spices, thoroughly. Almost overflowing.
You can not have even a tiny amount of air in. Otherwise, the fermentation will not happen, and your pickles might go bad.
Also, ensure that all of the water’s spices are spread evenly into each Jar.
Ninth step: Cover
With fermentation, some water might come out, preventing your kitchen from flooding. Therefore, once the water is filled, place your glass containers onto a small plate.
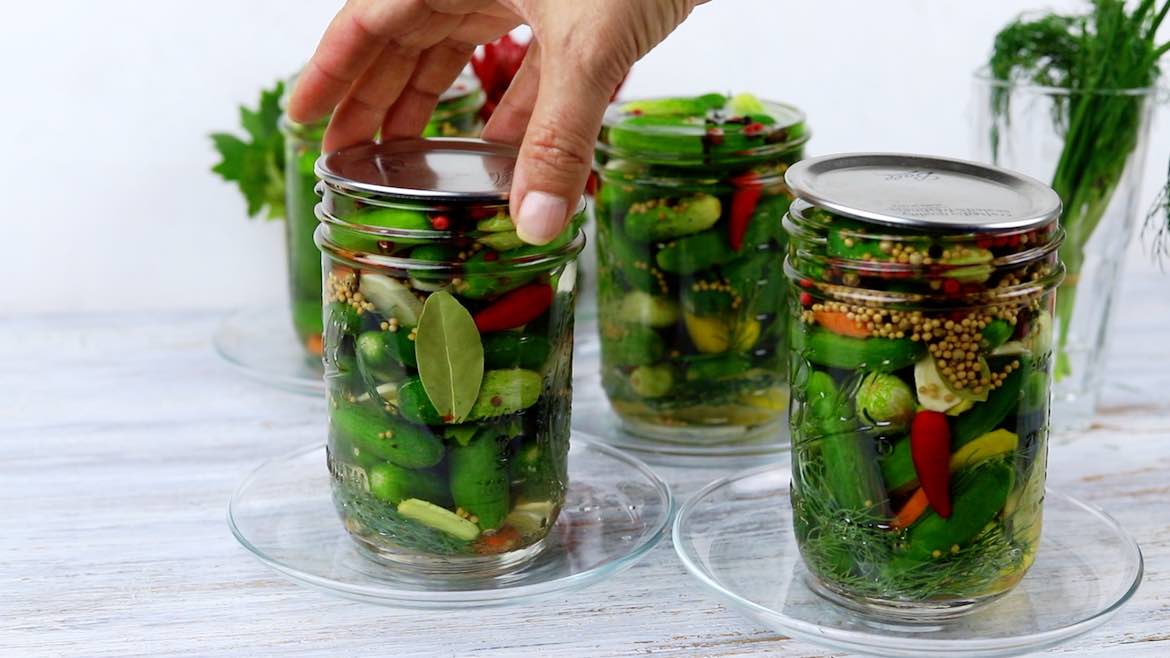
If you are using Mason jars, take the middle of the lid and cover each with the lid. Place the lid on top so you block the air coming in.
If you use any other glass containers, place the cover on just slightly, covering the top. Do not screw it fully to enable fermentation to take process.
Place on a kitchen table or next to the shaded window for approximately 2-3 days.
Tenth Step: Enjoy your dill pickles
The length of the fermentation depends on so many factors. Sometimes it takes only two days. Sometimes they are ready only after four days.
Also, some people prefer them a bit crunchy (less time), and some like them entirely soft and pickled.
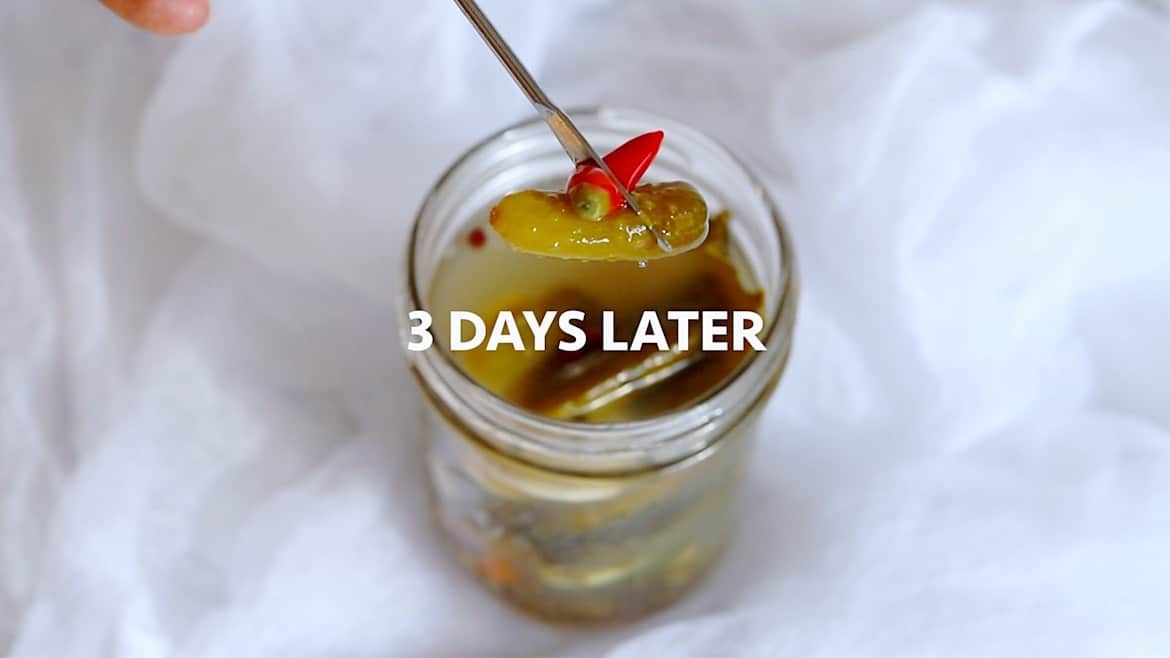
Mine was done in 3 days. After about two days, check for the texture. Always taste the cucumber from the middle. Once you feel this is the perfect texture, close the glasses and place them into the refrigerator.
Once placed into the fridge, the fermentation process will stop, and your keto diet pickles will stay the same for about two months.
This is also the time to decide whether you want them spicy. If yes, take out the chili pepper and cut it into pieces. Place it back and close the lid. Refrigerate for at least a day. This will make the pickles super chili.
Tips and tricks
- Water – Instead of using water as a base, try our homemade whey to help ferment and add some more probiotics.
- Dill – may be replaced by dried dill if not available.
- Salt-water ratio – 2 liters of water – 2 Tablespoons of salt
- Pickle juice – could be used in salad dressing such as our “potato” mayo salad.
FREQUENTLY ASKED QUESTIONS AND ANSWERS
What can you use the low carb fermented dill pickles for?
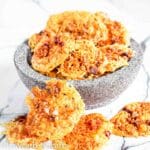
There are so many recipes where you use our pickles with. One of them is, for example, our oven-baked cheese chips, where you cut slices of pickles and add them to the cheese to bake.
You can also slice them and prepare a perfect cucumber chip with them.
They are also a perfect addition to the Halloween evening since foaming veggies are the most popular in September when you are ready to collect all the veggies from the garden and store them for the winter. Our spider web eggs are just perfect to go with it.
Other keto recipes, such as burger mini bites, spinach salmon roulade, or stuffed eggplant goes just right with those yummy pickles.
To get further into the ideas, try making cream cheese pickle wraps or bacon pickle boats stuffed with cream cheese, which I am sure you will love.
How long can you ferment pickles?
It depends on how you like them. The longer you keep them fermented, the softer and more tangy or fizzy they get. We prefer about two and a half to 3 days.
Then they get stored in the fridge. I would suggest at around two and half days, try them every half a day and once you are happy with the texture you like, store them immediately.
Depending on the season, the longer they’ll need to soak in the winter.
Are fermented pickles crunchy?
They are crunchy at the beginning. They still are at about 2,5 – 3 days. But if you leave them fermented a bit longer, they will slowly start losing their crunchiness.
As I have already mentioned, keep tasting them regularly while pickling. Once in the fridge, fermenting stops, and the crunchiness stays.
How to keep fermented pickles crisp?
Adding tannin to the containers works perfectly for preserving the crispiness. This is in most leaves, such as bay leaves or wine leaves, which are added to our recipe.
Also, a great tip is to keep them in a cooler area of your house. The longer the process takes, the crispier they stay.
Can you make cheese pickle chips or keto fried pickles with those?
Yes, and I am just about to make those. Low carb pickle chips are my favorite. Fried pickles with cheddar cheese in a muffin tin is a fantastic recipe. That added shredded cheese on the pickle slices is just yummy. And will make bread and butter pickles as well.
How do you store the keto fermented dill pickles?
Once you close the lid and place it into the refrigerator, it will stop pickling. In the fridge, they last for up to 2 months. I just take a few pieces from the Mason jar, one glass at a time.
How long do refrigerator dill pickles last?
One to two months can be kept in the fridge.
Can dill pickles go bad?
Yes, they may. One reason could be that you have not washed and properly thoroughly dried your veggies and glasses. Another reason is that you have left the fermentation process last too long. This then turns into rotting, and all the veggies go bad.
Can you freeze pickles?
You can freeze them without a problem. I suggest packing them in double layers to protect them against freezer burn.
More keto appetizers
Pin for later
Need Support or have Questions? Join our Free Facebook Group.
Follow us on Pinterest, Facebook, Instagram, TikTok, Flipboard, or YouTube.
For weekly New Recipes and a FREE E-Book get into our NEWSLETTER.
Full Recipe with printout option
Thank you for giving us 5 stars.
Homemade Fermented Dill Keto Pickles Recipe
Equipment
- 1 Mixing jug
Ingredients
- 2 Pounds Mini Cucumbers
- 2 Liters Water
- 4 Tablespoons Salt
- 1,5 Tablespoons Colorful Peppercorns
- 1 Tablespoon Cloves
- 1,5 Tablespoons Mustard Seeds
- 8 Dry Bay Leaves
- Dill
- 4 Grape Leaves
- 4 Garlic Cloves
- 1 Carrot
- 1 Parsnip
- 1 Ginger
- 4 Chilli Peppers
Instructions
- First, wash all the vegetables and, most importantly, cucumbers. Spread them on a kitchen cloth to dry fully. At the same time, boil the water, into which you add salt. I usually use a ratio of 2 liters of water – 2 Tablespoons of salt. Mix the salt in until it dissolves. Switch the water off and let it cool thoroughly.
- Once the brine is cooled, place it into the jug, from which it will be easier for you to pour it into the Mason jars. Add peppercorn, mustard seeds, and then cloves.
- Ensure your Mason jars or any other glass containers you will use are fully washed and dry. Start with placing large dill at the bottom of each glass.
- Once your carrots, parsnips, and ginger have dried, cut them into slices. Add a couple of slices inside each jar on top of the bay leaves.
- Start by adding a few cucumbers into each Mason jar. On top of it, add one dry bay leave.
- On the side of the glass, add one wine leave into each.
- Keep layering your Mason jar with slices of veggies, ginger, dill, and cucumbers. Once the glass is filled to approximately 3/4, add one red chili pepper to each.
- Finish by adding more cucumbers up to the top of the jar. Add the water mixture, which has already been infused with spices, thoroughly. Almost overflowing.
- If you are using Mason jars, take the middle of the lid and cover each with the lid. Place on a kitchen table or next to the shaded window for approximately 2-3 days.
- After about two days, check for the texture. Always taste the cucumber from the middle. Once you feel this is the perfect texture, close the glasses and place them into the refrigerator.
Video
Notes
- Water – Instead of using water as a base, try our homemade whey to help ferment and add some more probiotics.
- Dill – may be replaced by dried dill if not available.
- Salt-water ratio – 2 liters of water – 2 Tablespoons of salt
- Pickle juice – could be used in salad dressing such as our “potato” mayo salad.
Nutrition
Disclaimer
Please note that nutrient values are estimates only. Variations can occur due to product availability and manner of food preparation. Nutrition may vary based on methods of origin, preparation, freshness of ingredients, and other factors.
If you are still looking for some Low Carb products, visit our recommended site on Amazon, which we participate in as affiliates. Just click on the image below and all will be revealed.
Keto & Low Carb Camping and Grilling Recipes
Easy Keto and Low Carb Recipes for your Camping trip, grilling with friends, or hosting a backyard BBQ. They’re simple to make and completely Grain-Free, Gluten-Free, Sugar-Free, and suitable for Diabetics.










I love fermented foods since they are so important for gut health! Cannot wait to make this myself!
Those are really super crunchy and delicious
My kids are going to love these! They’re pickle fiends. Haha.
Oh, I am happy for them already. My daughter loves them big time
It really is super delish
I love a good pickle! Funny, I never did before keto, too! These look amazing!
Worth giving it a go Heather.
These pickles look so simple and yet so yummy!! Excited to try them with the abundance of cucumbers!
Perfect fermented food for all.
Here they are! The gorgeous pickles you were telling me about. I love pickles and they are so very low in carbs! I’ve never made my own pickles at home before, but your video and step by step instructions have inspired me to give it a go!
Try it. It is pretty easy. Much easier then you think.
I love any kind of fermented or pickled veggie and I love all the flavors you pack into these!
They really are delicious
I like the idea of the chili in there . . I’m a spicy pickle fan! Thanks for sharing
The chili is just perfect. And if you do not cut it, it still stays not spicy. Depending on your taste, after fermenting you can decide how much will you cut from the chilli to have your pickles spicy.
These are SO cute and lovely!! Such a fun and special seasonal recipe!
They are out of this world Megan. Worth making some.
LOVE pickles! Im always hesitant to buy them because most store bought options contain some ingredient I’d like to avoid and I’ve always thought making them would be a hassle. This recipe it totally doable, thank you!
It really is so easy. I never used to do them at home, since I also thought it is so difficult to make them
Dill pickles are my favorite! Love how easy it is to make them at home.
I had no idea it is that easy until I made it the first time. Well Worth it