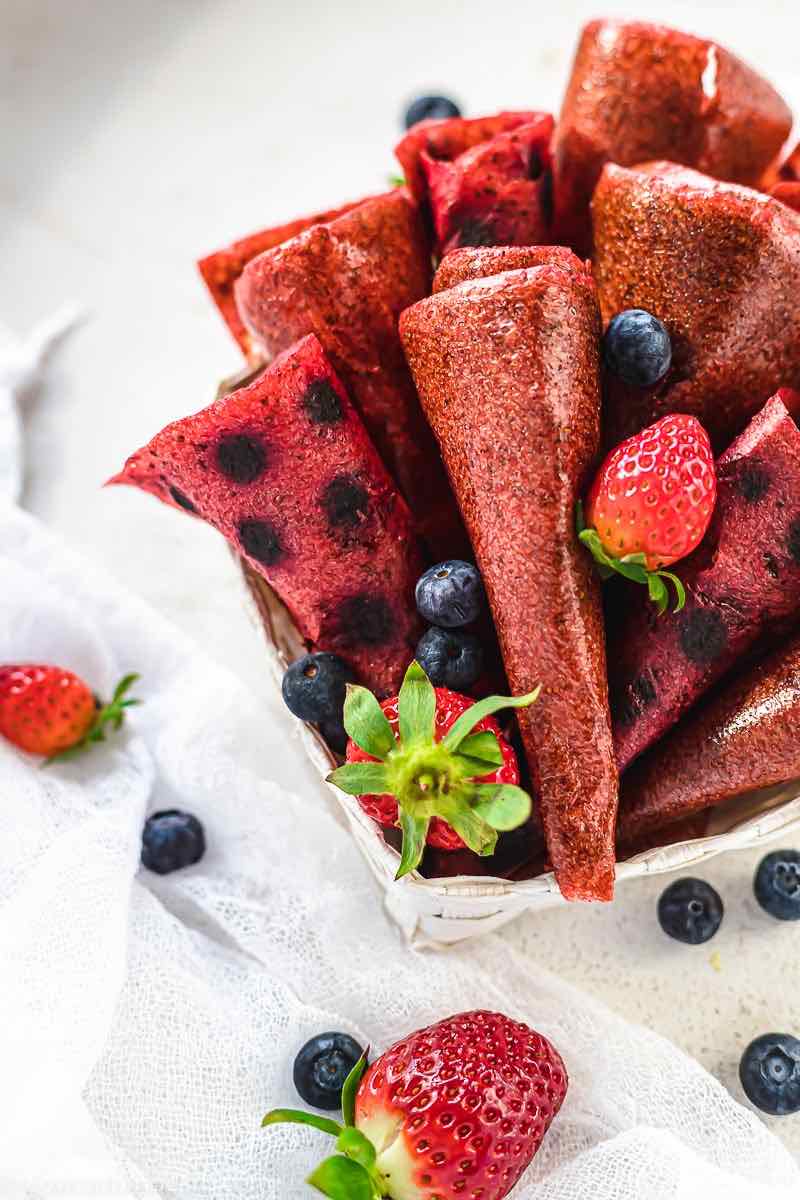
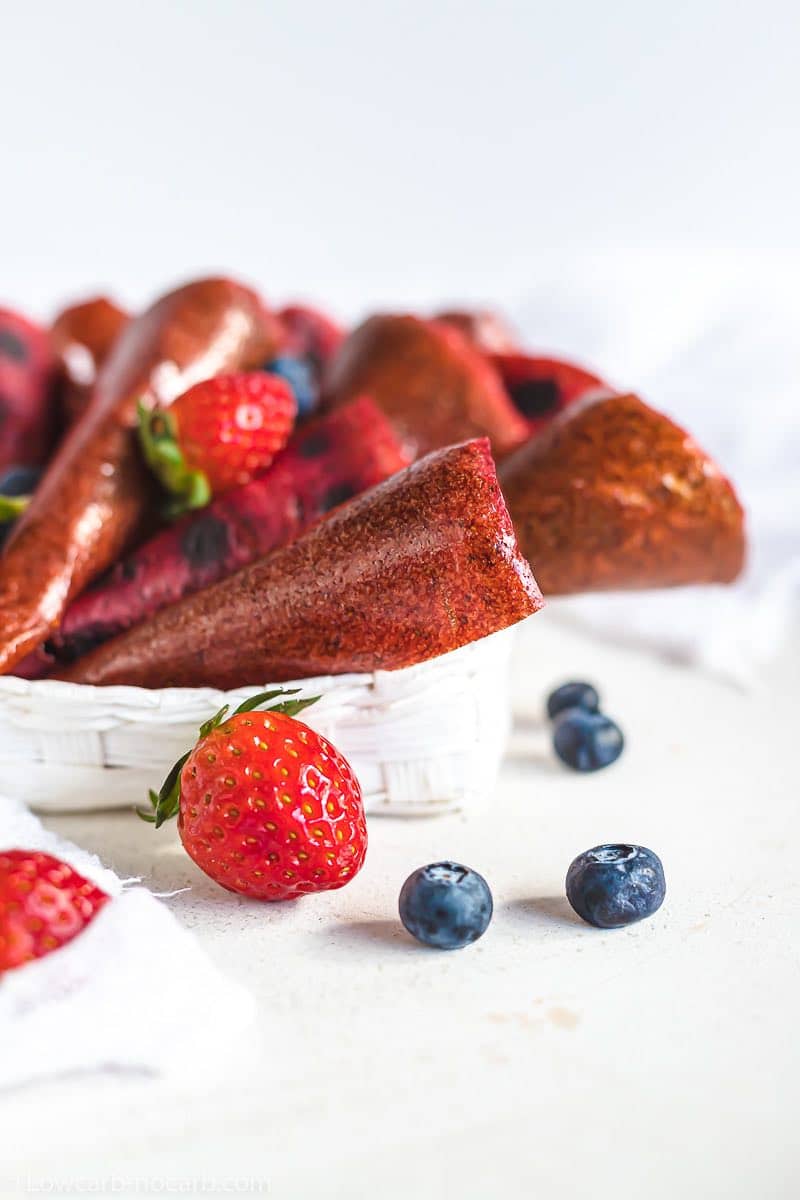
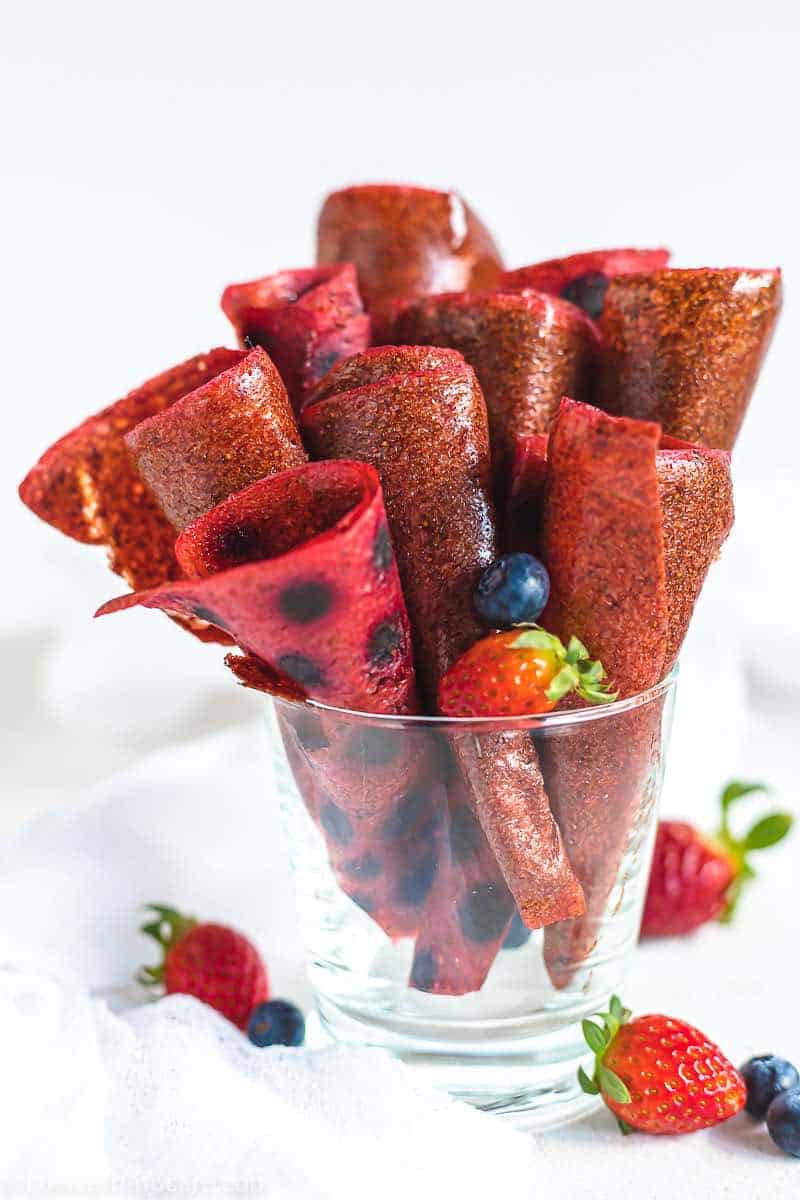
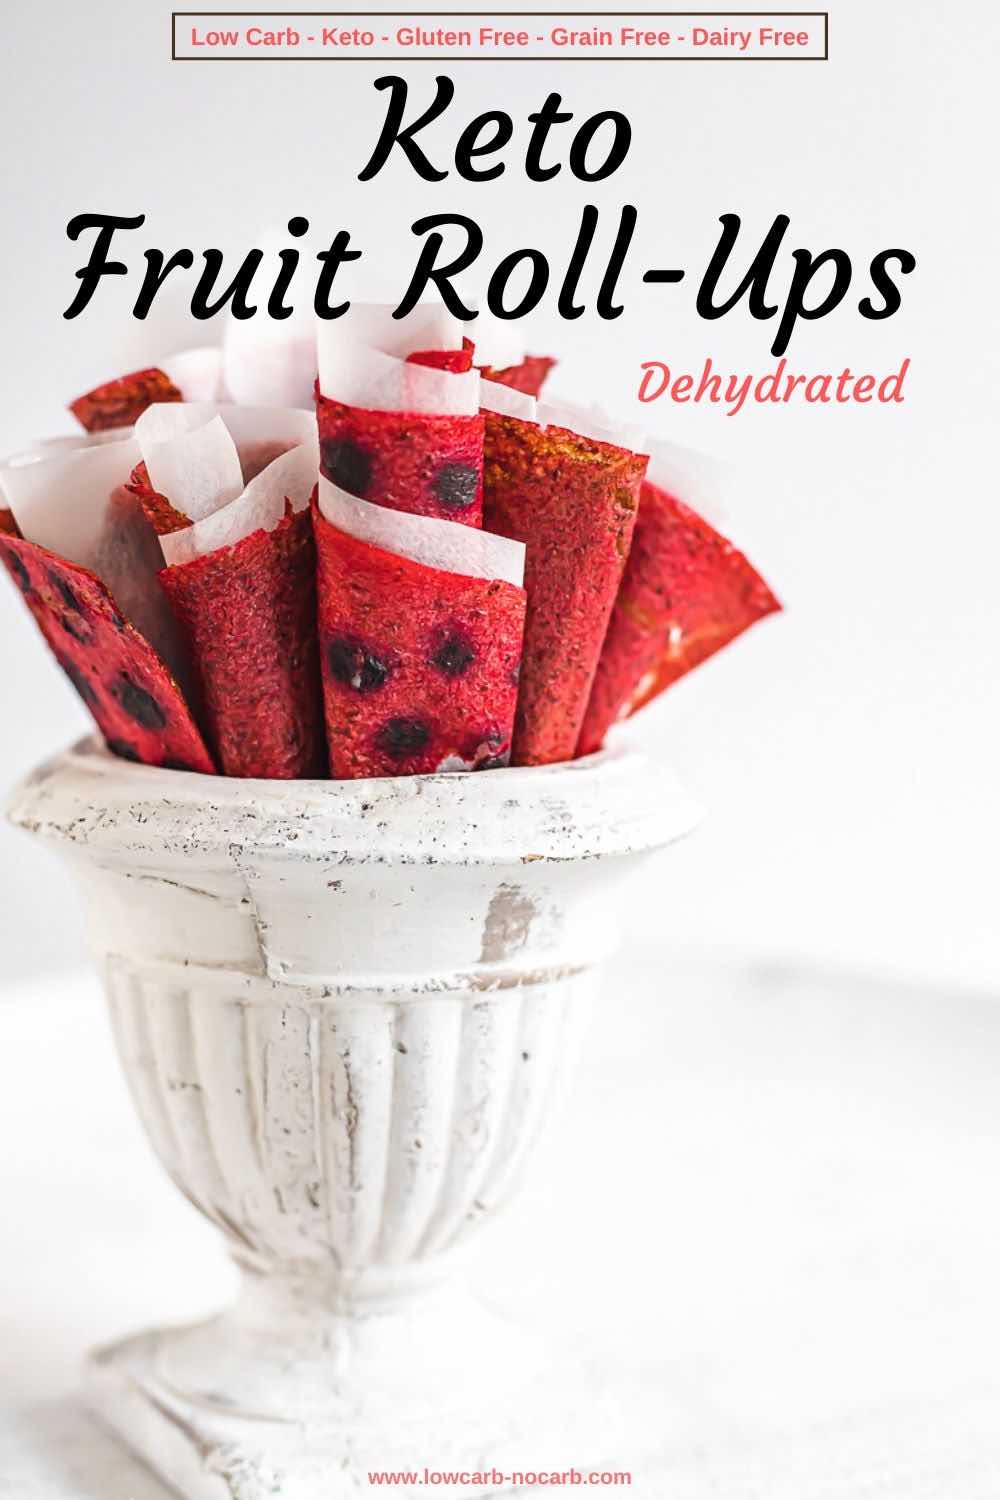
Use a dehydrator to indulge in a guilt-free treat for the kids with our Healthy Homemade Fruit Roll Ups Fruit Leather Recipe. This simple and delightful homemade strawberry fruit leather is the perfect alternative to store-bought fruit roll-ups, offering a wholesome snack without the added sugars.
Strawberry dehydrated rolls
Enjoy them as candy, pack them into a lunch box for your kids, or take them on your outdoor adventures as a convenient and nutritious snack that captures the essence of natural fruit in every delightful bite.
Newsletter and Keto Free Ebook
Recipes Made in Dehydrator
Our zucchini chips are the easiest to make in a dehydrator since you do not have to watch for them to burn. And since those were so popular, I have even made another variation of smoked paprika zucchini chips and cucumber chips.
Fruit roll-ups are leather-like sheets of fruit snacks in parchment paper or cellophane. Very popular around the world, you can even buy those perfect snacks in the supermarkets.
What Is a Keto Fruit Roll-Up Made Of?
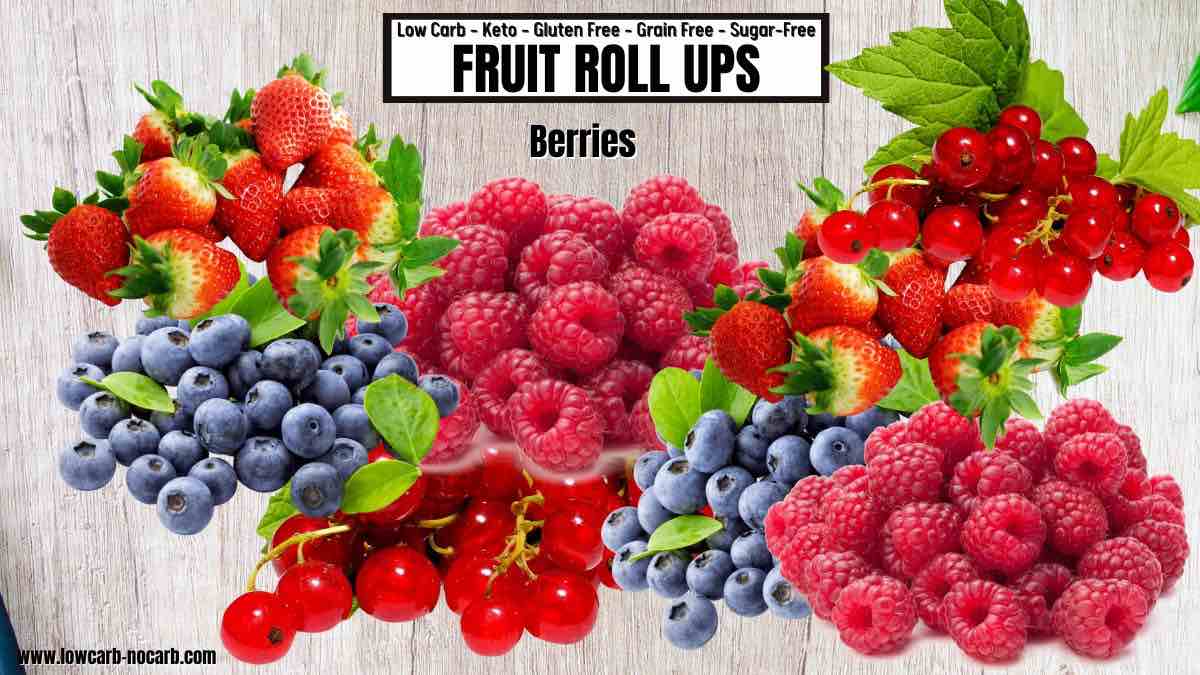
Our recipe – only one ingredient – strawberries or berries of your choice – is a homemade fruit roll ups recipe made with real fruits only. Our cranberry fruit leather is another great idea.
How Many Carbs Are in Homemade Strawberry Fruit Roll Up?
As we are using pure fruits for those fruit roll-ups, they still contain some natural sugar.
Taking strawberries as an example, one strip of fruit roll-up contains approximately 4 g of natural fruit sugar.
Fruit leather
Fruit Roll Ups Comparison
Most store-bought fruit roll-ups contain added sugar, processed oil, preservatives, color dyes and a minimal amount of fruits. And on top of that, they are pretty pricey.
A good example is a store-bought strawberry flavor fruit roll-up.
One hundred grams (3,5oz) contains 85 grams of carbohydrates, of which 39 grams is sugar.
A very similar comparison is with gummy bears. Therefore it is always great to have a homemade sugar-free gummy bears recipe that does not contain any preservatives and still makes kids love it and take it to school for their lunches as a great loaded sugary snack replacement.
Have I already convinced you to make your own?
Make fruit roll ups at home and give this recipe a try.
And when you realize this recipe’s easy, you will never buy another fruit leather from the supermarkets.
Do I Need Added Sugar Sweetener in the Healthy Homemade Fruit Roll Ups?
My initial plan was to sweeten them.
But as I started thinking of the steps, I realized a few points:
I never eat fresh berries with sugar
Once I dehydrate them, the water will diminish, and the natural fruit sugar will intensify anyway
I made my first batch of pure strawberries and stayed there forever.
You do not need to sweeten the fruit leather at all.
Especially for strawberries, the sweetness and a sour touch combine perfectly after dehydrating.
Berries rollups
Do I Need a Dehydrator for Homemade Fruit Leather?
For this recipe, you can dehydrate the fruit leather directly in a dehydrator or at a low temperature in the oven.
Having a food dehydrator has been a big-time saver in the kitchen for me.
Since I bought it for the first time years ago, I always use it.
At first, I was skeptical and against it because of the size, but when my first one stopped working, I had to buy a new one immediately.
Now I can not live without it. I dehydrate all of the berries in it, veggies, make crunchy snacks, seed crackers, you name it.
My dehydrator is simple and inexpensive. It is round and, therefore, difficult to use a silicone sheet. And that is why I bought myself a plastic sheet, which fits into the trays specifically to make the fruit leather.
Do You Like Cotton Candy?
If yes, your house will smell like you have just produced some. I used to love cotton candy, which was the first thing that struck me when I entered the house after dehydrating strawberry fruit rolls for a few hours – just an incredible advantage.
But let us go to a detailed explanation of how to make those beauties. Easy and simple. And with only one ingredient – berries of your choice.
Fruit Rolls
How To Make Homemade Fruit Roll-Ups?
Thisall-natural dehydrated homemade keto fruit roll-ups recipe perfectly replaces keto candy with its sticky, chewy, and no-sugar-added intense fruity flavor. Entirely gluten-free, low-carb and sugar-free, this raw low-carb fruit leather recipe can be made with any berries you choose for a perfect easy-to-make keto snack.
With our recipe card, you can use any fruit you desire.
*Exact measurements are listed in the recipe card below.
STEP-BY-STEP INSTRUCTIONS ON HOW TO MAKE FRUIT LEATHER RECIPE
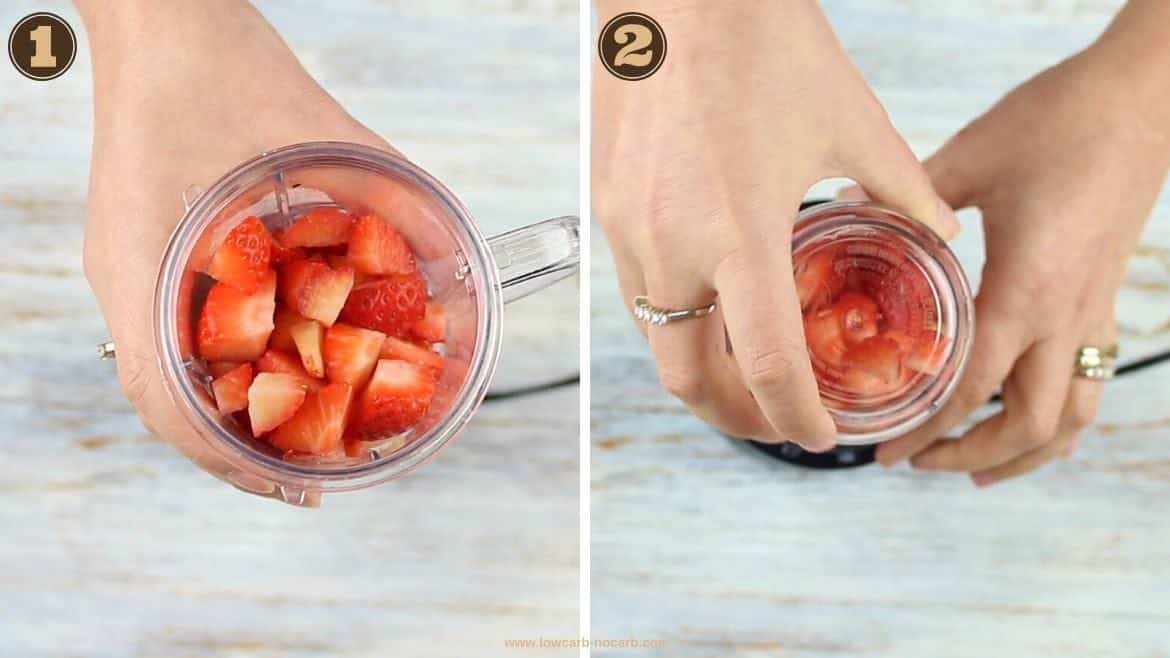
First Step: Prepare Ingredients
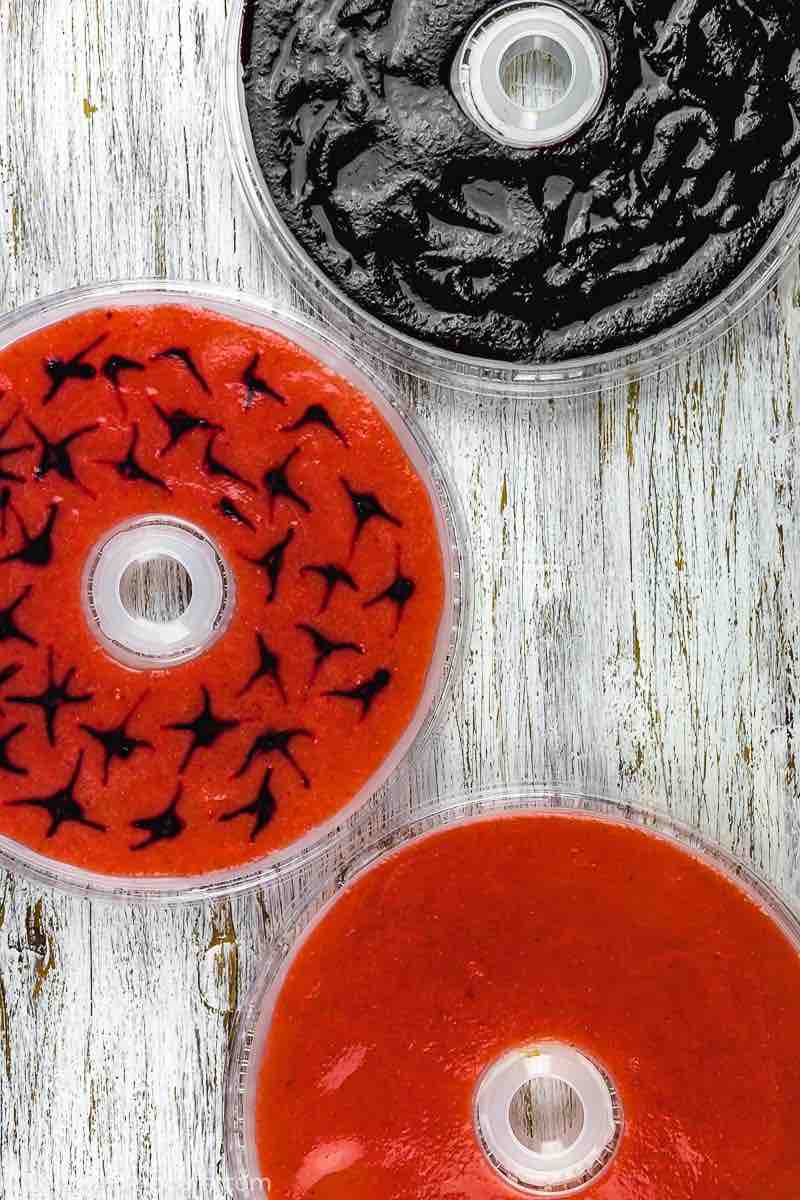
Wash and clean the strawberries or berries you are going to use. You can mix them, use separate types or decorate them as in my video.
Fruit Leather Rollups
Second Step: Puree
Add strawberries into the magic bullet cup or a blender and puree the fruit thoroughly.
Blending strawberries
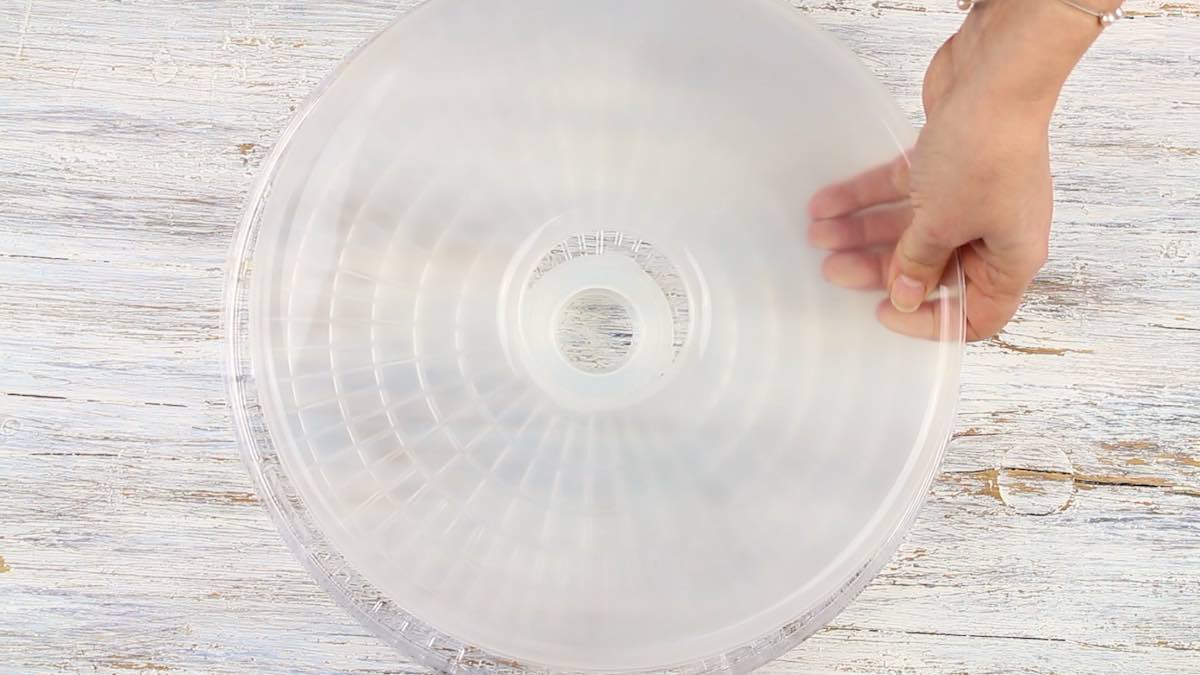
Third Step: Prepare the Dehydrator
If you are using a dehydrator with a round shape, you might need a plastic insert that goes inside each of the dehydrator layers.
You can also use parchment paper, which you can pre-cut into the exact size you might need, or use a silicone sheet if you have a square shape dehydrator.
Preparing dehydrator
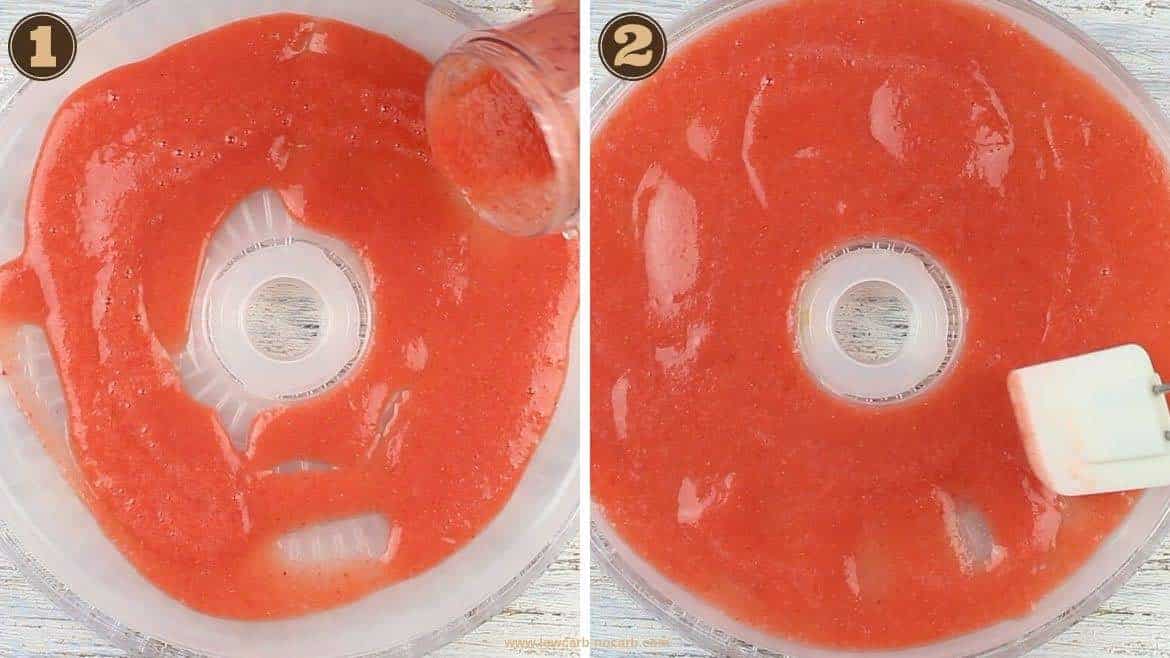
Fourth Step: Pour and Spread
Pour the fruit mixture onto the plastic or parchment paper and use an offset spatula to help spread the puree into quarter inch thick layer.
No worry if the amount of fruit puree is a bit thicker. While dehydrating, most of the moisture in the fruit will be taken out, and your layer will be much thinner.
If your layer is extremely thin, peeling it at the end will be challenging.
Layering puree
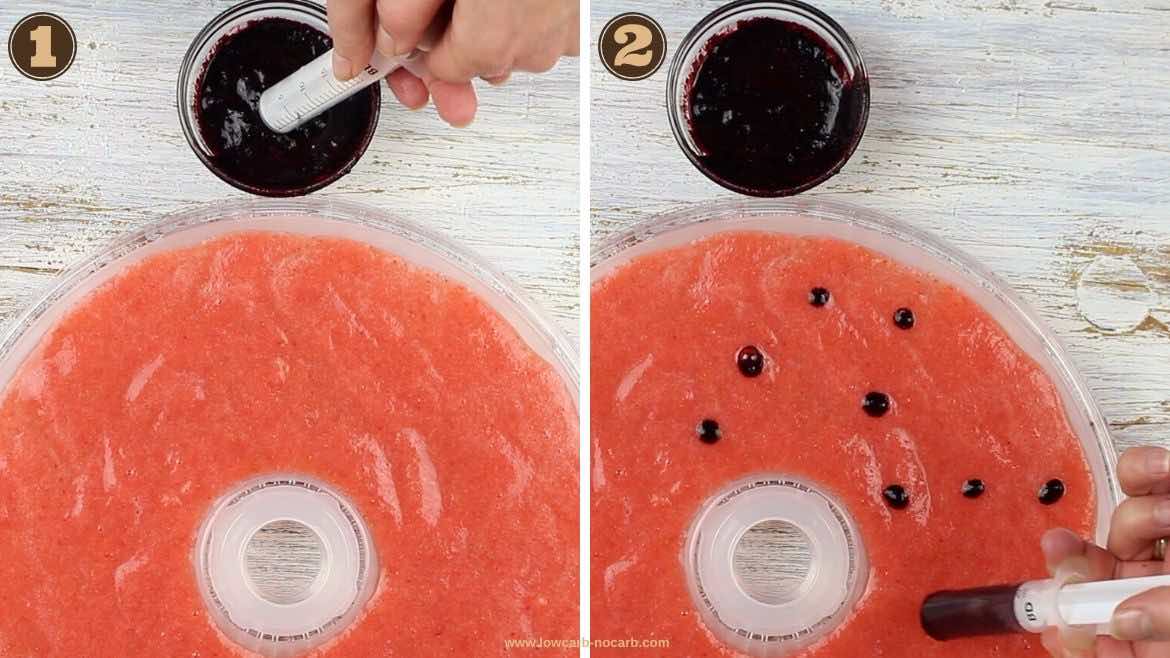
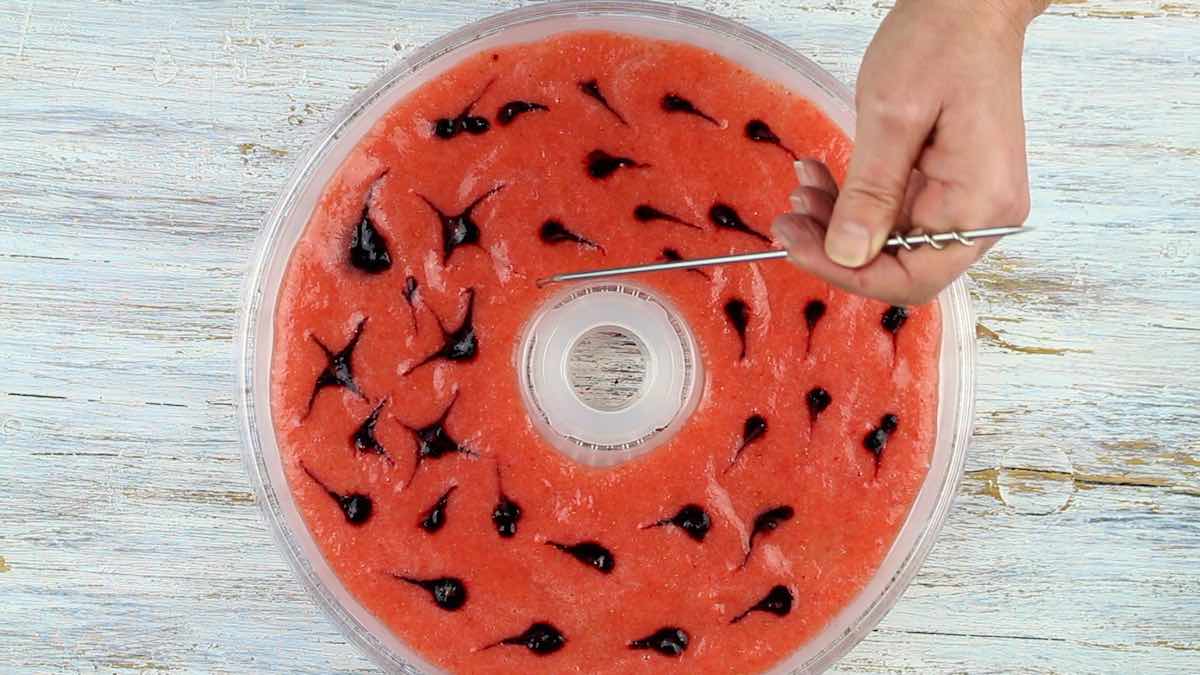
Fifth Step: Decorate
If you want to make it more decorative, look at the video, where I have used a bit of blueberry mixture. I filled that mixture into a syringe and gently pressed small dots on a strawberry layer. You can also use different fruit combinations as a mixture.
Decorating
Sixth Step: Optional – Strikes
This step is optional, but I have added this as well, in case you want to go more into decorating. As you see in the video, I have further made little star-like streaks out of the dots with a thin metal stick.
It is just something additional if you want to make fruit roll-ups for your kid’s lunches, as we know most children like little decorations and will eat much more of them.
Adding blueberry puree in
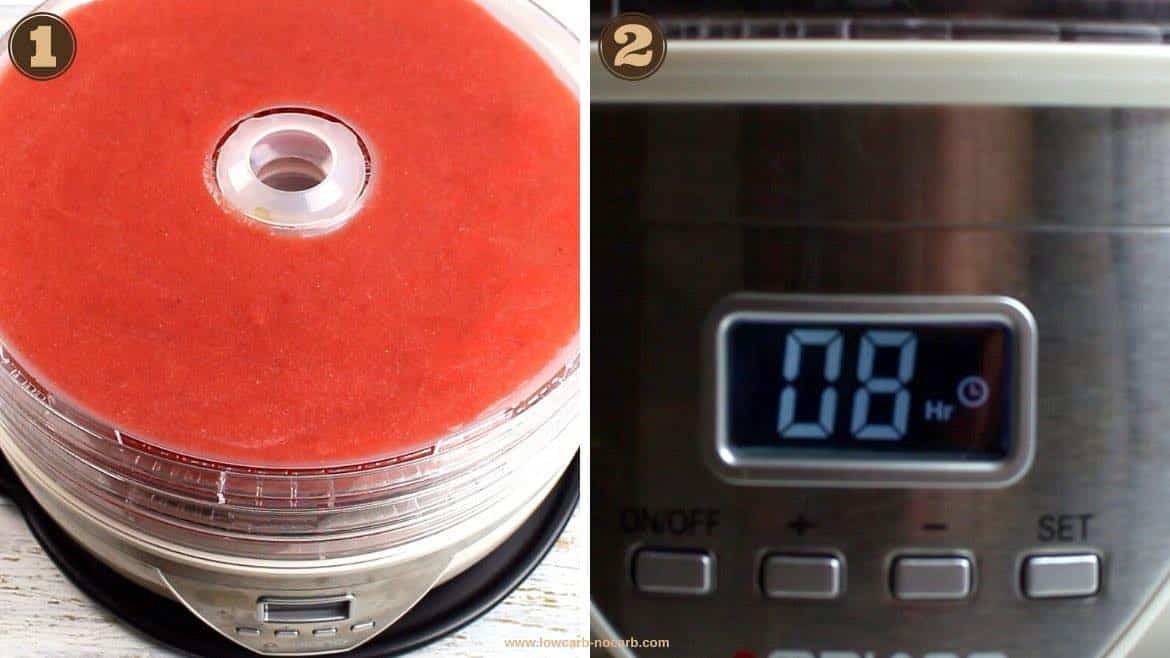
Seventh Step: Dehydrate
Once all the layers are poured and spread, place them one by one on top of each other onto your dehydrator. Switch the dehydrator on for approximately eight hours. Swapping the layers from time to time is advisable so each rack will get fully dehydrated.
Dehydrating
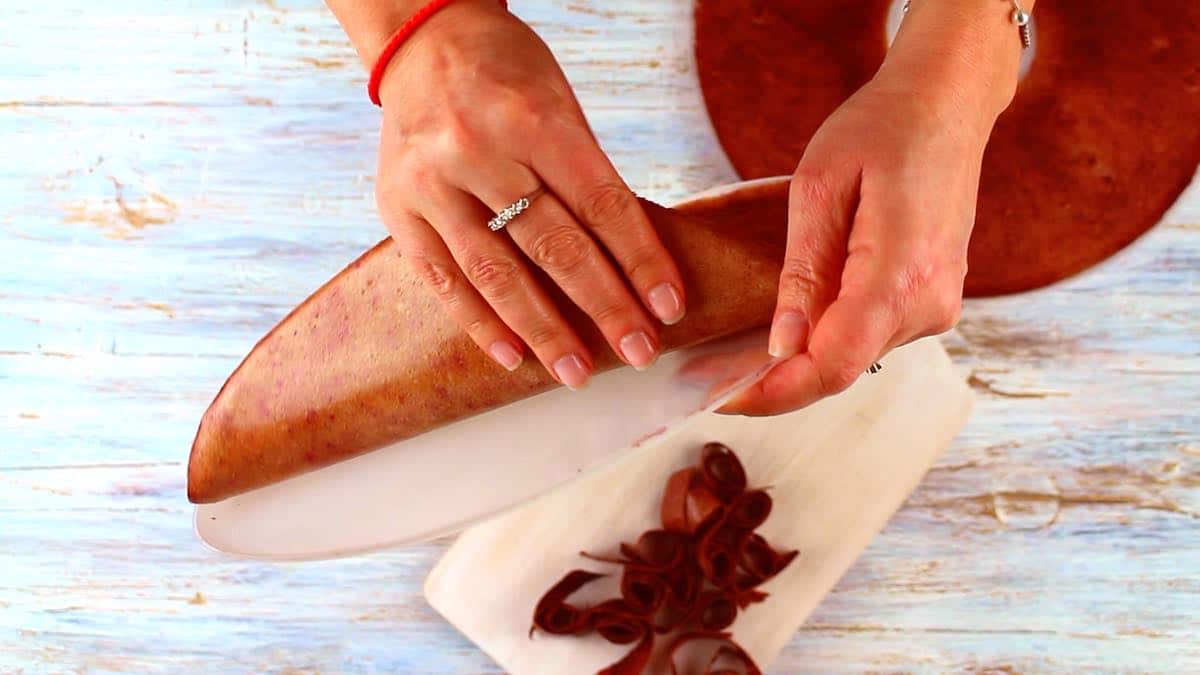
Eighth Step: Peel
When your fruit roll-ups are fully dehydrated, let them cool completely. To check, touch each fruit roll with your bare hands and ensure they are no longer sticky. Gently peel the fruit leather from either plastic, parchment paper or a silicone sheet.
Peeling the fruit skin
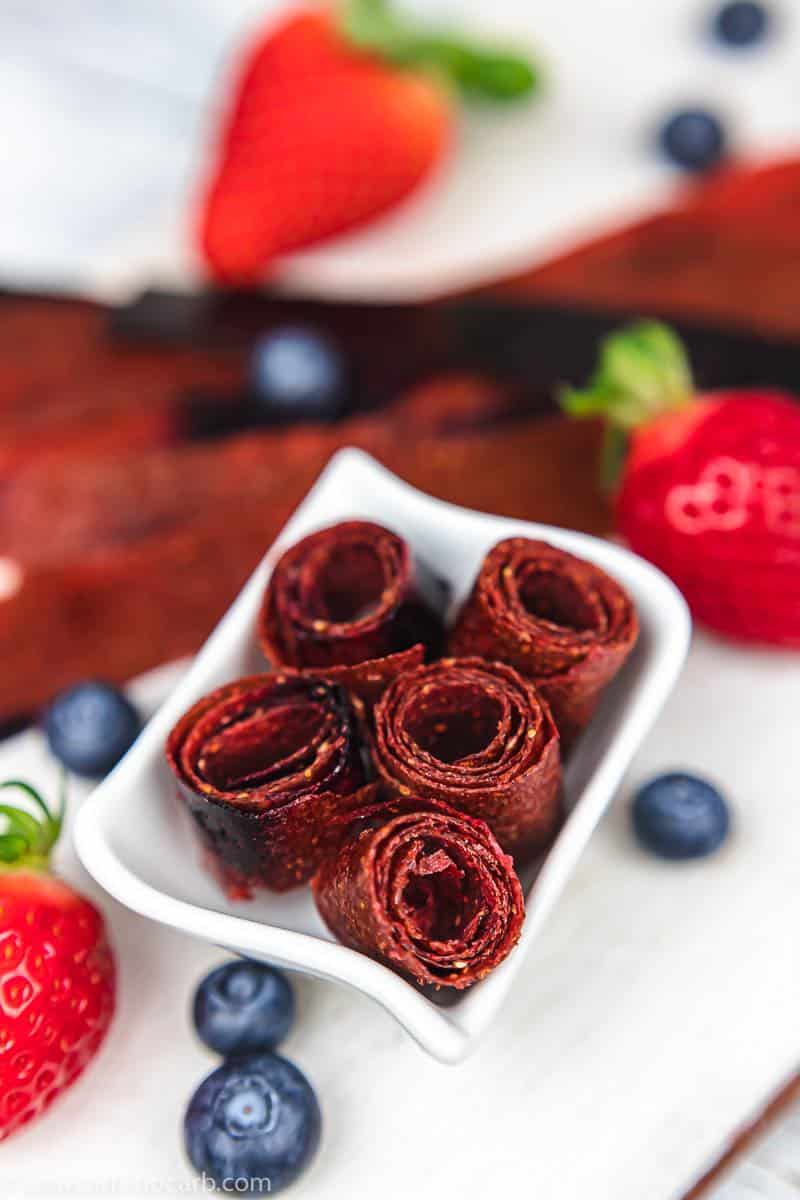
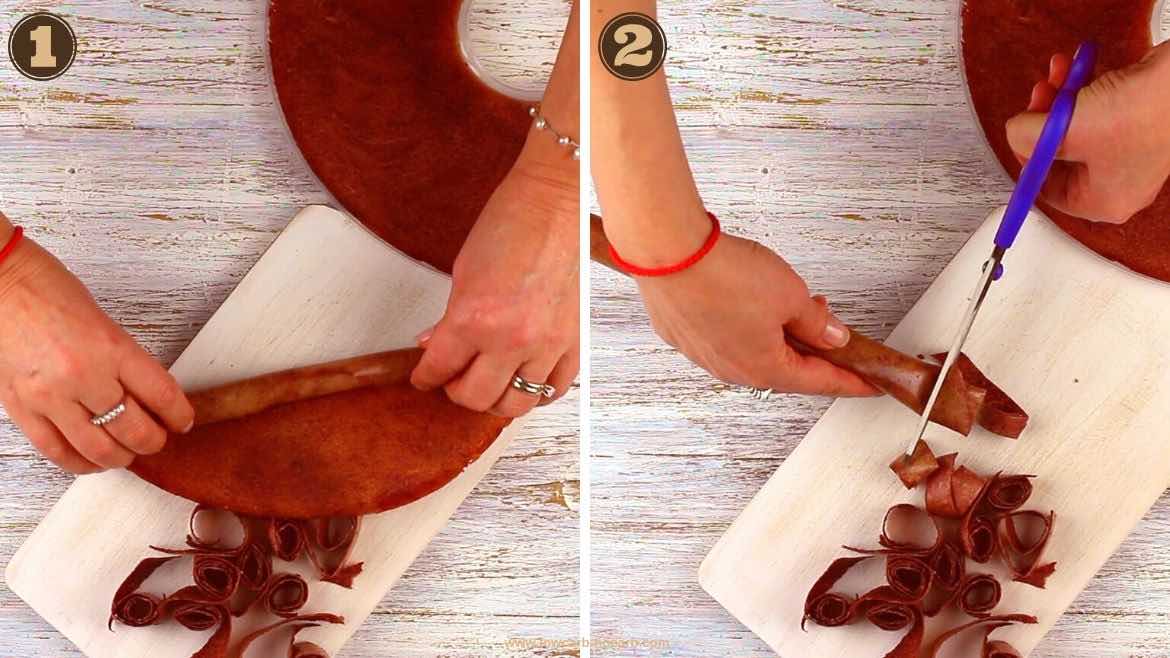
Ninth Step: Roll and Cut
The final step is to pre-cut your fruit skin. You can either roll the whole sheet and, using your scissors, cut it into the desired size.
You can also just cut the slices with the scissors or pizza cutter into the desired shape.
Cutting roll ups
TIPS AND TRICKS:
Lemon juice – if you use blueberries or blackberries, a few drops of lemon juice will add a nice flavor.
Thickness – do not try to make them extremely thin – dehydrator will dehydrate all the water from the fruit roll-ups, and the sheet will be fragile at the end.
Ready – once the sheets are not sticky anymore to the touch, the roll-ups are fully dry
If it is too dry – spray a bit of water.
Fruit Roll Ups
FREQUENTLY ASKED QUESTIONS AND ANSWERS
Can I Use Frozen Fruit To Make Fruit Roll-Ups?
You can use fresh or frozen berries. For blueberries, I have used frozen wild blueberries, which I have in my freezer for the whole year. Ensure you thaw the fruit fully and squeeze the extra liquid before mixing. Some recipes require cooking the fruit beforehand, but I do not feel the need for it.
Can I Make Homemade Fruit Roll-Ups in the Oven?
You certainly can. Drying them at the lowest temperature of 70 degrees Celsius or 170 degrees F is advisable, using a silicone baking mat or baking sheet with parchment paper. Pour the mixture onto the silicone mat, place into the oven and bake for a few hours. Once thoroughly dried, remove from the oven and let it cool so it is no longer sticky to the touch.
You can also use wax paper, which you can keep on while cutting the sheets with scissors.
How Do I Know Dehydrated Fruit Roll-Ups Are Ready?
To find out if your fruit roll-ups or fruit leathers are ready, it’s pretty easy.
All you have to do is touch the dehydrated skin with your bare hands. Make sure nothing is sticky, as this will show the fruit leather is ready.
What if My Fruit Roll-Ups Are Too Dry?
No worries here. Just spray them with a bit of water; they will soak up a bit of moisture and be easier to peel.
Fruit Leather
How Long Do Fruit Rolls Last?
Once you dehydrate your fruit roll-ups fully, they should last very long. If you keep them outside on the kitchen counter, they are good for a few weeks up to a month. You can also store them and keep in an airtight container in the fridge for up to a year.
How To Store Easy Fruit Leather?
Store them in an airtight container for a very long time. It is good to use parchment paper for each roll as it will become sticky.
As we are having a sweet day today, I suggest a few more easy-sweet snacks.
Experiment with various options like cinnamon pork rinds for a sweet crunch, dried blueberries to satisfy your sweet tooth, or rainbow pudding for a colorful and whimsical treat. Additionally, try making strawberry chips for a burst of fruity goodness or indulge in the irresistible combination of sweet and savory with candied bacon.
Pin For Later
Fruit Roll Ups
Need Support or have Questions? Join our Free Facebook Group.
Use a dehydrator to indulge in a guilt-free treat for the kids with our Healthy Homemade Fruit Roll Ups Fruit Leather Recipe. This simple and delightful homemade strawberry fruit leather is the perfect alternative to store-bought fruit roll-ups, offering a wholesome snack without the added sugars.
Wash and clean the strawberries or berries you are going to use. You can mix them, use separate types or decorate them as in my video.
Add strawberries into the magic bullet cup or a blender and puree the fruit thoroughly.
If you are using a dehydrator with a round shape, you might need a plastic insert that goes inside each of the dehydrator layers.
Pour the fruit mixture onto the plastic or parchment paper and use an offset spatula to help spread the puree into quarter inch thick layer.
If you want to make it more decorative, look at the video, where I have used a bit of blueberry mixture. I filled that mixture into a syringe and gently pressed small dots on a strawberry layer.
This step is optional, but I have added this as well, in case you want to go more into decorating. As you see in the video, I have further made little star-like streaks out of the dots with a thin metal stick.
Once all the layers are poured and spread, place them one by one on top of each other onto your dehydrator. Switch the dehydrator on for approximately eight hours. Swapping the layers from time to time is advisable so each rack will get fully dehydrated.
When your fruit roll-ups are fully dehydrated, let them cool completely. To check, touch each fruit roll with your bare hands and ensure they are no longer sticky. Gently peel the fruit leather from either plastic, parchment paper or a silicone sheet.
The final step is to pre-cut your fruit skin. You can either roll the whole sheet and, using your scissors, cut it into the desired size.
Video
Notes
Lemon juice – if you use blueberries or blackberries, a few drops of lemon juice will add a nice flavor.
Thickness – do not try to make them extremely thin – dehydrator will dehydrate all the water from the fruit roll-ups, and the sheet will be fragile at the end.
Ready – once the sheets are not sticky anymore to the touch, the roll-ups are fully dry
Please note that nutrient values are estimates only. Variations can occur due to product availability and manner of food preparation. Nutrition may vary based on methods of origin, preparation, freshness of ingredients, and other factors.
If you are still looking for some Low Carb products, visit our recommended site on Amazon, which we participate in as affiliates. Just click on the image below and all will be revealed.
Amazon Shop
Keto and Low Carb Desserts
Enjoy simple yet delicious Keto and Low Carb desserts from our blog. Take your pick and indulge!
Chocolate Chaffle Cake with Peanut Butter Mousse
Our Chocolate Chaffle Cake with Peanut Butter Mousse is a perfect idea for a Birthday Cake or any special occasion, you might need delicious Keto Dessert. This Sugar-Free, Low Carb, Keto, Gluten-Free, and Grain-Free Chaffle Recipe is not only great looking but is a build-up of extra nutritious ingredients.
Those Sugar Free Keto Meringue Cookies Recipe is made with Just 2 Simple Ingredients and only 1 gram of Net Carbs for 10 Pieces. Those Light and Fluffy, with Crispy Exterior Sugar Free Meringue Cookies, are Delicious and Healthy Low Carb Alternative.
Learn how to make Keto Coffee Cake with berries of your choice and almond flour to get a perfectly moist, light, fluffy and divine sugar-free sheet pan cake. Fully low carb, gluten-free, grain-free, and great for diabetics, this coffee cake is perfect with your morning coffee, breakfast, brunch, snack, or dessert.
How to make Sugar-Free Keto Whipped Cream, that is perfect every single time? Learn all of the quick and easy tips and tricks on how to get this fluffy Homemade Low Carb Heavy Whipping Cream done in just 2 minutes with 2 ingredients only.
This Ultimate Sugar-Free Chocolate Magic Shell Recipe gives you a magically hardened thinnest layer of chocolate coating you dip anything into. Our Hard Shell Chocolate Syrup could be used with one of the Keto Ice Cream, Sugar-free Ice Popsicles, Berries of your choice, or poured over any of the Keto Desserts.
This Sugar-Free & Keto Smores Chaffle Recipe is the perfect addition to your Keto BBQ days when grilling is a must almost on a daily basis. Those Tasty Keto Marshmallows in between our best ever Sweet Cinnamon Cream Cheese Keto Chaffles dipped in melted Sugar-Free chocolate ganache are one Keto Dessert nobody will ever refuse. Low-Carb, Grain-Free, and Gluten-Free, it is perfect for diabetics as well.
Super rich with a pinch of crispiness, those Almond Flour Keto Shortbread Cookies Recipe is extra quick and easy to make. Gluten-Free Shortbread Cookies, that are also fully Sugar-Free and best to prepare during your Cookie Season
Learn How To Make Keto Chocolate Covered Strawberries with only 1 gram of net carbs in under 15 minutes. Our quick, easy, healthy strawberries dipped in sugar free chocolate is the perfect go-to low carb dessert for any and every special occasion.
Extra Crispy Homemade Sugar-Free Keto Ice Cream Cones you are going to need of all of the Low Carb Ice Cream making throughout the whole summer time and beyond. Fully Gluten-Free, Grain-Free, filled with additional Whey Protein and only 1g of Carb, those are the Keto Wafers you have been looking for.
How To Make Keto Peanut Butter Mousse without Cream Cheese
Learn How To Make Keto Peanut Butter Mousse without Cream Cheese with 2 Ingredients and 3 minutes only. This Simple, Smooth, Airy, Creamy, and No-Bake Keto Mouse is fully Low Carb, Gluten-Free, Sugar-Free, and just perfect for Diabetics.
This all-natural Dehydrated Homemade Keto Fruit Rollups Recipe is a perfect replacement for a Keto Candy with its sticky, chewy and no sugar added intense fruity flavor. Fully Gluten-Free, Low-Carb and Sugar-Free, this Raw Low Carb Fruit Leather Recipe can be made with any berries you choose, for a perfect easy to make Keto Snack.
Dalgona Coffee Keto Chia Pudding is a perfect healthy keto breakfast combination you will surely enjoy. Low carb dalgona coffee, together with chia pudding, is a great blend you for sure will enjoy as the start of the day.
Discover How To Make Sugar Free Marshmallows recipe using only two ingredients. These keto friendly, low carb treats are fluffy, delicious, homemade marshmallows without corn syrup and no sugars added in. Try this easy low carb keto marshmallow recipe and indulge in carb free sweetness.
Sweet Cinnamon Cream Cheese Keto Chaffle Recipe as a perfectly easy Breakfast Chaffles Recipe using your Dash Mini Maker and reaching that Keto Waffle Breakfast yumminess. Learn how to make Low Carb Waffle Recipe that is as well Gluten-Free, Grain-Free, made with Almond Flour and Cream Cheese and perfect for diabetics.
Make this easy and delightful Sugar Free Mini Pavlova Cakes, where delicate meringue shells meet the airy sweetness of marshmallow like centers. Topped with luscious whipped cream, fresh fruit, and a burst of flavors, these mini pavlova recipes are guaranteed to melt in your mouth with every blissful bite.
KETO FAT BOMB CREAM CHEESE RECIPE LOW CARB Keto Fat Bomb Cream Cheese Recipe Low Carb is a perfect addition to the LCHF way of eating. Those deliciously smooth,…
Super quick and easy to make those 4 ingredients only Sugar-Free Nutella Cookies are a perfect fast way to get your Keto Cookie on the table. This Gluten-Free, Grain-Free, and fully Low Carb Easy Nutella Keto Cookies Recipe is just perfect for your unexpected guests done in 10 minutes.
Our Easy Keto Crepes Recipe with Almond Flour is Great with Sweet or Savory Fillings for your Breakfast or a Dessert. These Keto Crepes are made in a few minutes using Low Carb Ingredients we all have at Home.
Our Easy Keto Bundt Cake Recipe in Marble design will blow your mind. This gluten-free bundt cake, similar to pound cake with almond flour and swirls of cocoa, is the perfect low carb dessert for breakfast, brunch, or after your delicious dinner.
KETO AVOCADO POPSICLES Summer is almost here and those Keto Avocado Popsicles are part of it. Well, we did not have spring this year. We have jumped straight from winter to…
Keto Almond Crescent Cookies are Made with Almond Flour Every Single Year as a Must make for the Holiday Season. This Extremely Soft, Grain-free, Dairy-free, Gluten free, and Low carb Cookie Recipe is Truly my Favorite of all.
Extra Quick and Easy Way with this Sugar-Free Gummy Bears Recipe to finally enjoy a Keto Candy that is delicious and filled with so needed Collagen. Learn How to make Homemade Sugar-Free Gummies a healthy treat without the guilt that is fully Low Carb, Gluten-Free, and great for Diabetics.
Enjoy our Chocolate Ripple No Bake Keto Cheesecake Recipe without crust as a healthy alternative whenever sweet cravings arise. This low carb no-bake cheesecake is an easy keto dessert you can whip up quickly.
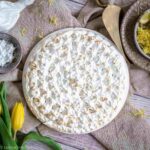
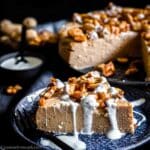
Our Super Easy Instant Pot Keto Cheesecake, made with only 2 Ingredients and 3 Net Carbs per portion, has a Rich, Dense, and Creamy Texture like no other. Out of all Keto Instant Pot Cheesecake Recipes, this is the Simplest Crustless Dessert Recipe one can get.
Our Gluten Free Gingerbread Cookies Keto Version is made with Gluten Free Flour and a Replacement for Molasses. Out of those Gluten-Free Gingerbread Cookies that are Sugar Free and Low Carb, you can make a Gingerbread Man or a whole Village.
This Farmers Cheese Keto Bundt Cake is a perfect summer cake to go with your morning coffee or taken for that Keto BBQ you have been planning. Fully Low Carb, Sugar-Free, Grain-Free and Gluten-Free, this extra dense Keto Pound Cake with a hint of Blueberries will be the most popular one.
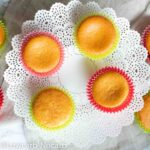
Quick and Easy, Soft and Fluffy, Moist and Sugar-Free, our Keto Cupcakes are done in 10 minutes with only 1 gram of total carbohydrate. This light-in texture Low Carb Cupcake Recipe is entirely Gluten-Free, Grain-Free, and perfect for Diabetics.
Super Chewy Sugar-Free Sesame Brittle Bars perfect as your Keto Candy, whenever you have a sweet tooth. Those Keto “Honey” Sesame Snaps are fully Nut-free, Gluten-free, and Grain-Free made in no time and perfect for a Lunch Box option or as a Meal Prep Keto mini dessert.
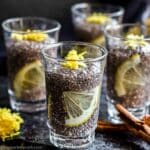
Quick and Easy To Make, our Keto Chia Coconut Pudding is done in 5 Minutes and fills you up for the whole morning. Fully Dairy Free, Keto, Low Carb, Gluten-Free, Sugar-Free, and Diabetic Friendly, this Chia Pudding made without Coconut Milk is a delicious Nutritional Addition to your Keto Breakfast List or a Meal Plan.
Keto Instant Pot Lemon Cheesecake with Meringue Icing
Pretty easy to make, this Instant Pot Keto Lemon Cheesecake with Sugar-Free Meringue Icing is so soft and extremely delicious just perfect for our low carb living. Sugar-Free Swiss Meringue icing adds a perfect finish to the Keto Lemon Cheesecake and mixes the sweet and sour flavors together just as we would wish for.
HOMEMADE SUGAR FREE KETO SPRINKLES Homemade Sugar Free Keto Sprinkles have been on my list for as long as I can remember. Until now, every time we have made some…
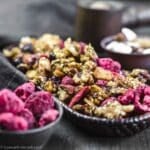
Learn How to Make an Easy Homemade Crunchy Keto Muesli Granola Recipe that will be a staple to your Low Carb Breakfast forever. Entirely Sugar-Free, Grain-Free, and Gluten-Free Granola will add extra protein to your so much wanted nutrient-packed Keto Breakfast.
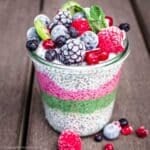
Learn How to Make Rainbow Keto Chia Pudding in a few minutes that will brighten up every single table for either Breakfast, Potluck, or a Party. This fully Low Carb, Gluten-Free, Grain-Free, and Diabetic Friendly Keto Chia Seed Pudding is super Nutritious and the best fit for Meal Prep Ideas.
This Low Carb Chocolate Roulade or as some can call it Keto Chocolate Swiss Roll Cake is not only Sugar-free but Grain-free, gluten-free and also scrumptiously soft, fluffy and creamy, filled with cocoa aroma. Perfect Keto Dessert choice for your Christmas table or just a party you are planning to attend.
SWEET KETO CHALLAH BREAD RECIPE (BRAIDED) This perfectly soft and on a sweet side Keto Challah Bread Recipe, or as some call it Braided Bread recipe will leave you astonished…
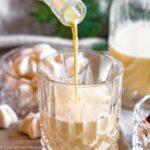
Deliciously smooth and perfectly creamy. This Sugar-Free Homemade Keto Eggnog Recipe made with Almond Milk is a must on the table during your next holiday season.
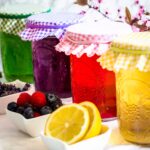
Cold brewed Keto Infused Iced Tea – Keto Drink is the quick and easy way to give our lifestyle varieties of flavored Low Carb beverages, that are healthy and tasty. No more Keto Iced Tea at Starbucks or anywhere else. Make it at home and enjoy it fully. Mix flavors for your Keto Lemonade you admire the most.
Enjoy our Best Fudgy Keto Brownies made with Almond Flour and a dash of Tabasco. This Easy to Make Low Carb Keto Brownie Recipe is entirely Gluten-Free, Sugar-Free, Grain-Free, and Perfect for Diabetics.
Enjoy the best Keto Coconut Ice Cream Recipe made from scratch using fresh coconuts. This no-churn homemade keto ice cream is made in minutes using an ice cream maker to give you a creamy and delightful frozen treat that will satisfy your sweet cravings. With a few additions, you can also turn this low-carb keto treat into a perfect keto vanilla ice cream recipe.
The easiest ever Peanut Butter Keto Cookies Recipe with only a few ingredients and done in less than 20 minutes are a perfect staple for a quick Keto Dessert Idea. Fully Gluten-Free, Grain-Free and Sugar-Free, those simple Keto Cookies are filled with all of the protein we are looking for.
Our Keto Chocolate Cupcakes Recipe with Almond Flour and Low Carb Nutella Frosting is Extra Moist and Soft like no other. Learn How To Make Easy Keto Cupcakes with only 1 gram of Net Carb in just a Few Minutes.
Those Homemade Sweet Keto Pork Rinds, with a Churro taste, are the best and crunchiest Keto Snack you have been waiting to have. Deep-Fried to golden Perfection filled with collagen, this Sugar-Free, and Gluten-Free Sweet Chicharrones are always gone in minutes of making them.
Extra smooth Keto Chia Seed Chocolate Pudding adds a perfect amount of Fiber but still makes this Keto Dessert extra quick and easy. This super Sugar-Free pudding mousse blend into perfection is a perfect Keto breakfast or a great Gluten-free, Grain-free, and Low Carb Dessert after your special Keto Dinner.
Our Almond Bark Recipe is a treat that combines the rich taste of dark chocolate with the satisfying crunch of almonds. This simple and easy-to-follow recipe is a perfect idea with an irresistible combination of smooth dark or white chocolate. Our crunchy chocolate bark is going to be your favorite from now on.
Zuzana is the creative force behind this vibrant blog. With passion as a recipe developer, content creator, food writer, movie maker, and photographer, she poured her heart and soul into curating a space brimming with delightful keto and low carb recipes. Join her on this flavorful journey where quick, easy-to-make dishes take center stage, bringing joy and nourishment to your table.
2 Comments on “Healthy Homemade Fruit Roll Ups Fruit Leather Recipe”
Combien je regrette de ne pas posséder un déshydrateur. Nous sommes trop vieux maintenant,et sans enfant,donc, un peu tard pour en acheter un.
Malgré tout, cela ne m’empêche pas d’admirer cette recette. Bisous Chris 06


Combien je regrette de ne pas posséder un déshydrateur. Nous sommes trop vieux maintenant,et sans enfant,donc, un peu tard pour en acheter un.
Malgré tout, cela ne m’empêche pas d’admirer cette recette. Bisous Chris 06
Dear Chris,
I also use a plain cheap version I bought in the supermarket. It gives you almost the same results as the expensive versions.